Why Choose Cellular Concrete For Construction
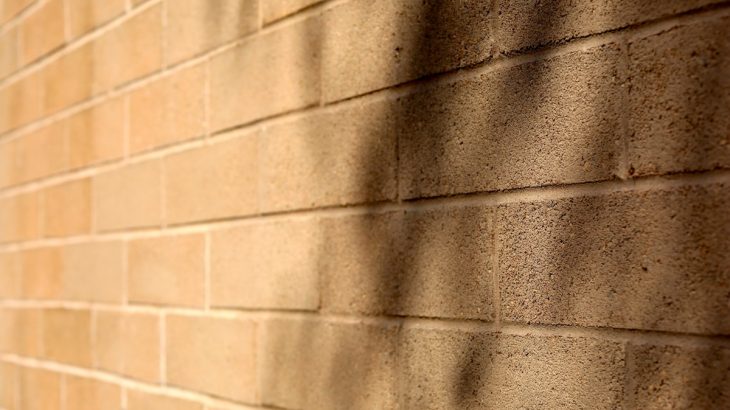
Cellular concrete is an insulating building material used for structural construction, and it is a concrete block, just like a cinder block. It is more insulating than a cinder block, allowing bearing or non-bearing walls to be constructed.
Cellular concrete: a natural composition
Cellular concrete is composed of a mixture of several natural elements:
sand,
cement,
lime,
aluminum powder,
gypsum,
water.
Different types of cellular concrete: smooth, U-shaped, angles…
Cellular concrete offers a wide range of blocks for every use in construction:
smooth blocks,
interlocking blocks for easy installation,
blocks of angles,
U-shaped blocks,
lintel blocks, etc.
All types of construction with cellular concrete
The laying is done with thin joints with mortar glue and allows the construction of the following:
load-bearing walls,
partitions,
dividing walls,
floors,
and also roofing and cladding.
Cellular concrete dimensions
The standard dimensions of cellular concrete are 62.5 cm × 25 cm × 20 cm.
In addition to the standard, you can find blocks of different thicknesses:
25 cm,
30 cm,
6.5 cm,
50 cm.
The length is also adapted to the type of construction.
Cellular concrete: robust and insulating
Cellular concrete blocks are light, strong, and stable while providing good thermal insulation for buildings.
Thermal insulation: no insulation from the inside
Cellular concrete constructions can do without an internal insulation system. Thermal bridges are limited when the installation is carried out according to the rules of the art. This type of construction offers a significant gain in living space: between 4 and 6 % compared to traditional concrete construction with insulating interior lining (20 cm of wall + 6 cm of lining).
Thermal inertia of cellular concrete: energy savings
Cellular concrete balances the temperature inside the house.
This one can store heat during the day and keep it to restore it when the temperature is lower, in the evening, in the house. This, therefore, allows energy savings.
Hygro-regulation of cellular concrete
When the construction is coated with a suitable product, the structure does not let water through, allowing water vapor to circulate from inside to outside. The habitat is, therefore, healthy, with no risk of mold growth.
Cellular concrete: construction principle

Cellular concrete requires a perfectly level surface to be laid and is not very complicated to install if you observe the manufacturer’s recommendations.
Cellular concrete: using suitable material for the installation
Cellular concrete requires specific tools and materials for its installation:
electric saw with big teeth or selfish saw,
glue comb,
glue mortar,
and, of course, the classic mason’s tools.
Laying cellular concrete: the steps
The first row is decisive for the rest of the work. It must be perfect, and we recommend you use a laser level:
Steps for Building a Cellular Concrete Wall
|
KEY STEPS |
TO DO |
|---|---|
|
Installation of the first row |
It is done on a perfectly level and plumb surface: |
|
Laying the first corner blocks |
The installation starts with the corners with, if necessary, special blocks to pass the chain link. |
|
Installation of the second row |
– The blocks of the first row are glued with the glue comb. |
|
Checking the level |
– Using an aluminum mason’s rule that you slide over the blocks, check that all the blocks are perfectly level. |
Hope this post has provided you with the information you were looking for. Remember to jot down a few words in the comments below.


