4 Steps for Installing the Siding of a Wooden House
Summary
– Focus on wood house siding
– Step 1: Install the battens
– Step 2: Cut the siding boards
– Step 3: Install the first row of siding boards
– Step 4: Finish installing the siding boards
There is a wide range of exterior cladding options for wood homes: solid or engineered wood siding, plywood panel siding, rendering (on a fastening board attached to the frame), etc.
This post presents the installation of a wood siding with tongue and groove boards, a solution commonly used. It is a relatively simple step but requires precision, care, and method. It is necessary to be two, at least.
Follow this step-by-step guide to siding your wooden house.
Focus on wood house siding
Wooden siding is made up of boards nailed to cleats. The latter constitutes a hanging structure and allows ventilation of the siding.
Direction of installation of the siding boards
There are several installation directions for siding boards:
– Horizontal blades, common installation;
– vertical boards, a traditional installation that facilitates water flow;
– diagonal boards. This option, rare, is delicate to implement.
The choice is based on aesthetic criteria.
Blade assembly
The assembly is done according to the type of board.
Unmachined boards (rough-sawn) are installed overlapping, with joint covers or clinkers.
But most of the time, the boards of claddings are machined:
– tongue and groove boards;
– blades with rabbet.
In this case, the boards are nailed in such a way as to conceal the nail heads through the rabbet or the tongue.
Good to know: these assemblies allow good maintenance of the boards, even if there are dimensional variations due to humidity.
1. Install the battens
– To obtain a sufficiently waterproof cladding, install a rain screen on the walls before installing the battens.
– Lay the battens horizontally for vertical siding and vertically for horizontal siding. Always leave a 20 cm base to protect the siding from water projections.
Good to know: Use wide cleats (35 mm minimum) to facilitate nailing the boards.
– Plan a regular spacing of 40 cm maximum between battens, or even 60 cm if the siding boards are thick (18 mm at least).
Good to know: cut a rod (wooden stick used as a reference length) whose length corresponds to the spacing between two battens, and use it to determine the position of the battens.
– Fasten the battens to the wood-frame walls (for interior insulation) or brackets installed before the insulation (for exterior insulation).
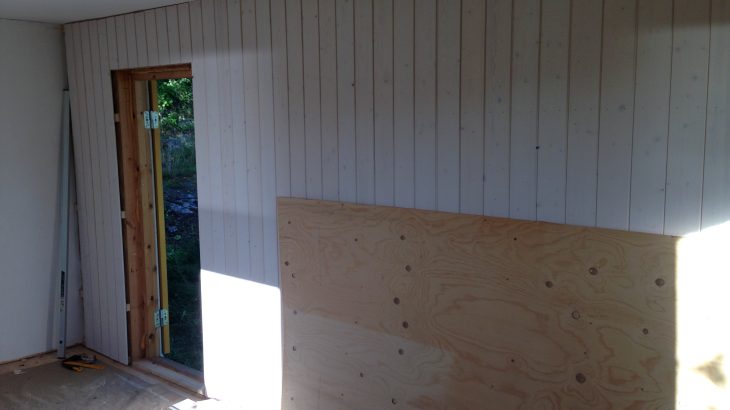
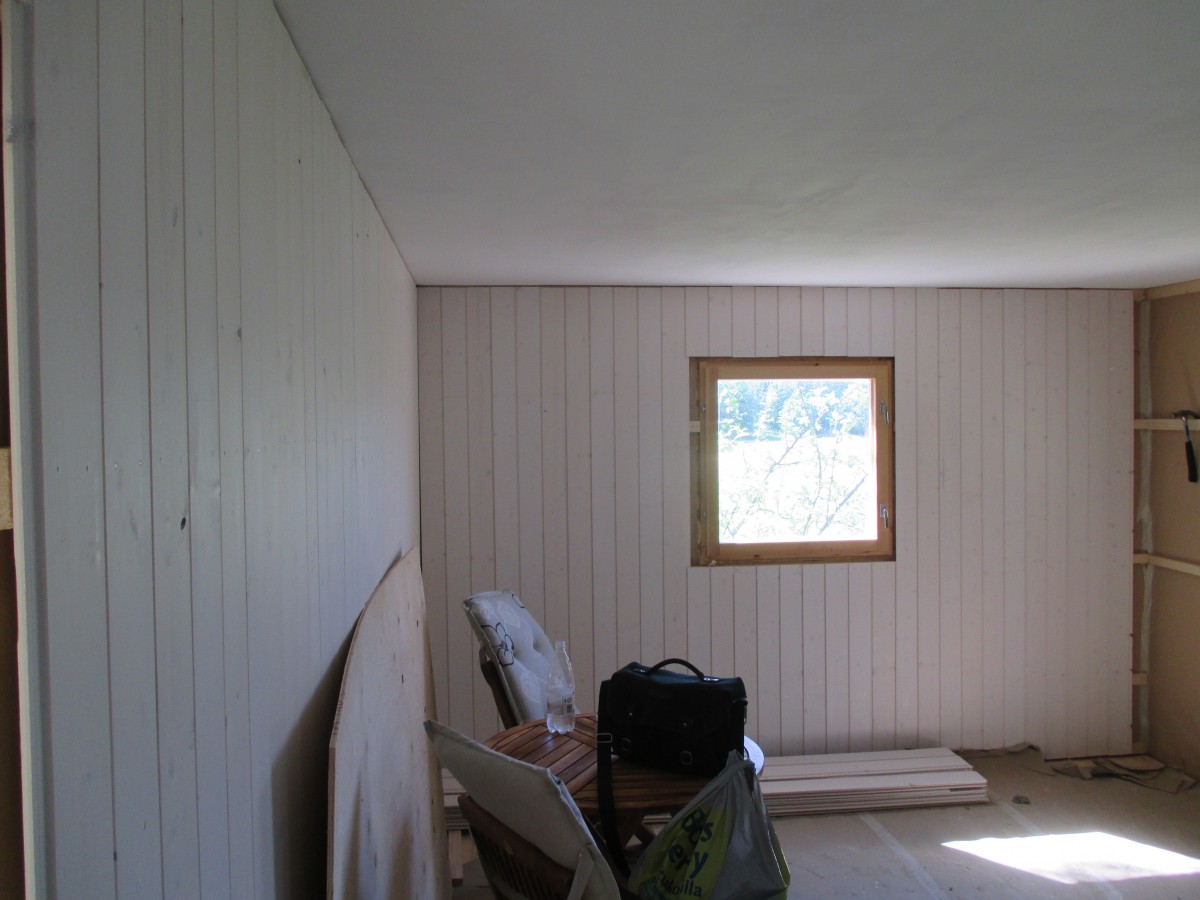
– On the façade, frame each opening with cleats.
– Check the level and plumbness of the framing with a spirit level.
Good to know: in the case of exterior insulation, also add battens on the inside of the openings (transoms, top rail, and bottom rail) and place insulation between the battens.
2. Cut the siding boards
– Cut the siding boards to the dimensions defined by the house plans.
Good to know: make sure that the ends of the boards will always be in the middle of a batten.
– Remember to take precise measurements around openings, then make the corresponding cuts.
– If necessary, also cut the boards to cover the transoms, top rail, and bottom rail of doors and windows.
Good to know: store the siding boards in a weatherproof place to avoid the warping and cracking of the wood.
3. Install the first row of siding boards
Installing the rodent screen
Install a rodent screen (perforated angle) at the base of the frame. It allows for ventilation of the siding while preventing rodents from entering.
– Start by cutting the angle iron to the right length.
– Screw it to the bottom of the battens.
Installing the first row
Install the first row of boards with precision. This first row is essential because it determines the level of the entire siding.
– Lay the first board, tongue up, checking its horizontality with a spirit level.
– Fasten the board to the frame with the nailer.
– Nail a second point on the framework at an angle, in the tongue of the board.
Good to know: the rebate of the upper boards will cover these points.
– Install the next boards in the same way, regularly checking for horizontal alignment.
– Leave a slight gap between the boards to allow them to expand with humidity.
Caution: make sure that the ends of each board are in the middle of a cleat, to make all the joints between boards in support of the framework.
4. Finish installing the siding boards
– Install the siding boards with staggered joints. These allow you to use different lengths of wood.
– Be precise when cutting corners and around openings. For these cuts, it is recommended to use a miter saw.
Good to know: incoming and outgoing corners can be treated differently. Whatever the solution, always keep an open joint for ventilation.
– Place a rodent screen on the top of the frame.
– Dress window sills with siding trimmings.
Good to know: with exterior insulation, dress the interior faces of openings with siding strips.
Equipment needed to install siding on a wooden house
Wall stapler
Nail punch
Nailer
Man head nailer
Cutter
Scaffolding
Sliding square
Carpenter’s square
Mallet
Tape measure
Spirit level
Rain screen
Percussion drill
Mason’s rule
Hacksaw
Manual miter saw
Jigsaw
Dado
Wood screws
Screwdriver


One thought on “4 Steps for Installing the Siding of a Wooden House”