3 Steps to Digging a Foundation with a Mini Excavator
Summary
– Focus on renting a mini excavator
– Step 1: Locate and mark the foundation
– Step 2: Dig the foundation with a mini excavator
– Step 3: Finalize the foundation
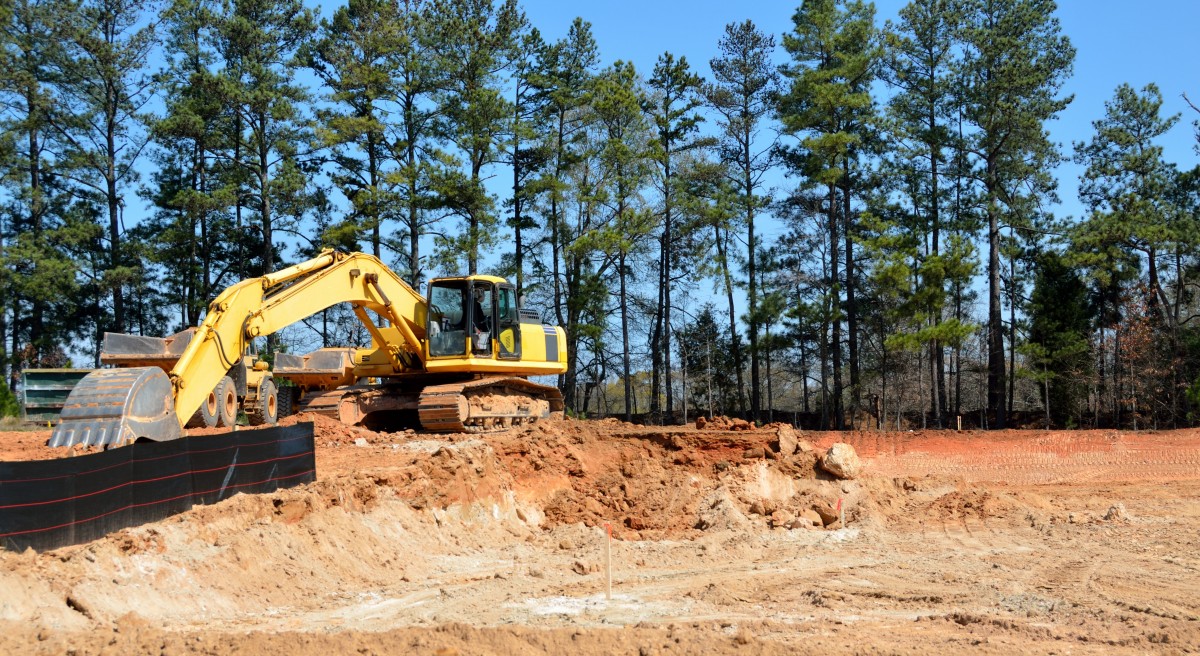
While it is possible to do your foundation with a shovel and pickaxe, for small trenches, you can rent what is called a mini excavator.
Digging a foundation with a mini-excavator requires little effort, and this machine allows you to make an excavation to the correct size and depth quickly. Here is how to do it.
Focus on renting a mini excavator
You will most likely choose to rent a mini excavator to dig your foundations. Here are some points to note to organize this rental at best:
– First of all, you should know that the rental cost does not include the cost of accessories, consumables, and transportation.
– If you have never driven a mini-excavator before, you should allow half a day to get used to it. It is, therefore, preferable to rent it for a whole weekend.
– As for the choice of the model, you should choose it according to the depth to be dug: the deeper you dig, the more powerful and heavy the machine will have to be, but this implies holding a specific license.
– So that you are not caught unprepared, bring an extra can of diesel of at least 10 liters corresponding to about 4 or 5 hours of work.
1. Locate and lay the foundation
Before you start the structural work, you should proceed as follows:
– Mark the location of your future foundation with stakes, then draw a line between them.
– Then, spread chalk over the line and remove it and the stakes.
– You can now begin work with the mini excavator.
2. Dig the foundation with the mini excavator

Now that you have the mini-excavator in hand, it’s time to dig your foundation:
– Stand facing the future trench, put the blade down on the ground at the back of the machine, and place the bucket on the ground, ready to dig.
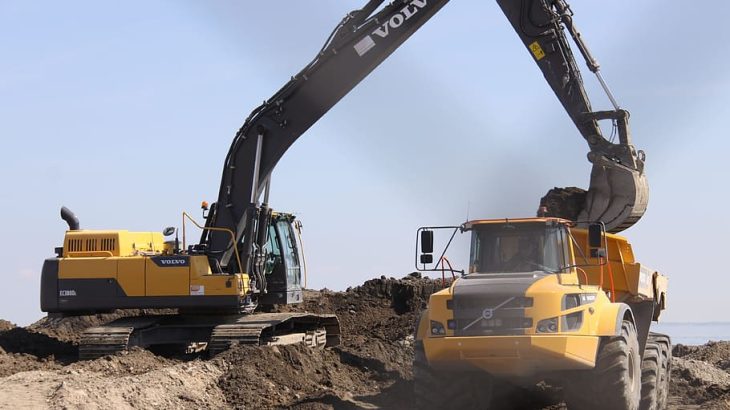
– Using the power of the arm, push the bucket teeth into the ground as you would a shovel and fold the arm and bucket to “scoop up the dirt”.
– Fold the bucket completely against the arm. Raise the bucket by operating the turret to position it to deposit the soil.
– Unfold the arm to bring the bucket to the ground and unfold it to release the soil to the ground in the defined location.
Good to know: it is essential to get the bucket into the ground before pressing the arm of the mini-excavator. This will allow you to recover the maximum amount of soil in one take.
3. Finalize the foundation
– To complete the excavation, use a shovel and a pickaxe because the bottom must be flat and the sides plumb.
– Check with the level on a rafter.
– Finish by tamping the soil.
Below is a list of materials needed to dig a foundation with a mini excavator.
List of materials needed:
Gardener’s line
Chalk
Manual tamper
Spirit level
Shovel
Pickaxe
Wooden stakes
Read more:
– 9 Steps for the Earthwork and Foundations of a Wooden House;
– 4 Steps to Make a Wall Foundation;
– Wall Rendering Simplified for You;
– How to Create an Opening in a Non-load-Bearing Wall;
Hope this post helps you dig a foundation with a mini excavator. Please, remember to leave your comments below.


Excellent information on steps to digging a foundation with a mini excavator. Thanks for providing with us! Excavator is one of the most crucial piece of heavy equipment in the construction sector or other industries. It’s necessary to pay attention to our step-by-step DIY instruction since digging a foundation is crucial for the long-term stiffness and longevity of your structure. Keep in mind that the depth of your foundation must be determined by a certified engineer.For more detailed information, visit Boom & Bucket.