11 Steps to Build a Brick Wall
Summary
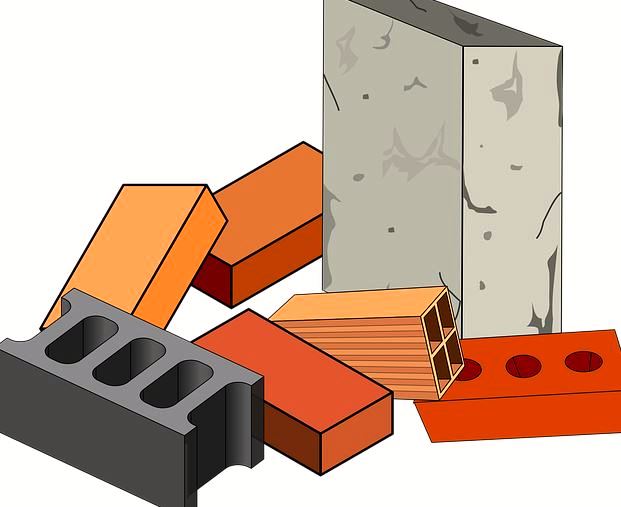
What are cinder blocks?
Step 1: Calculate the dimensions of the foundation
Step 2: Mark out the location of the wall foundation
Step 3: Dig the foundation
Step 4: Prepare the bottom of the excavation
Step 5: Pour the footing
Step 6: Mark out the wall location
Step 7: Start laying the first course
Step 8: Complete the first course
Step 9: Cut the cinder blocks
Step 10: Fill in the joints
Step 11: Assemble the remaining courses of blocks
As with all wall construction, it is essential to be thorough and prepare your worksite well to build a cinder block wall.
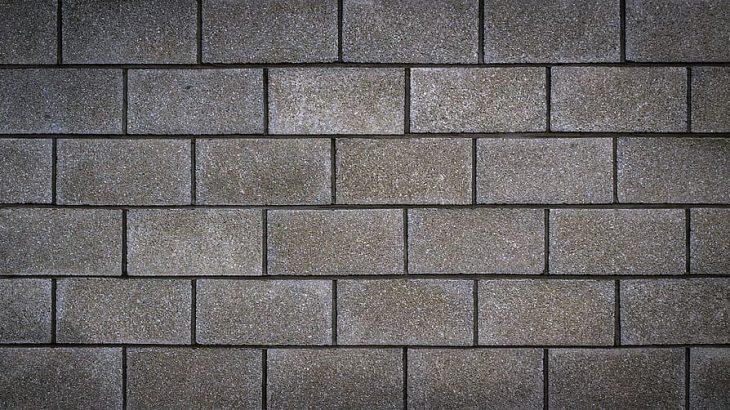
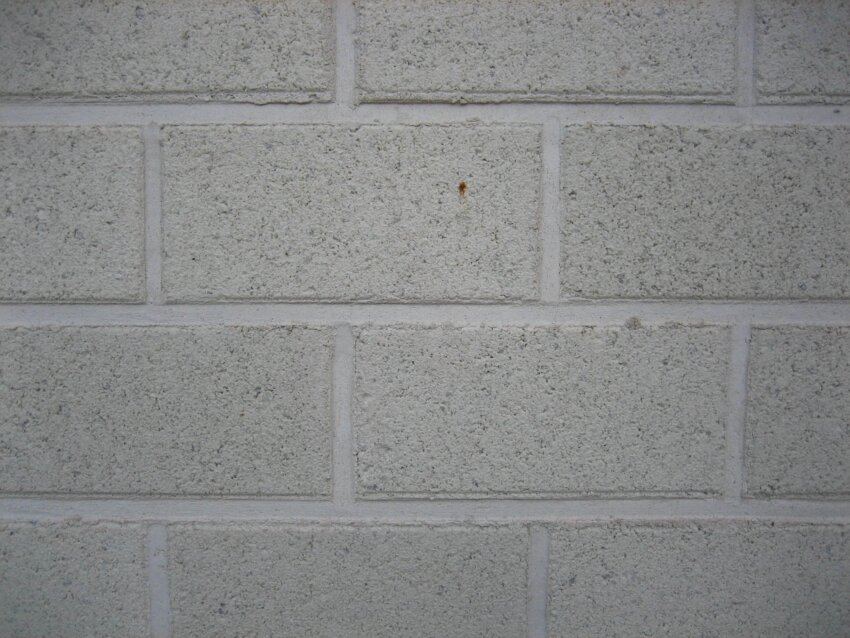
The standard breeze block, with dimensions L 50 cm × W 20 cm × H 20 cm, is a cheap and solid material used for this type of construction. It can receive all the classic finishes, such as coating or facing. Do not forget to install a cover or any other protective element to protect the wall from bad weather.
Building a breeze block wall is recommended when the weather conditions are favorable: the weather should be neither too cold nor too hot, without rain or strong winds. Here is the method explained step by step.
What are cinder blocks?
There are different types of cinder blocks to meet the specific needs of various construction projects. For the construction of a wall, we use:
– Hollow cinder blocks 50 x 20 x 20 mainly;
– corner blocks for vertical ties: these ties are put in place when the wall forms an angle or in an intermediate position (approximately every 3 m for a wall of 1.80 m);
– solid breeze blocks, possibly in the base.
It is necessary to count 10 standard breeze blocks per square meter. Before starting construction, calculate the number of breeze blocks needed, including special breeze blocks such as corner blocks.
1. Calculate foundation size
The precise calculation of foundation dimensions depends on a variety of factors related to the nature and size of the construction and the quality of the soil. This calculation can be quite complex.
Nevertheless, for the construction of a wall, we can retain two essential points:
width of the foundations: it must be greater than the width (thickness) of the wall and at least 40 cm. An average of 2 to 3 times the width of the wall is used.
For example, if your wall is 20 cm thick (using a traditional breeze block), your foundation will be at least 40 to 60 cm wide.
Foundation depth: it is always preferable to reach the frost-free zone. The depth depends on the nature of the soil, the height of the wall, and its thickness. However, for a low wall made of breeze block over a height of 2 or 3 rows, a depth of 30 cm can be sufficient.
2. Mark out the location of the wall foundation
– Before digging the foundations, it is necessary to visualize the exact location of the construction.
– Start by marking out the wall’s foundation. This step must be done with care, as the success of your project depends on it.
– Determine the location of the future wall and mark its foundations (at least 40 cm wide). Use your tape measure to check your dimensions.
– Place stakes at each corner of the foundation location.
– Connect the stakes with tightly stretched ropes.
– On the ground, mark the location with tracing powder or plaster, following the plumb lines.
You can use a mason’s square to place your stakes perpendicular to the ground.
3. Dig the foundation
– Go from the center to the edges, respecting your marks.
– If your foundations are essential, you can rent a mini-excavator (rental from $300 per day).
– As you dig, make sure that the plumb line on the outside is perfectly plumb.
Good to know: working with a shovel and a pickaxe is quite physical.
Read:5 Tips To Overcome The Post-Shoveling Aches And Pains
These checks with the plumb line are an opportunity to take breaks!
Dig to the right depth
– Level off as perfectly as possible. To help you do this, place a mason’s rule on the bottom of the foundation and place a spirit level on it. Correct the level if necessary.
Good to know: you can also tamp with a tamper or sledgehammer to level the bottom.
– If the footing is wide, place boards on the sides to act as a formwork for the footing.
4. Prepare the bottom of the excavation
Case 1: With gravel and sand
– Place gravel at the bottom of the excavation (about 4 cm for a low wall) and level it.
– On top of the gravel, place a bed of sand to level and stabilize the ground.
Case 2: With clean concrete
– Prepare your clean concrete in the concrete mixer. It is a lean concrete with a low cement content (150 kg/m3).
– The dosage of concrete and mortar is given in liters or several mason buckets.
– Pour a 4 cm thick layer of clean concrete.
– Let it dry for one day.
5. Pour the footing
– Prepare your concrete in a concrete mixer (300 or 350 kg/m3). Place the reinforcement on wedges so that it is slightly raised.
– Place the connecting brackets if there are vertical ties.
– Connect the support with annealed wire to hold it when pouring the concrete.
Pour the footing on the reinforcement.
– Smooth the concrete with a ruler to make it flat and level. This surface will serve as a base for installing the cinder blocks.
– Let the foundation dry for about a week.
Good to know: as a precaution, cover the concrete foundation with a tarp in case of rain or if it is hot and dry (to slow down the drying process).
6. Mark out the wall location
– Mark out the exact location of the future cinder block wall by placing stakes at the corners. These stakes will serve as elevation markers, i.e., as height markers. They must therefore be a little higher than the finished wall.
Good to know: if the wall is to be built over several days, check the plumpness of your stakes at the beginning of each workday.
– Drive the posts with a sledgehammer or secure them with pieces of board and bastings.
– Connect the stakes with ropes. You will use these lines to check the horizontal alignment and plumpness of the wall.
– Install the chalk line as you assemble a row of cinder blocks.
7. Start laying the first row
– Prepare your mortar in the concrete mixer. Pour a dose of mortar into your trough.
Caution: when handling the cinder blocks, use protective gloves to protect your hands.
– Determine the starting point for the installation: at the corner of the wall if there is one, or at one end of the wall.
– Spread mortar with the trowel on this starting point: spread a layer about 2 to 3 cm thick over a length corresponding to that of a cinder block.
– With the tip of the trowel, score the top of the mortar at an angle and lay your first block, cells still facing down.
– Tap the top of the block with a sledgehammer and immediately check its verticality with a plumb bob and its level with a spirit level.
8. Complete the first course
– Lay a bed of mortar after the first block.
– Lay the second breeze block like the first, leaving a 1 cm joint between the blocks and carefully following the line.
– Lay the subsequent blocks, repeating these steps. Ensure always to observe the width of the joint and regularly check the verticality with the plumb line and the level by placing the mason’s rule on the blocks and the spirit level on it.
Good to know: you can also start with the 2 ends and finish the wall in the middle (if necessary, cut the breeze block at the other end to match the length of the wall). This allows you to check the levels along the entire length of the wall.
Recheck all levels after this first row is completed; this is a crucial step in constructing your wall.
9. Cut the cinder blocks
– To complete the rows, you will need to make cuts.
Warning: before starting to cut (manually or mechanically) a breeze block, put on your safety glasses.
– To cut a cinder block manually, use a hammer; the technique is simple.
– Hold your cinder block upright, slightly tilted, on one end.
– Mark your cut around the block (usually in the middle of the block).
– Then, gradually score the cut on each side with the hammer, and the block will break cleanly.
You can opt for a mechanical cut with a cut-off wheel mounted on a circular saw.
10. Fill in the joints
– Once the first row is laid:
– Fill the vertical joints with mortar using a trowel. Let the mortar flow directly from the top of each joint.
– At the front of the wall, finish filling the joints with the trowel.
– Then scrape off the excess mortar with the trowel.
11. Assemble the remaining rows of cinder blocks
Proceed this way:
– Lay the blocks in staggered rows
– Set the height of the chalk line to the next row.
– Lay the blocks in staggered rows: start the second row with half blocks, then the third row with whole blocks, and so on.
– Continue laying the blocks row by row, always starting at a corner or end (or both ends).
– Fill and scrape the joints.
– Regularly check the wall for plumpness and level.
– Smooth the joints
– Smooth the joints with the trowel of your choice according to the desired finish:
– flat joint with the flat of the trowel;
– rounded joint with the tip of the cat’s tongue trowel;
– hollow or slanted joints with a joint trowel.
Below is a checklist of the materials needed to build a cinder block wall.
Checklist:
- Trough
- Tarp
- Concrete mixer
- Thickness gauge
- Cement
- Powder line
- Manual tamper
- Scribing square
- Plumb bob
- Thick protective gloves
- Gravel
- Protective glasses
- Hammer
- Sledgehammer
- Tape measure
- Mortar
- Spirit level
- Shovel
- Pickaxe
- Wooden stakes
- Wooden boards
- Aluminum ruler 2 m
- Sand
- Mason’s bucket
- Mason’s trowel
Hope the explanation in this post will help you build your brick wall. Remember to share your experience in the comments below.


One thought on “11 Steps to Build a Brick Wall”