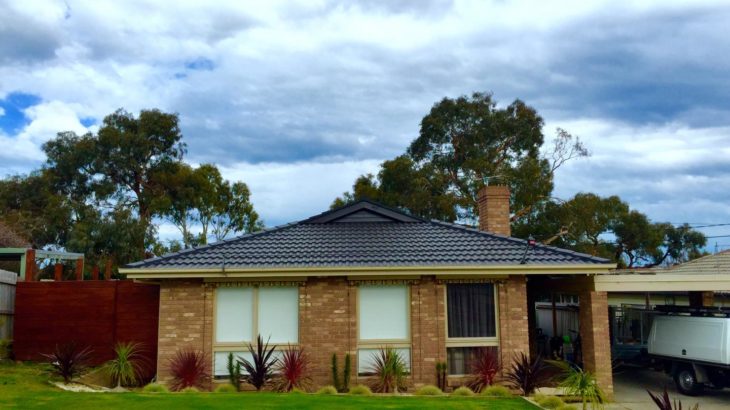
One of the most difficult part of the house to take care of is the roof, sometimes we get access to it and sometimes we are completely locked out of the roof. It is important that the roof accessible to the owner of the house as there is need for a regular maintenance and by maintenance, I mean if there’s any leakage or water accumulation. Then it can be taken care of by the best in the industry, such as ROOF-FIX who can handle any type of situation when it comes to roofing! If you want to know how to waterproof your roof, then here are some steps that you need to consider before.
First, control the interior damage as quickly as possible.
Move any items that have not yet become soaked. If furniture or other items cannot be moved, cover them with plastic sheets to protect them from the water. Collect dripping water in a leak proof container and make sure the container is on a solid surface.
Remove the water.
Begin to dry up water that has soaked into carpet and furniture. For carpeting that has become wet, you may need to pull the carpet away from the padding. Expose the backing to air and allow it to dry. This will also give the padding underneath a chance to dry, and reduce the chance that mold will grow. Circulate as much fresh air as possible around the affected areas.
Call your insurance agent.
If your living space has sustained a considerable amount of damage, call your insurance agent. Your policy may or may not cover damage to the interior from a roof leak. Do not wait to call the agent. They can usually inspect the damage within hours of your call and help you get started on the process of cleaning up or replacing your damaged contents.
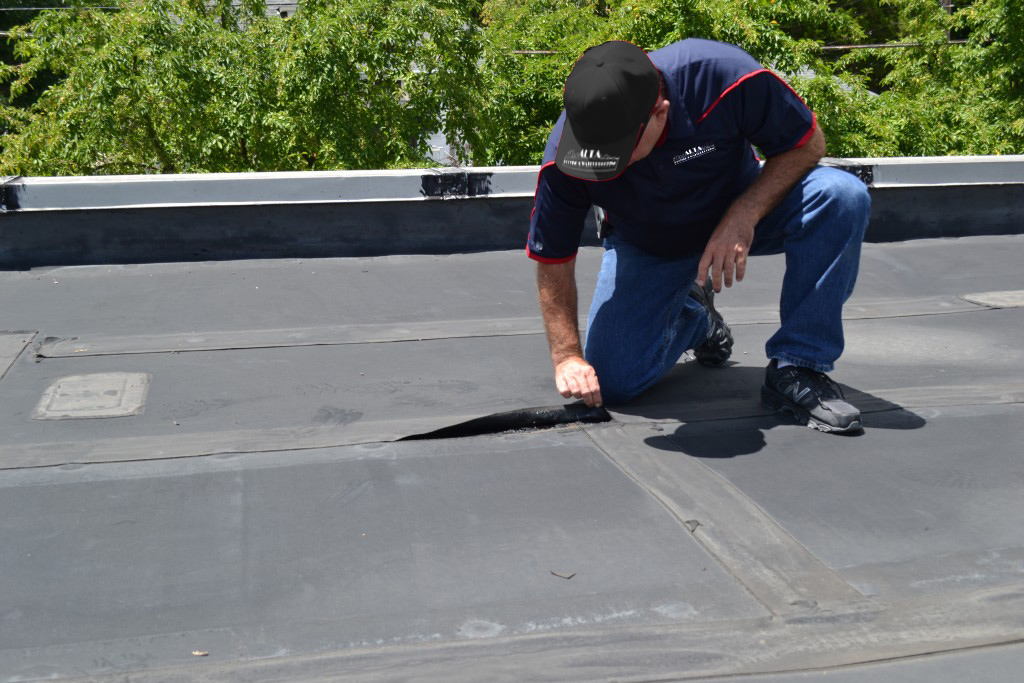
Inspect the roof, inside and out.
As soon as possible, check the roof for obvious sources of standing or pooling water. Make sure the valleys, gutters and down-spouts are clear of debris and allow the water to move freely off the roof and away from the house. Inspect the roofing materials. Make sure all parts of the underlying roof are covered with shingles, and that the water barrier is not exposed in any way. Keep in mind that the water’s point of entry into the living space may not be directly below the roof leak. Roof leaks can “travel” so inspect the entire region of the leak carefully. You may also find it useful to inspect the roof from the attic space above the living quarters. That may provide a better indication of how the water is entering the structure.
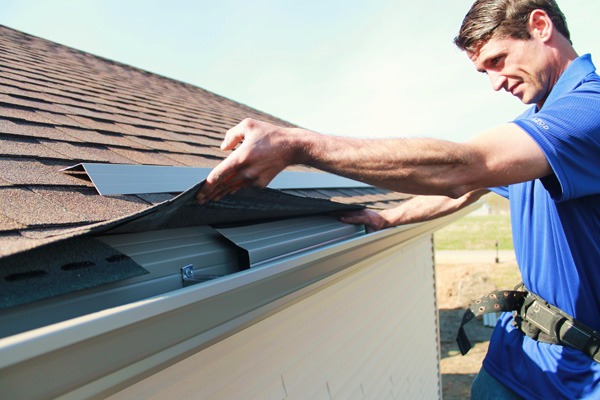
Clear the gutters and down-spouts.
Remove any obvious blockages and clear the down-spouts if they are clogged. You can often do this with a garden hose. If the down-spout is clogged, and it cannot be cleared with a hose, you may have to remove the down-spout from the gutter and clear it by inverting the down-spout or using a broom handle or other long object to push the debris out of the pipe. When it is clear, reattach it to the gutter and direct the water away from the foundation.
Inspect the flashing.
Some roof leaks are not the result of clogged gutters or down spouts. Instead, leaks occur where the roofing material is worn or damaged. In other cases, the flashing around chimneys, vents, or roof projections is damaged and allows water into the structure below. Inspect the flashing, where chimneys, dormers, vents and other attachments abut the roof. If the flashing is in poor condition, it may need to be replaced. If the sealing around the flashing is damaged, a generous application of roof tar may plug the leak.
Look for hidden damage.
Roof leaks often develop over time, so water may collect unnoticed for some time before it enters the living space. When you inspect the attic, check for any hidden damage that the leak may have caused. Look for wet spots on the roof planks or panels, discoloured wood, damaged OSB panels, strange odours and dirt on the insulation. Check the interior for bulges in the ceilings and walls, peeling paint, and badly cracked plaster or wall board. All of these are signs that something may not be right in your attic or walls.
Check for pests.
Ants and other water-loving pests will find wet wood a very attractive place to build a nest. If you experience a sudden invasion of ants, powder post beetles, pill bugs, sow bugs, earwigs or other water-loving pests, immediately look for wet wood. An exterminator can rid your house of these pests, but the only way to make sure they stay away is to remove the wet wood and remediate the problem.
Call a licensed roofing contractor.
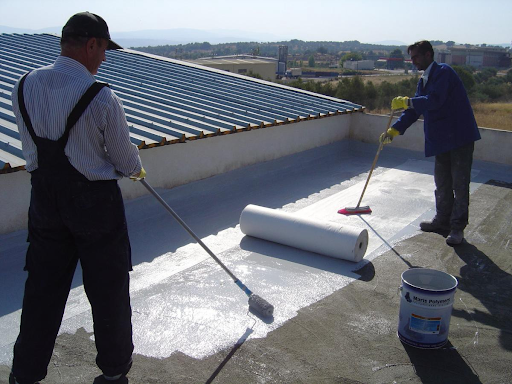
If your inspection reveals a lot of water damage, or an old roof that simply needs replacement, and if you aren’t up to replacing it yourself, call a licensed roofing contractor to repair or replace your roof. Simply re-shingling the roof will not repair most roof leaks. If the roof is leaking, the most likely cause is a breakdown of the waterproofing layer underneath the shingles. In that case, all old shingles should be torn off, and the water proofing layer, along with the shingles, should be replaced.
Re-roofing can be expensive, so be sure to get several estimates from different contractors before selecting someone to do the work. Verify that the contractor you choose is licensed, has insurance and will apply for the proper municipal permits to do the work. Do not allow the contractor to begin work on the house if permits have not been issued and make sure the contractor replaces all of the damaged wood prior to re-roofing the house. After the roof work is complete, ask the contractor to go over proper roof maintenance with you, and be sure to get a final inspection from your municipal housing authority.


One thought on “Steps in Waterproofing Your Roof”