5 Steps to Building a Deck on Stilts
Summary
– Step 1: Make a plan of the deck on stilts
– Step 2: Make the foundation for your deck on stilts
– Step 3: Prepare the support posts
– Step 4: Install the bastings
– Step 5: Install the wood decking for your stilt deck
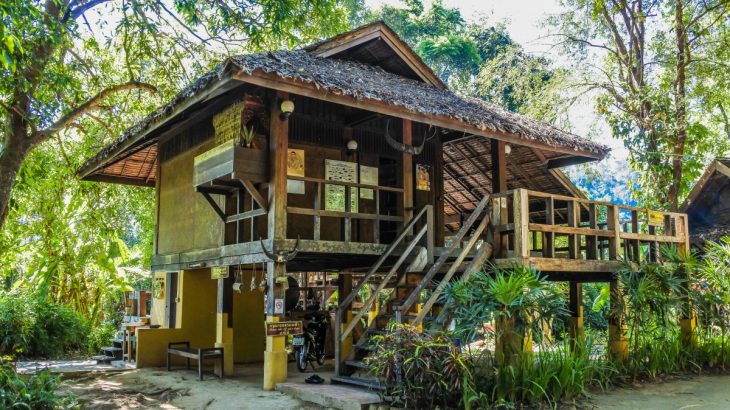
A deck is a pleasant addition to any house when it’s nice outside. A balcony on stilts adds a stylish finishing touch, and in this post, we’ll look at various methods for building a deck.
Building a deck on stilts requires some knowledge of carpentry and the use of proper tools. However, building a deck on stilts is not within reach of the novice handyman. Follow this step-by-step guide.
1. Make a plan of the deck on stilts
– Make a precise plan of the deck.
– Write down all dimensions, for example, for a 19.5 m2 rectangular deck:
◦ width: 6.5 m
◦ depth: 3 m
◦ height: 1.5 cm
Please note that a terrace with a surface area of more than 20 m2 and a height of more than 60 cm may be subject to a building permit. Find out more from your town hall.
– Calculate the number of support posts according to its surface:
◦ In the width direction: 1 post every 3.25 m approximately.
◦ In the depth direction: 1 post every 1.5 m approximately.
– Make a plan of the structure, including:
◦ the number of posts (8 × 20 section because more than 3 m between posts), here 9;
◦ the number of bastings.
2. Make the foundations of your deck on stilts
– Trace the deck’s location on the ground with a powdered chalk line.
– Mark the locations of the support posts on the ground.
– Dig a hole 40 cm deep at each location.
– Prepare the concrete.
– Pour concrete into each hole, leveling the surface and packing the concrete.
– Allow drying.
3. Prepare the support posts
– Attach the mounting brackets to each support post.
– Cut the posts to the desired height with a circular saw.
Note: The support posts must be supported and fastened to the posts.
– Notch the top of the posts according to the height and width of the bastings.
– Fasten the posts by screwing the plates into the concrete with dowels.
4. Install the bastings
– Define a slight downward slope between the posts fixed along the house and the posts located on the opposite side (outside edge of the terrace).
– To do this, cut the slope to 1 cm. This will allow rainwater to run off.
– Fasten the battens around the edge of the deck by inserting them into the notch and screwing them in place.
– Fasten the battens not supported by the posts with metal shoes.
– Check horizontality regularly with a spirit level.
5. Install the wood boards of your deck on stilts
– Fasten the boards perpendicularly with 2 screws per board on each joist.
– Leave a space of 3 to 8 mm between the boards.
– Cover the entire deck.
Note: It is essential for safety to install a guardrail around your deck. This can be made of wood or glass, depending on the location and the daily presence of children. Adapt your railing to the use of the deck.
Materials needed to build a deck on stilts
Concrete ready to use
Concrete mixer
Wood chisel
Expansion dowels
Spirit level
Paper + pencil
Shovel
Fixing plates
Wooden post
Circular saw
Wood screws
Screwdriver
Read more: What Is Stilt House Construction?


One thought on “5 Steps to Building a Deck on Stilts”