3 Steps for Laying Tiles on Blocks
Summary
– Step 1: Remove the soil
– Step 2: Laying the blocks
– Step 3: Laying tiles on the blocks
Tiling on blocks is an alternative to traditional tiling. It has many advantages:
– Thanks to the adjustable height of the studs, it can be used to run pipes underneath, recover height, and create terraces on uneven surfaces without pouring a concrete slab.
– But it can also be placed on a concrete slab.
– It is possible to walk on it as soon as the installation is finished, and it does not require joints.
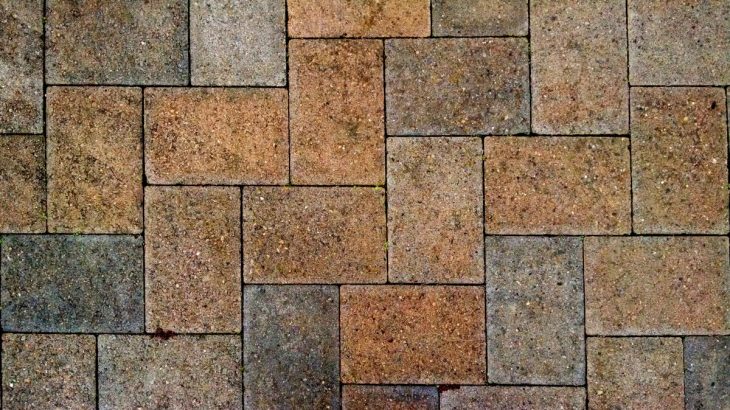
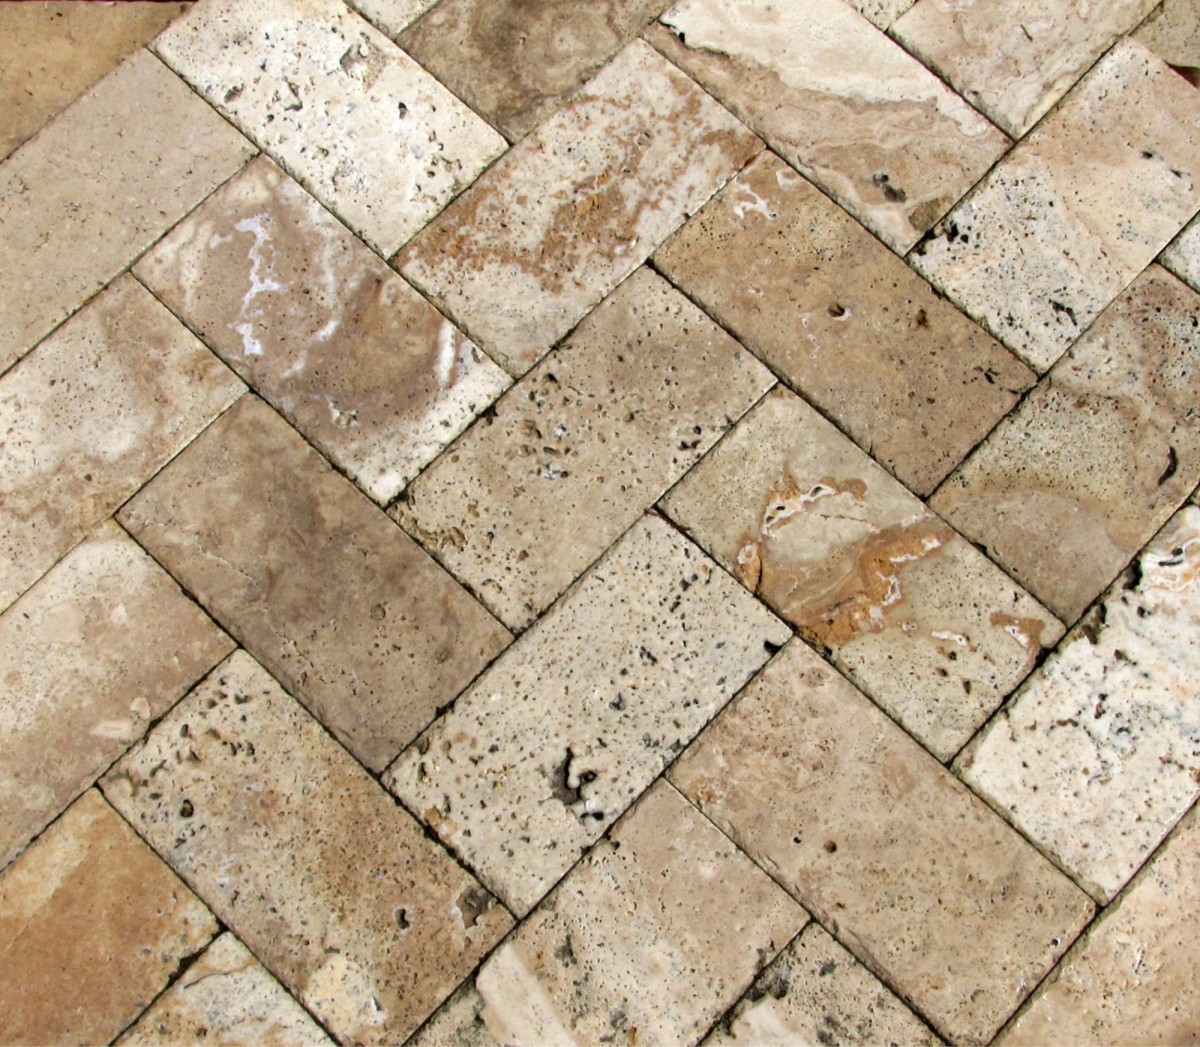
The tiles are thicker than traditional tiles to prevent them from breaking when walked on.
Here’s how to lay tiles on blocks.
1. Loosen the soil
Loosening the soil will level your deck and the ground. It is necessary if the surface to be tiled is located outside on the ground. Otherwise, go directly to step 2.
– Use stakes and string to mark off the area to be tiled.
– Loosen the earth to a height that includes the height of the stakes + the thickness of the tiles + 3 cm.
For example: if the stakes are at least 10 cm high and the tiles are 2 cm thick, then the soil should be removed to a depth of 15 cm.
– After removing the soil, place geotextile film at the bottom of the excavated area so that weeds do not grow between the tiles.
– Spread fine sand over the film to a thickness of about 1 cm and pack it down with a shovel.
2. Lay out the studs
Before you start, calculate the area to be tiled to determine the number of tiles and studs needed.
– Start by placing the blocks along one wall, spacing them the width of your tiles along the entire length of the planned deck. If there is no wall along the tile, place your blocks at the edge of the area to be tiled.
Note: For your tiles to run along the wall correctly, it is necessary to cut one side of the base of the studs so that they are placed as close to the wall as possible.
– Lay the second row of studs spaced the width of your tiles along the entire length to be tiled.
– Continue until you have covered the entire area to be tiled.
3. Lay the tiles on the studs
Now that the surface is ready, tiling is all you have to do.
– Start by laying the first tile in a wall corner or on one end of the first row. The tile should rest on the studs between the spacers used to align them.
– With a spirit level, adjust the height of your studs to ensure the tile is flat.
– Place the second tile on the right or left side of the first. Adjust its height with the first tile by adjusting the height of the studs. Check its level.
– Continue in this manner for the entire first row.
– Move on to the second row. Start with the side along the wall.
– Lay a tile, adjust the height with the tiles in the first row and check its flatness with a spirit level. Readjust if necessary.
– Continue until the entire surface is tiled.
Note: It may be necessary to cut the last tile across its width. If this is the case, use a grinder with a disc suitable for tile.
Tip: If the last studs in the front are visible, it is possible to hide them by placing tiles vertically along the edge of the terrace. To do this, fixing brackets are available for sale, which rest on the studs. They allow to hide the studs and offer a nice finish.
Materials needed to install tiles on studs
Pencil
Geotextile felt
String
Tape measure
Diamond disk grinder
Spirit level
Shovel
Pickaxe
Wooden stakes
Sand


