4 Steps for Laying Tiles on Sand
Summary
Step 1: Remove the soil
Step 2: Make a sand bed
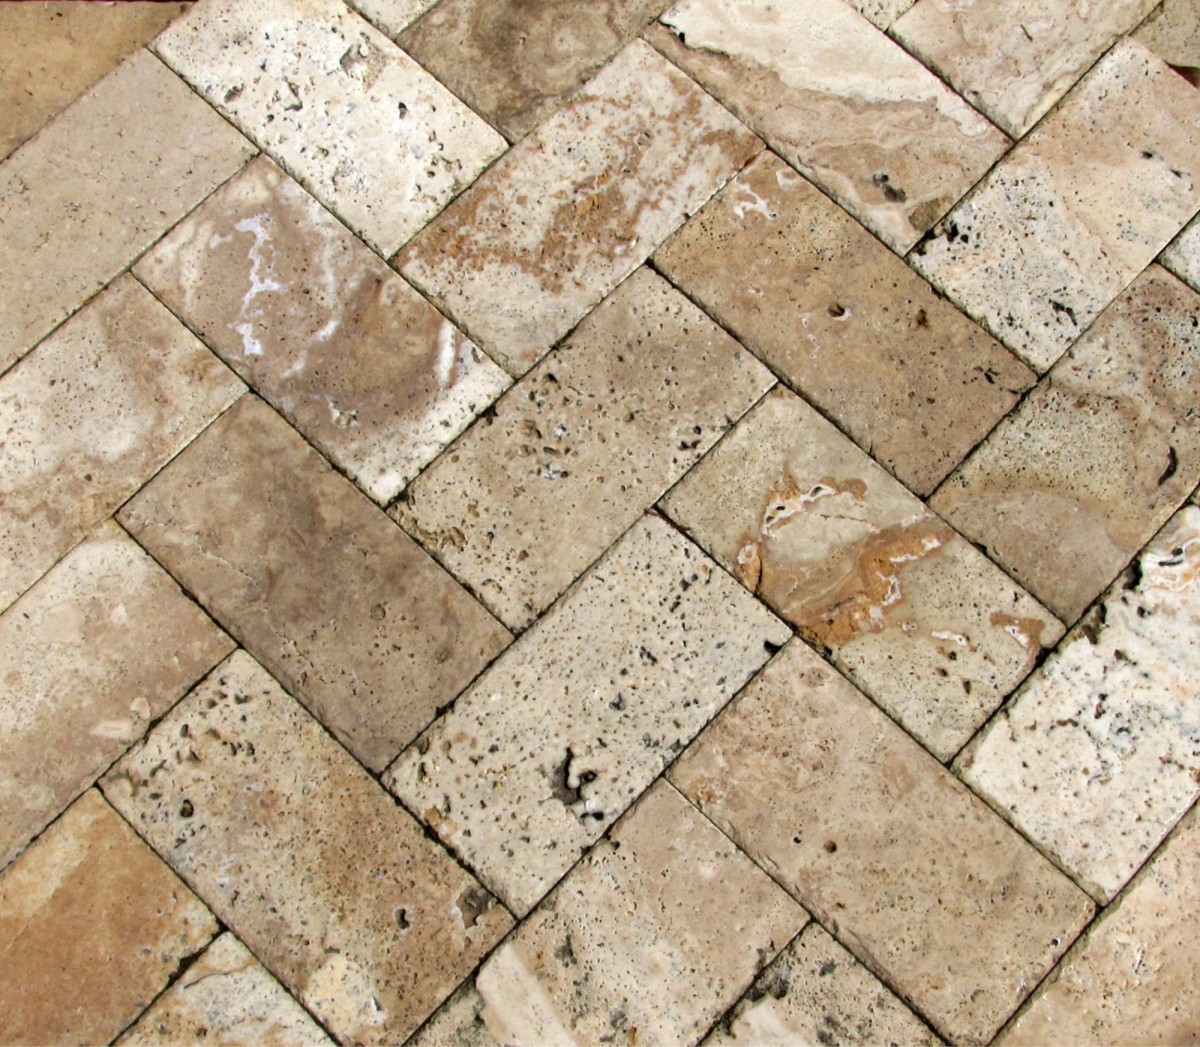
Step 3: Lay the tiles on the sand
Step 4: Stabilize the tiles with sand
Would you like to create a terrace or a path in your garden? Whatever the shape and size of your patio or driveway, a bed of sand is necessary to ensure that the tiles are perfectly stable. This post will tell you how to lay tiles on sand for aesthetic results.
Here is a short list of the materials needed to lay tiles on sand:
- Broom
- Wooden wedge
- Cutter
- Manual tamper
- Geotextile felt
- Rubber mallet
- Diamond disc grinder
- Spirit level
- Shovel
- Rake
- Mason’s rule
- Sand
- Drawer
1. Remove the soil
Your patio or walkway must be level with the lawn for an aesthetically pleasing look. To do this:
- Dig the entire bounded area to a height of at least 10 cm.
- Remove the soil.
- Tamp the area with a wide, flat tamp to create a flat, even surface.
- Cut strips from a roll of geotextile film and unroll them over the entire area to limit grass growth between the tiles.
Tip: Overlap the geotextile film strips by about 10 cm.
2. Make a sand bed
- Place cleats to the right and left of the surface to be paved.
- If necessary, place wedges under the cleats so that the height of the cleats added to the height of the tiles equals the level of the lawn.
Tip: If the width of the area to be paved is greater than 2 m, install several intermediate cleats and then level them with the previously installed cleats.
- With a shovel, spread sand on the geotextile film, taking care not to offset the cleats.
- Pack the sand with a flat, wide tamper, ensuring that the sand is slightly higher than the cleats.
- With a mason’s rule, level the sand by leaning on the cleats.
- When the surface to be paved is completely sanded and leveled, remove the cleats and fill the void with sand.
Tip: Use a board to walk on the sand to avoid leaving footprints.
3. Lay the tiles on the sand
- Lay the first tile on the sand bed, starting at a corner.
Tip: If your tiles run along a wall, start with a corner in contact with the wall.
- Lightly tap the slab with a rubber mallet.
- Using a spirit level, check the plumbness of the tile and adjust it with the rubber mallet if necessary.
- Next, lay the adjacent tile and level it to the first.
- Finish your first row by cutting the last tile with a grinder equipped with a stone wheel, if necessary.
- Then proceed to the second row of tiles in the same manner.
4. Stabilize the tiles with sand
When all your tiles are laid, they must be wedged together:
- Place fine sand on top of the laid tiles.
- With a broom, move the sand to the gaps between the tiles.
- When the gaps are full of sand, sweep the excess sand from the deck.
Now you can build your new deck and enjoy the outdoor space! Did you find this post interesting? Remember to jot down a few words in the comments below and share your experience about laying tiles on sand. Also, please do let us know if you would like to read something more specific, and we’ll try our best to bring you the relevant information.


