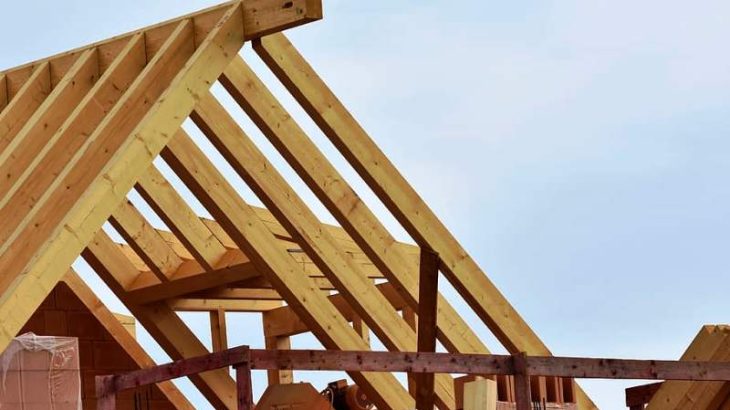
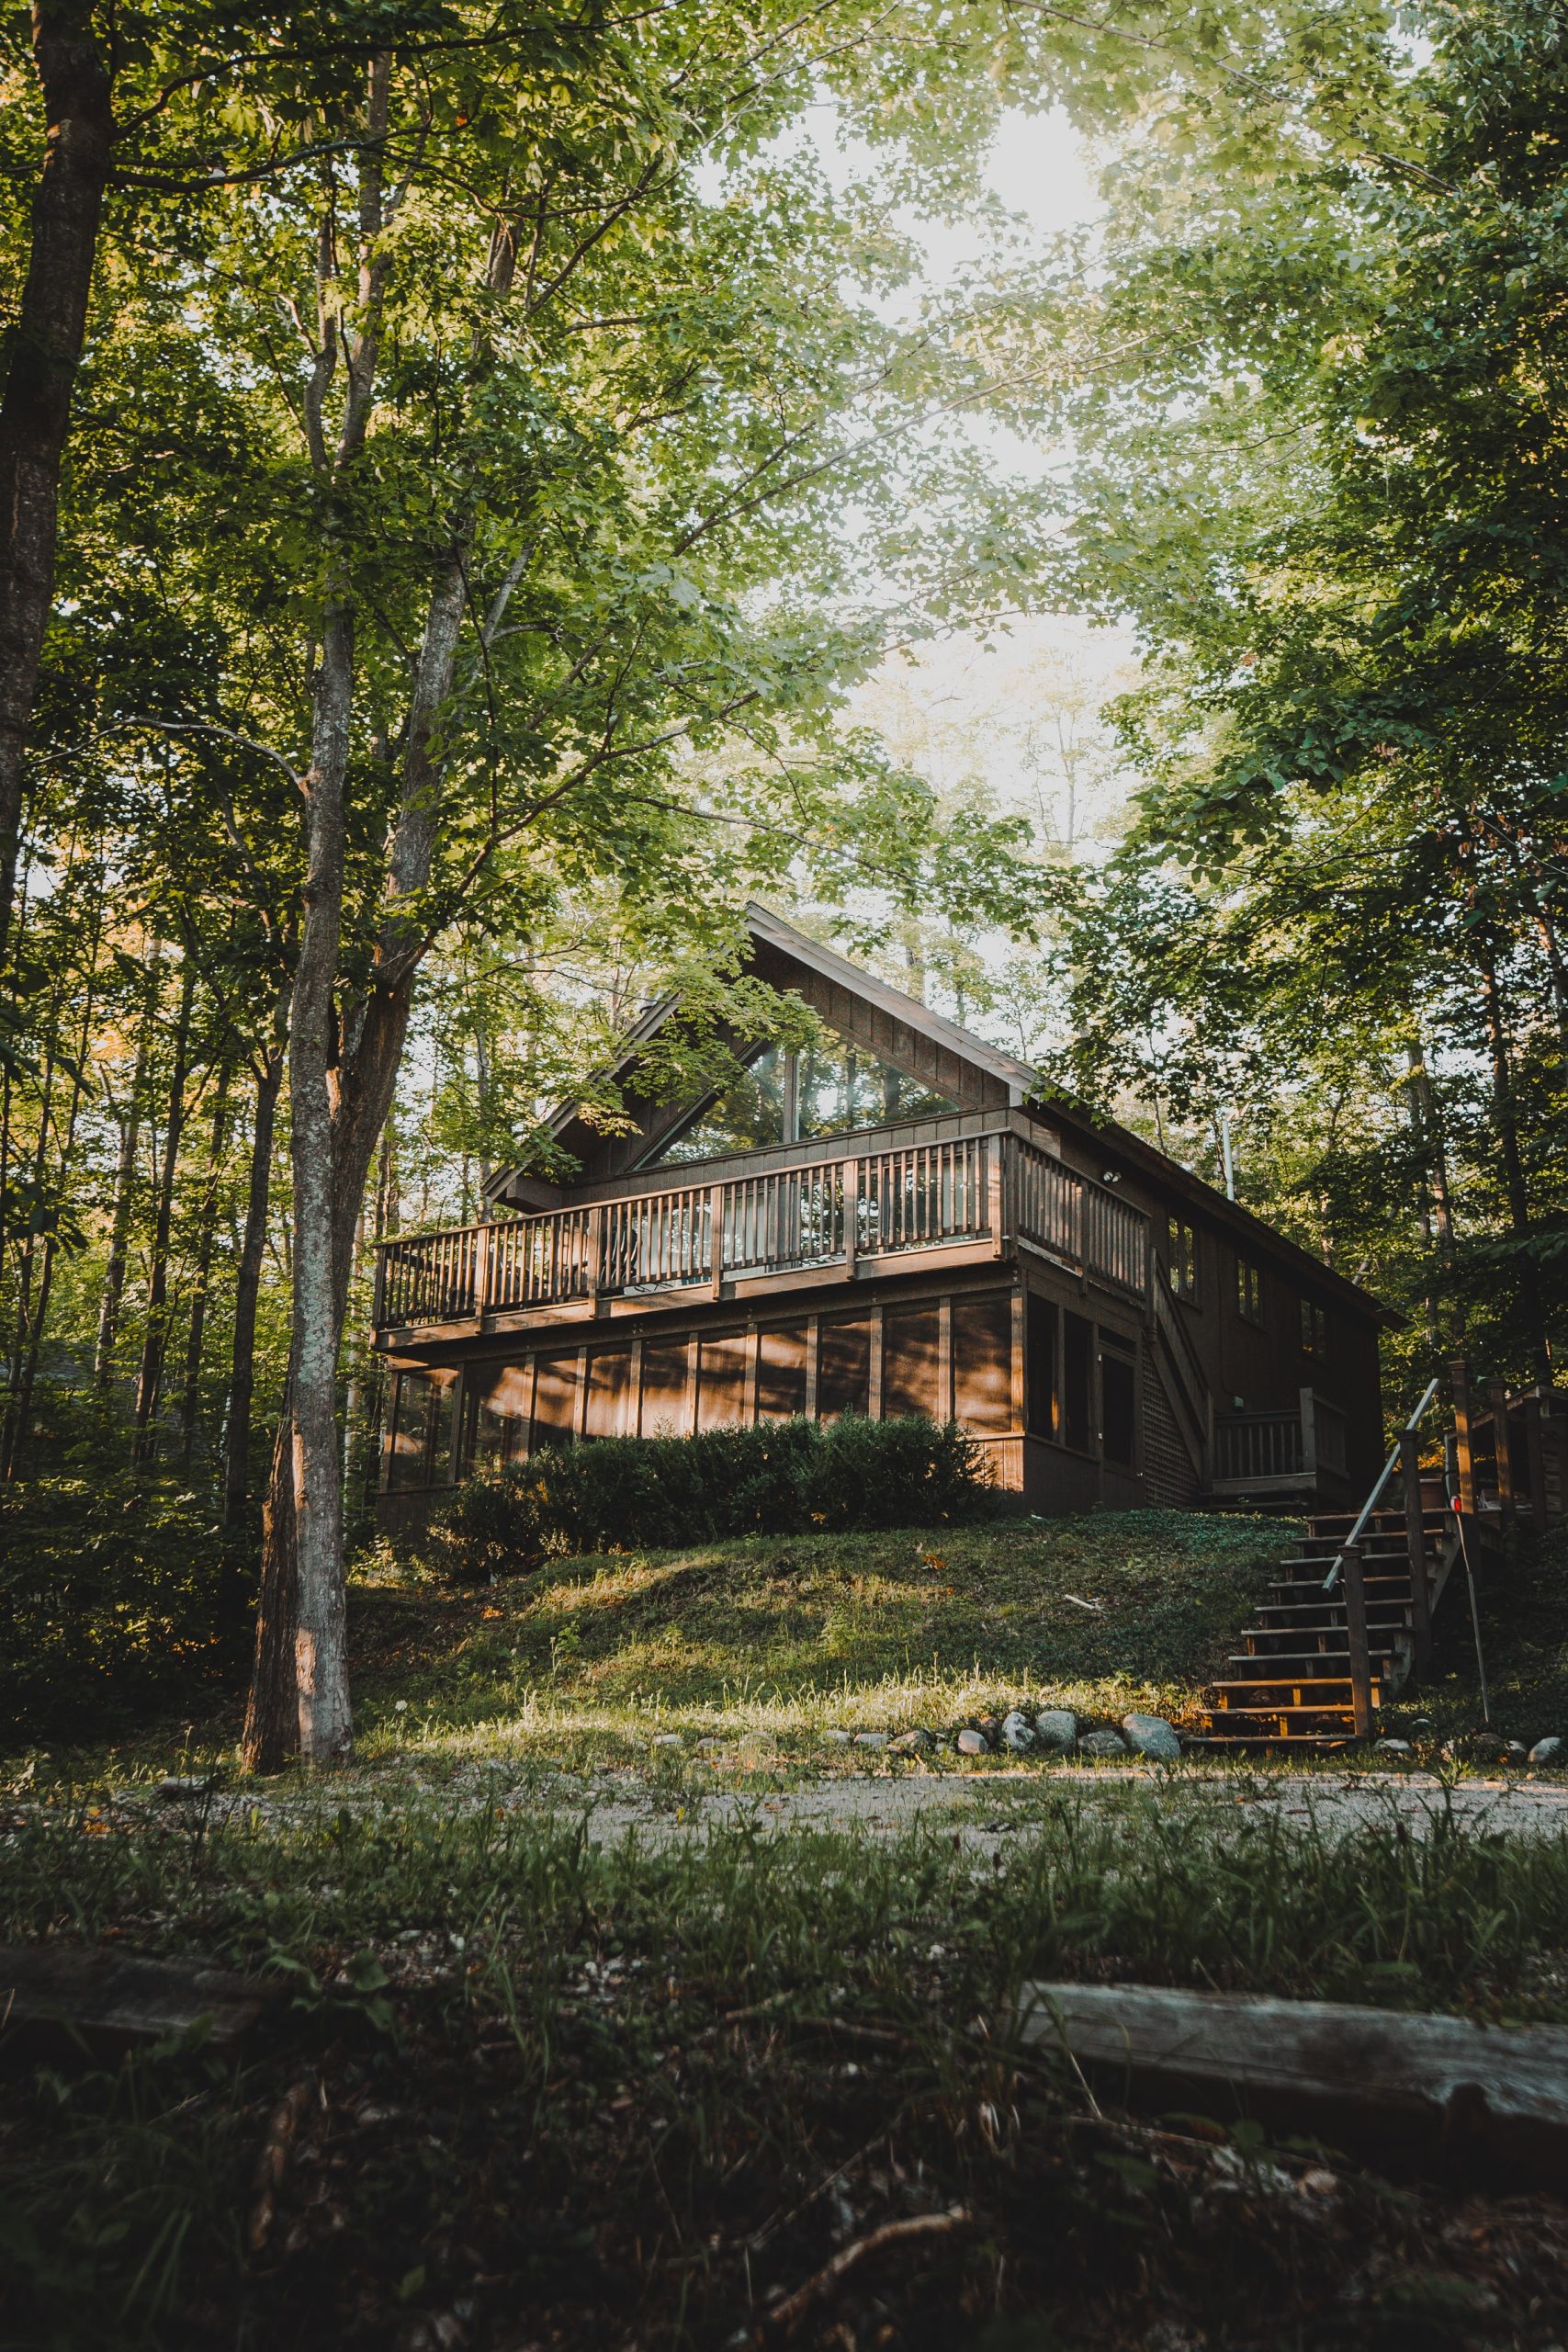
The frame is a device integrated into the roof of the house. It is usually made of wood or metal. It not only supports a house but also covers it. Technological advances in the field of construction have allowed various types of frameworks to emerge. This is the case, for example, of the 2-sided frame. In this article, you will discover 5 steps to follow in order to properly build a 2-sided roof.
1. Call in a specialist
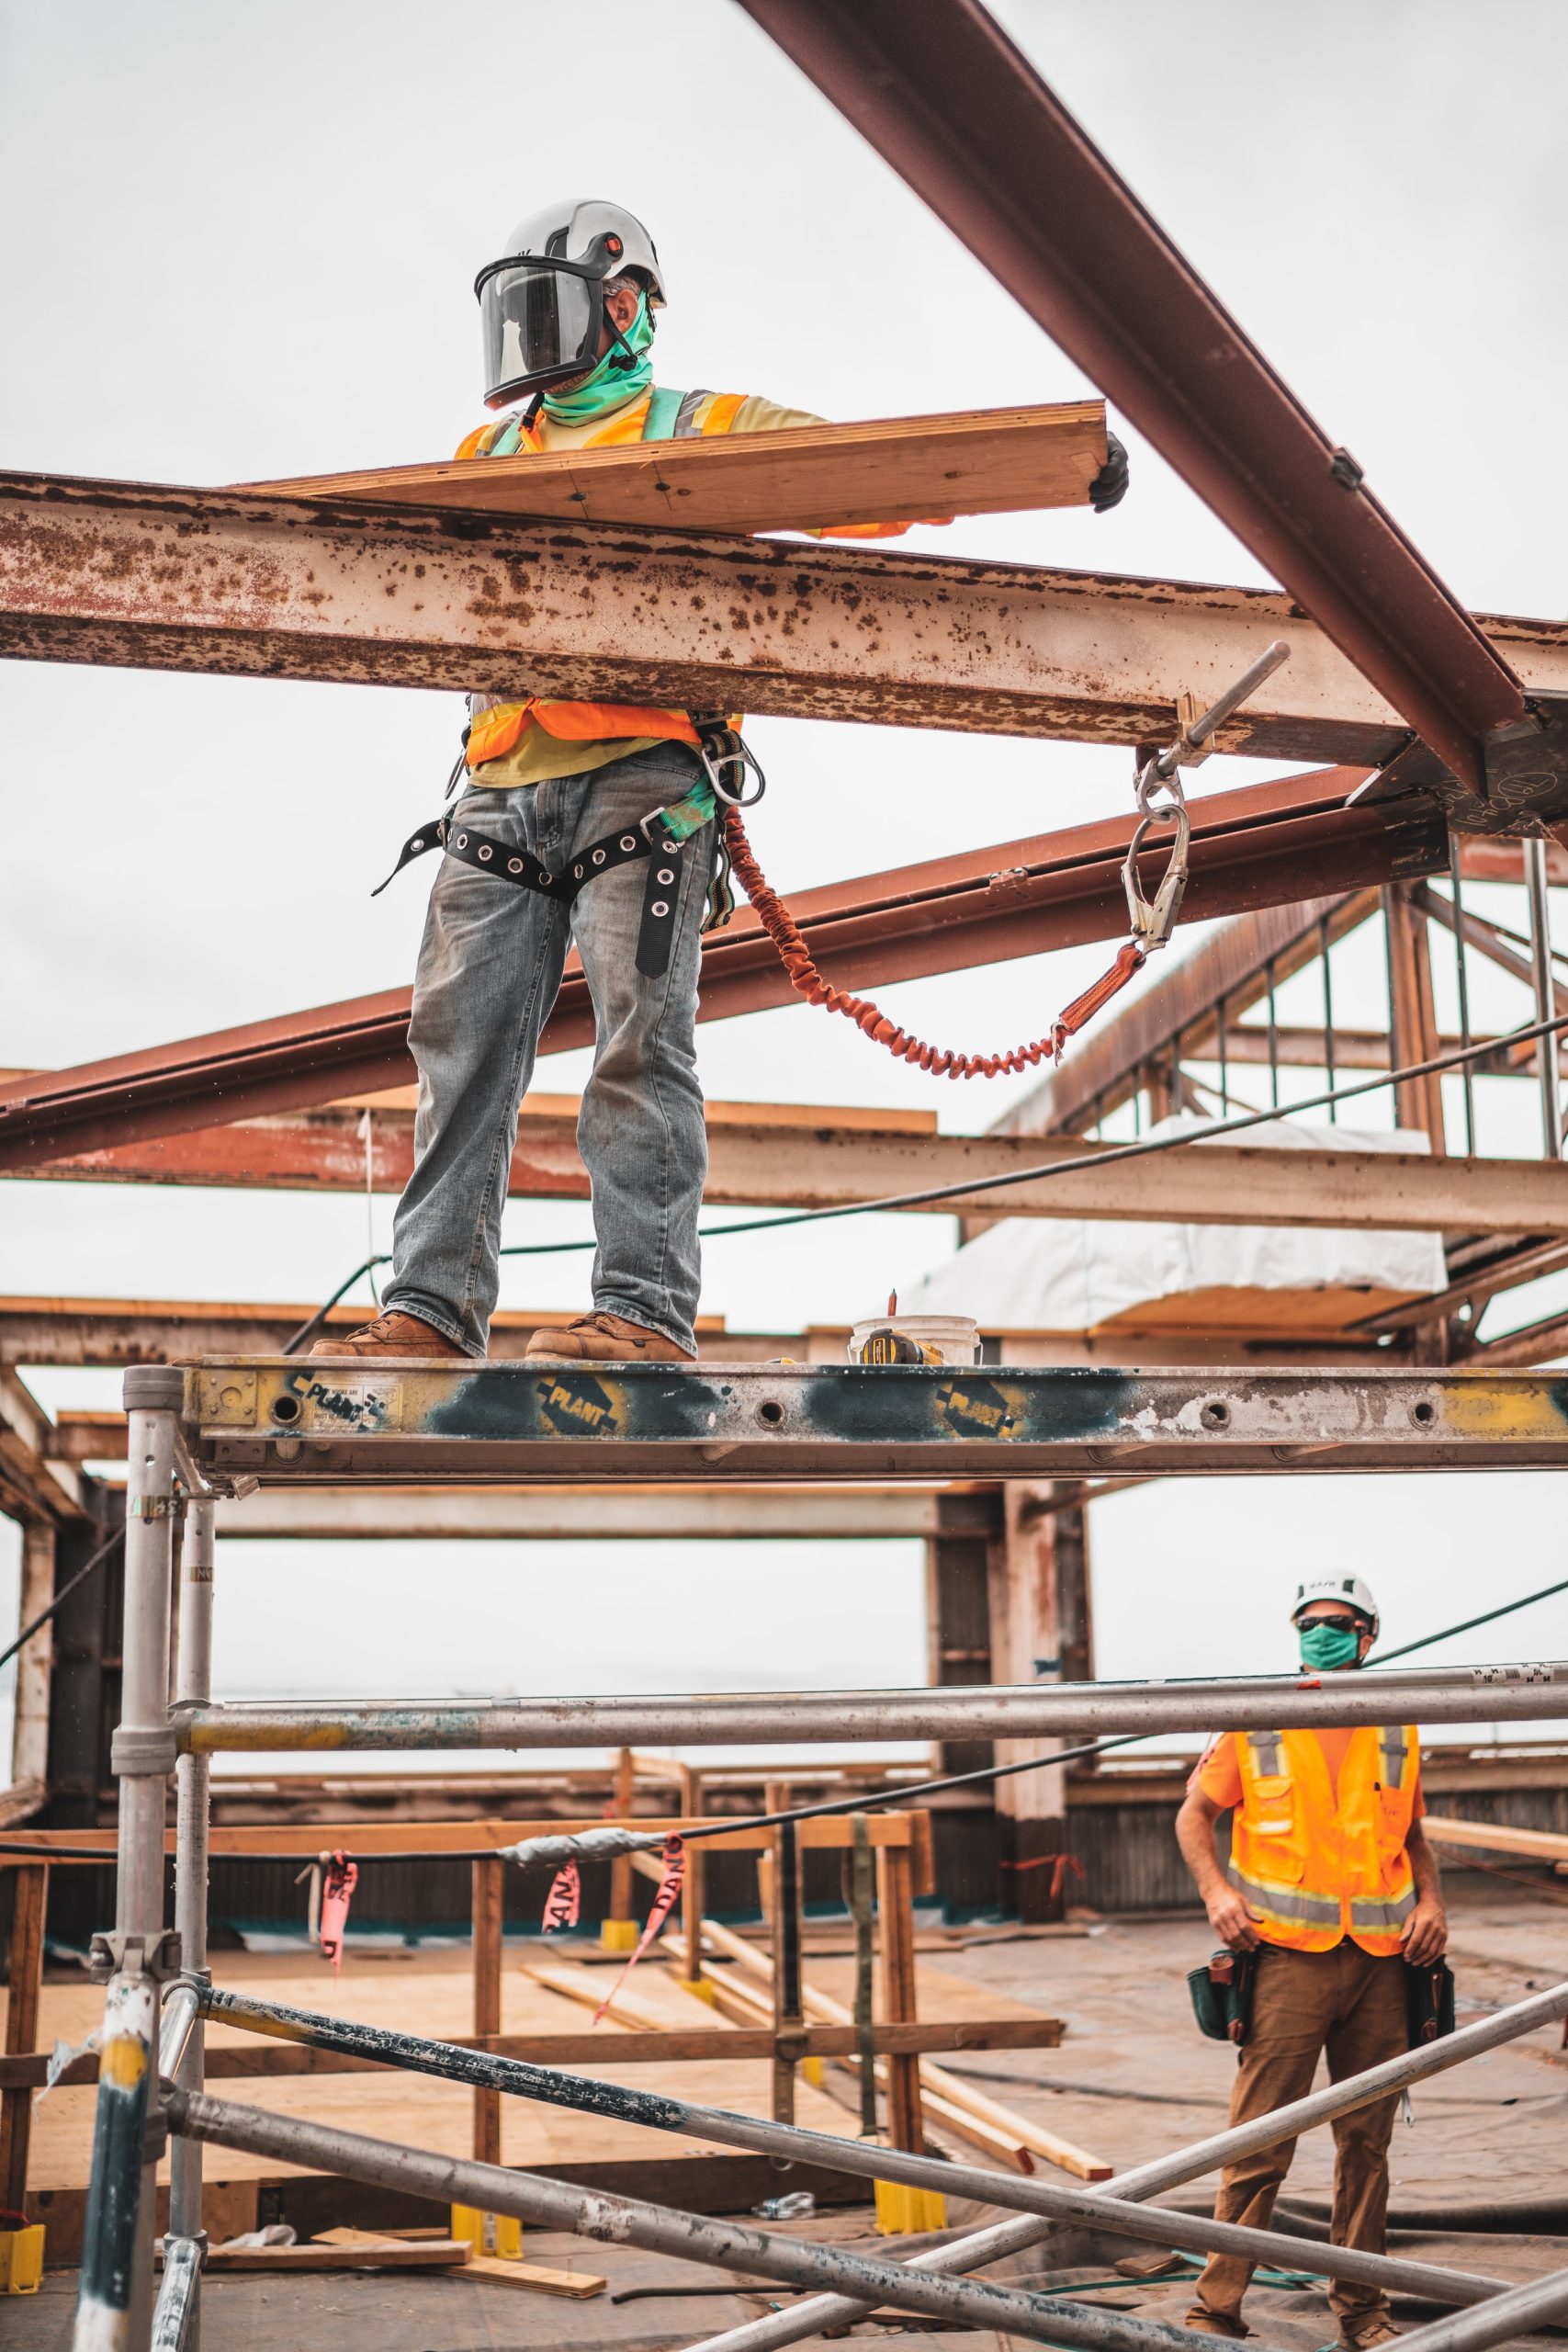
The assembly of a frame is not an easy task. Indeed, it requires particular know-how. Therefore, calling in a professional is the best thing to do. The specialist knows well the procedure to follow for such an assembly. He is also equipped with the right material to accomplish this task. This allows you to be more efficient when doing your assembly work.
The frame of a house is of paramount importance. As stated above, it acts not only as a roof but also as a support for a house. In order to avoid future inconveniences, you should leave this task to the expert. Thanks to his experience, he will allow you to take possession of your roof in the shortest possible time. This is ideal for you.
2. Prepare the rafters of the frame
This is one of the most important steps in the process of erecting a gable roof. It is important to note that this is a fairly complex step. Indeed, you will have to make several dozen rafters. To do this, you will have to make several cuts. These cuts must be made in a meticulous manner for fear of distorting the arrangements of the frame later.
To make the cut, it is advisable to make a very first rafter. You will only need to use this one as a guide for the next step. By using this process, you will gain speed. It is recommended to have a saw to make the various cuts.
3. Draw the rafter centers
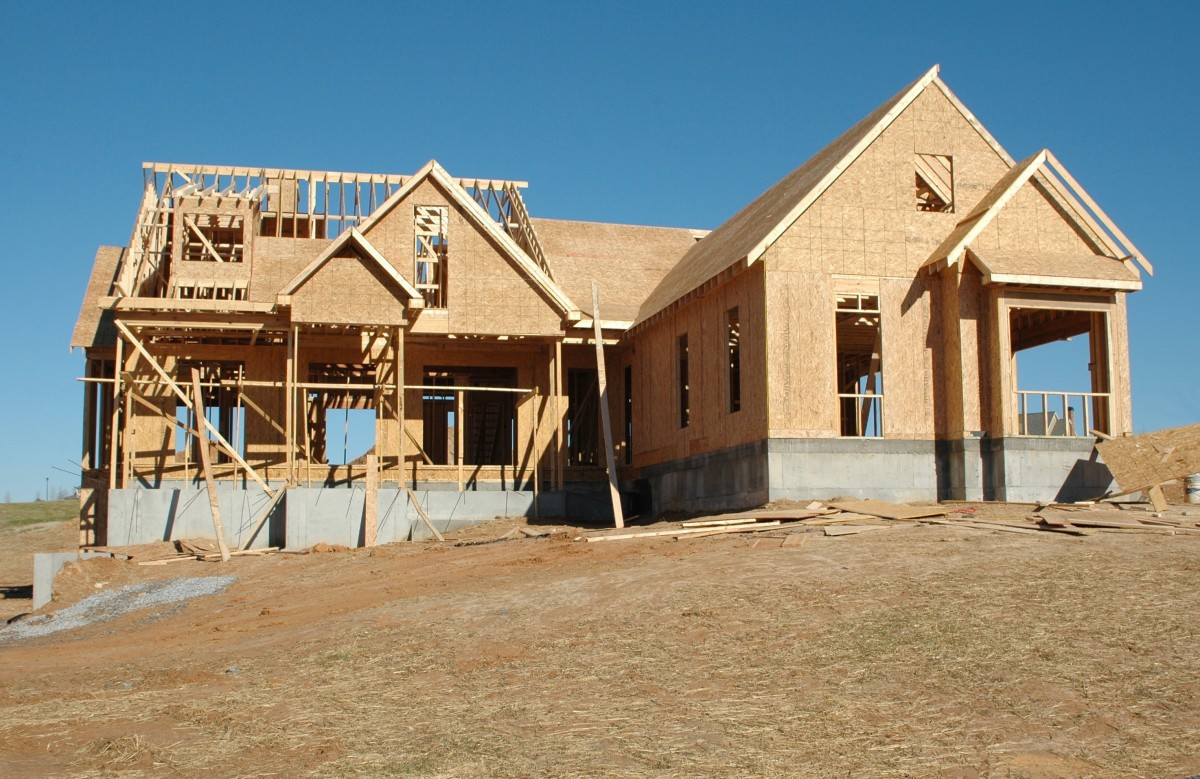
After preparing the rafters, you will now have to draw the centerlines of the rafters. This involves cutting the ridge purlin and the top plate. Make sure that these two elements are the right length. Once the centerlines have been traced, they must be transferred. It is important to note that this task is not always easy. Ask for help if you have any problems.
4. Proceed to the installation of the ridge purlin
This is the next step after the rafter spacing. The ridge purlin is mounted on the housing, making gables to be more precise. The handling of the ridge purlin is quite difficult when working at height. Indeed, the latter is relatively heavy. Therefore, it is recommended to get help. The purlin must be fixed to the gables with screws or nails.
5. Mounting the rafters and installing the partitions
The installation of the rafters is an important step in the process of assembling a gable roof. To properly install the rafters, a certain methodology must be followed. It is recommended that the first rafter be attached from inside the ridge purlin. As for the second rafter, it should be fixed on top. Then, it is necessary to proceed with the screwing.
When screwing, it is necessary to use a clamp. This will block the rafter during the screwing. As for the bottom of the rafter, it will be fixed at the barley grain level. Once all this is finished, it is now time to install the partitions. In summary, we remember that the assembly of a gable roof is not easy. Indeed, it is necessary to follow a well-defined procedure.
Sound off in the comments section below and tell us what you want to read next and if you want to read more about building a roof.


