How to Create an Opening in a Non-load-Bearing Wall
Summary
– Step 1: Determine the nature of your wall
– Step 2: Mark the location of the opening
– Step 3: Protect the work area
– Step 4: Equip yourself with protection
– Step 5: Case 1: Open a gypsum board wall
– Step 5: Case 2: Opening a gypsum board or aerated concrete wall
– Step 5: Case 3: Open a brick or cinder block wall
– Step 6: Clear away the rubble
– Step 7: Install the lintel
At first, glance, making an opening in a non-load-bearing wall is a quick and easy operation that presents few difficulties. However, you must proceed with caution and take certain precautions.
Here is a step-by-step guide to creating an opening in a non-load-bearing wall and opening up your space.
Equipment for creating an opening in a non-load-bearing wall
Hammer
Chisel
Sledgehammer
Diamond disk grinder
Hand saw
Protective mask
Thick protective gloves
Protective goggles
Tarp
Rubble bags
1. Determine the nature of your wall
First of all, you must verify the nature of your wall. Is it a load-bearing wall or a simple partition? Answering this question is not easy because observation with the naked eye is not enough.
If it is not possible to consult the construction plan of the house or apartment, then call a building professional or an architect.
Do not rely on the thickness of the wall because even if a partition is not more than 8 cm in most cases, this criterion can be misleading.
To be sure, tap the wall with your finger:
– If it is a load-bearing wall, you will hear a dull sound.
– If it is a wall, you will hear a hollow sound.
Caution: opening a load-bearing wall requires expertise and more consequent means; otherwise, the structure of the building may be endangered. A professional guarantees a well-conducted work site and the integrity of the building!
2. Mark out the location of the opening
– Draw the location and dimensions of the opening you plan to make.
– Locate the possible passage of electrical cables or pipes.
– If this is the case, you must move them and think about their future location, then update their course with a chisel and hammer to avoid damaging them.
3. Protect the work area
– To keep your furniture free of dust, cover it with a tarp or, better yet, remove it from the room.
– Lay out old sheets or even blankets on the floor, depending on the fragility of your covering.
– Even if your opening is small, dust will get everywhere, so tape plastic sheeting around doors to other rooms to protect the rest of the house.
4. Equip yourself with protection
– Think about your safety, equip yourself:
◦ gloves;
◦ goggles (there are many splashes);
◦ masks (several will probably be necessary);
◦ high shoes (you will be moving among heavy and sharp blocks or pieces of wall, you must also protect yourself from their fall).
– Keep non-participants and children away from the worksite.
5. Case 1: Opening a plasterboard wall
Opening a plasterboard wall is simple:
– Make the opening with a saw.
– Remove the panels.
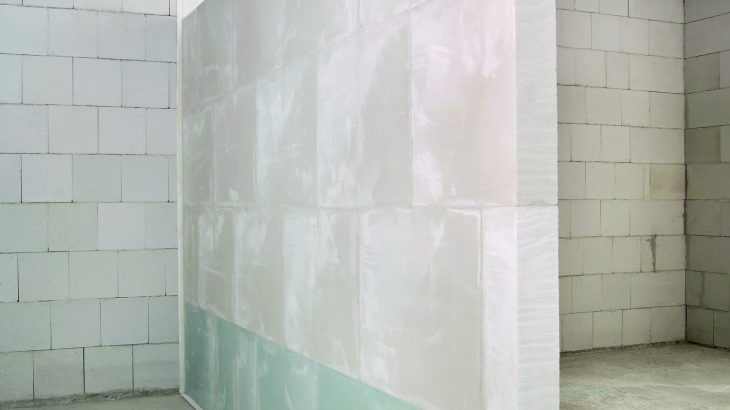
5. Case 2: Opening plasterboard or aerated concrete wall
For an aerated concrete or plaster tile wall, you will need a chainsaw:
– Practice the opening with the disc saw.
– Remove the wall covering from the wall.
– Hit the joints of the tiles with a sledgehammer.
– Remove the masonry.
5. Case 3: Opening a brick or cinder block wall
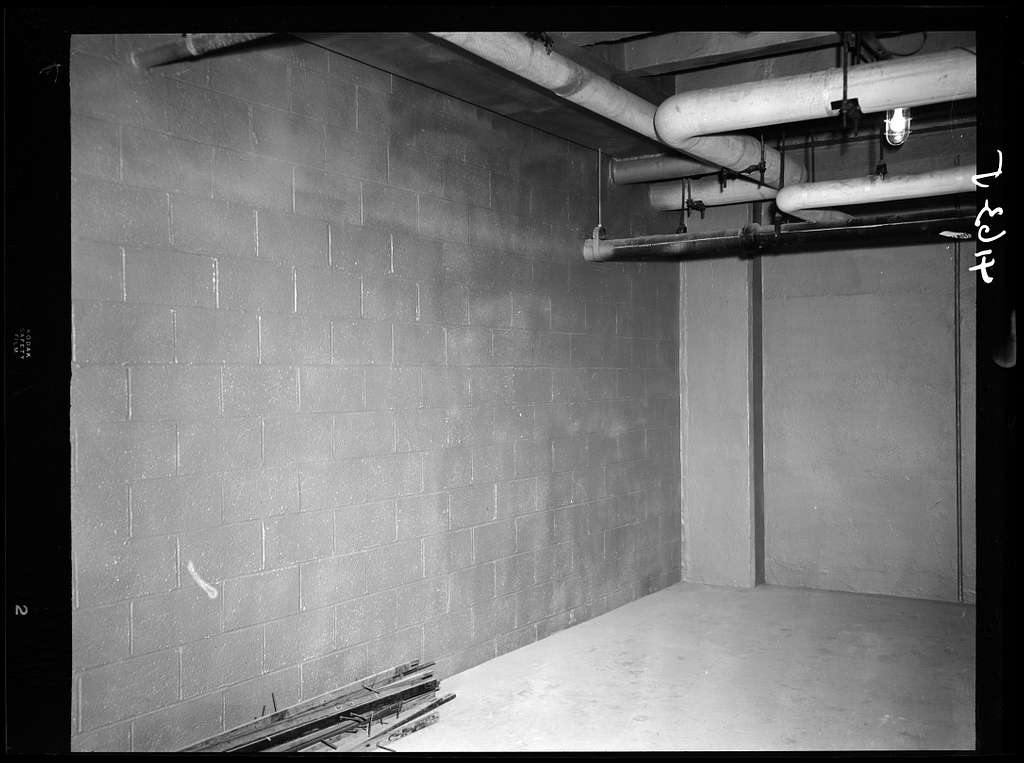
For brick or cinder block:
– Practice the opening with the disk saw.
– Use the hammer and chisel to loosen the bricks or cinder blocks (start at the top of the wall).
– Sledgehammering the wall is a faster solution but will generate more chips and dust and weaken the entire wall.
6. Remove the rubble
Once your opening is complete:
– Take all the rubble to the nearest waste disposal site.
– Make sure you have a lot of big bags because the volume is always bigger than expected!
7. Install the lintel
The purpose of the lintel is to reinforce the wall above the opening: its section must be adapted to the thickness of the wall and the load it supports.
This lintel can be made of concrete, wood, or steel. This stage of the project requires precise knowledge of masonry. If you don’t have them, contact a professional.
– Trace the location of the lintel on the wall, making it protrude about 20 cm on either side of the opening (use a spirit level).
– Use the same tool you used to enlarge the wall opening.
– Dust the inside of the hole.
– Present the lintel.
– Seal the lintel.
Attention: the sealing of the lintel depends strongly on the nature of the lintel and the support. Each case requires a serious study to be conducted by a professional.


