
9 Steps to Install Glass Blocks
Summary
– Before installing glass blocks
– Step 1: Determine the location
– Step 2: Attach profiles and expansion joints
– Step 3: Make a mortar bed
– Step 4: Lay the first glass block
– Step 5: Lay the first row
– Step 6: Reinforce the structure
– Step 7: Lay the second row of glass blocks
– Step 8: Install the finishing profiles
– Step 9: Make the joints
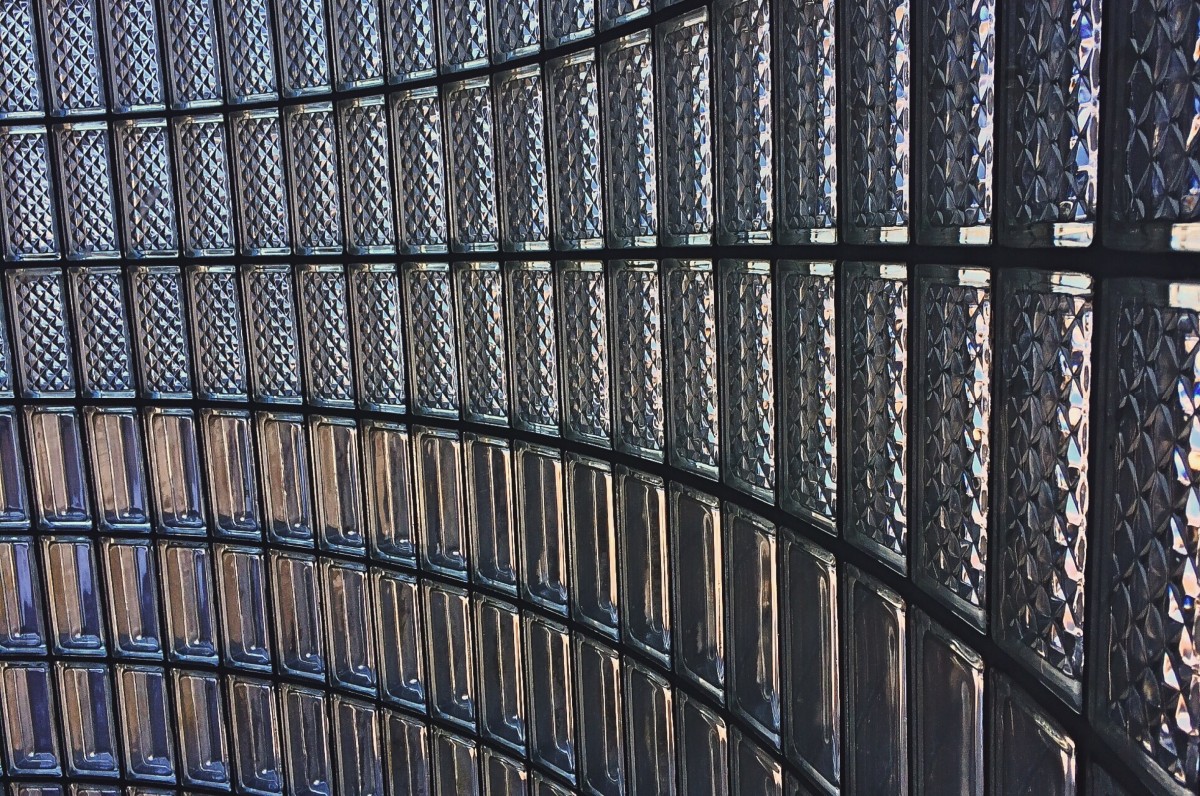
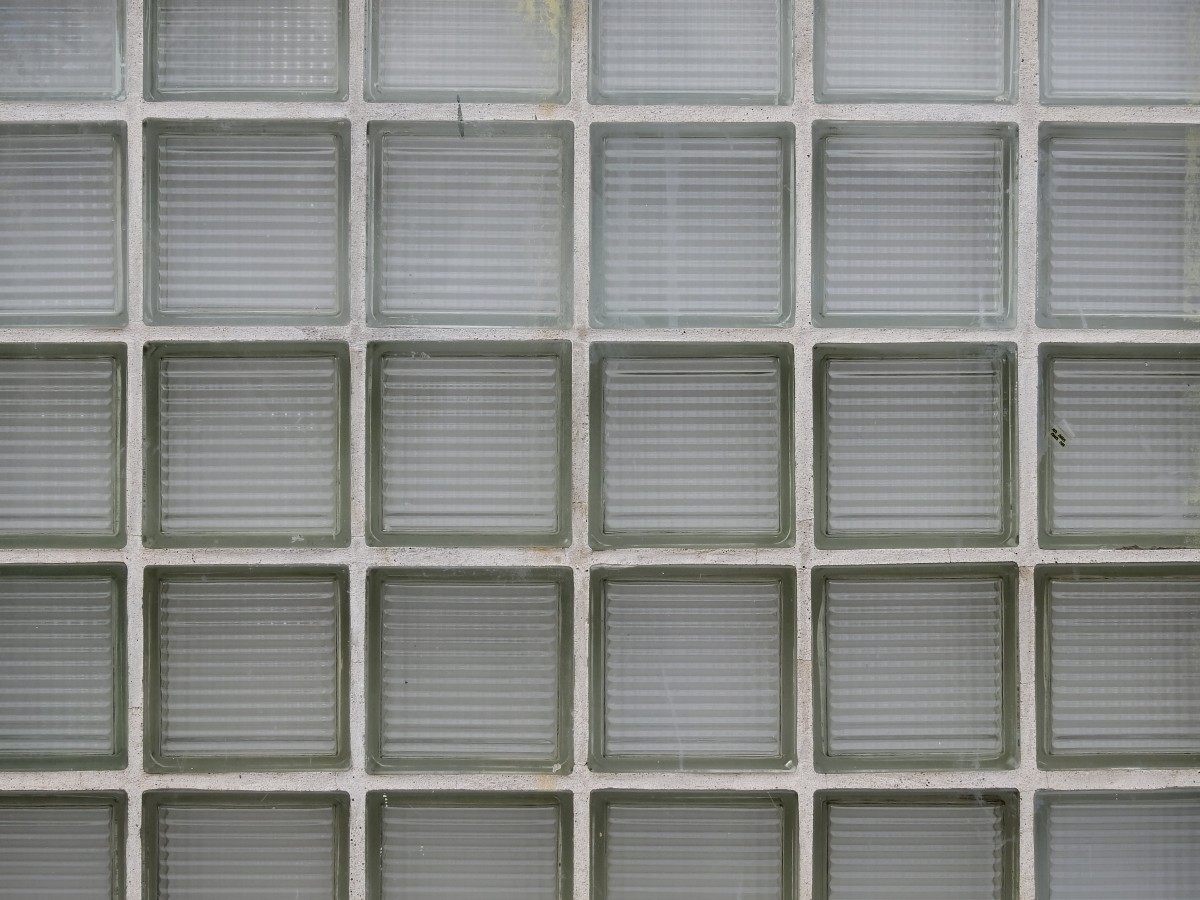
Installing glass blocks allows you to partition while allowing light to pass through, create a shower screen, or replace a fixed frame in the case of an opening.
Decorative and aesthetic glass blocks are available in different:
– colors: from transparent to ruby red;
– patterns: smooth, wavy, bubbled, squared…;
– finishes: glossy, neutral, satin…;
– in many formats: often 19 × 19 on 8 cm thickness.
We opt here for the traditional installation, with mortar and irons to maintain the structure.
Note: There are now installation kits for glass blocks, including pre-cut PVC profiles to be glued and installed around the wall and between each brick.
Installing glass blocks requires some masonry work but still requires method and technique.
Before installing glass blocks
– Create a shower partition or install glass blocks in a wet room. Consider using a moisture-resistant joint compound, a plasticizer for the joint, or a sealant.
– Install the glass block wall on a solid floor, as the weight of the glass blocks is considerable.
– For a wall larger than 2.5 m², add metal rods to the mortar to reinforce it.
– Calculate the number of bricks needed for the wall to buy everything simultaneously and avoid differences in color or appearance.
Note: for 1 m² of partition, count 25 standard glass blocks.
1. Determine the location
– Check with a spirit level that the floor is flat. If necessary, proceed with leveling to obtain a flat surface.
– Mark the location of the wall on the floor and along the border. The glass block wall will be placed on an existing wall most of the time.
– Using a spirit level and a large ruler, draw a reference line on the floor and wall to serve as a base, then another parallel to the first one corresponding to the thickness of the brick.
2. Attach the profiles and expansion joints
The first step is to place the profiles that will hold the glass blocks and an expansion joint:
– Place the U-profiles on the marks you have marked on the floor and wall. If necessary, cut them with a saw.
– Drill the profiles, as well as the wall and the floor. Peg and screw the profiles to the floor and wall.
– Install a foam strip in these profiles by gluing it with adhesive mortar or nailing it.
3. Make a mortar bed
Once the profiles have been fixed, you need to lay mortar on the floor:
– Prepare adhesive mortar according to the manufacturer’s instructions.
– At floor level, fill the profile with mortar (about 2 to 3 cm thick) along its entire length.
– Insert two twisted irons into the mortar bed along the length of the profile and level the surface with a trowel.
4. Lay the first glass block
To start your first row, start from the corner:
– Lay an L-crossing and a T-crossing.
– Lay the first brick on top of the mortar.
5. Lay the first row
Once the first brick is laid, continue the row:
– Place a T-brace before each brick.
– Apply mortar to the edge of the glass block.
– Place it against the previous brick.
– Check that the wall is aligned with the spirit level. Make adjustments if necessary.
– Do the same for the entire length of the first row.
6. Reinforce the structure
– Apply mortar to the top of the first row of bricks.
– Insert two twisted irons horizontally (side by side) and one vertically between each brick.
– Place T-brackets across the width to keep the joint thickness the same.
7. Install the second row of glass blocks

– Place the second row of bricks as before.
– Repeat the steps for the entire wall construction.
– Remove excess mortar with a trowel as you go.
– Regularly check the horizontality and verticality of the structure with a spirit level.
– Clean up any spills with a damp sponge before the mortar dries.
Caution: let the work dry well before removing the braces.
8. Install the finishing profiles
It is common not to install glass blocks up to the ceiling, the goal being to separate two spaces while allowing light to circulate.
Once your partition is complete, you can install profiles on the top and side of your structure using the same mortar as for the installation:
– Apply mortar to the edge of the glass block partition.
– Do the same for the top of the wall. – Apply the profile of the finish of your choice (aluminum, stainless steel).
9. Make the joints
– Once the mortar is dry (at least 24 hours), remove the braces or break them if a part is intended to remain in the structure.
– Smooth the joint with a jointing iron: this step also ensures that the joint is watertight.
– Prepare joint filler according to the manufacturer’s instructions.
– Apply it with a joint scraper and smooth it with the jointing iron.
– Wait until the work is dry before cleaning the wall with a lint-free cloth.
Materials for laying glass blocks
Spirit level
Joint scraper
Joint trowel
Glue mortar
Joint mortar
Concrete irons
Trowel
Glass brick spacer
Foam expansion joint
Mason’s rule
Tape measure
Pencil
Sponge + Cloth
Joint iron
Manual miter saw
Drill
Hammer
Flathead nails
U-shaped profile


