The cob is used to build walls, particularly for the filling of half-timbering and wooden walls.
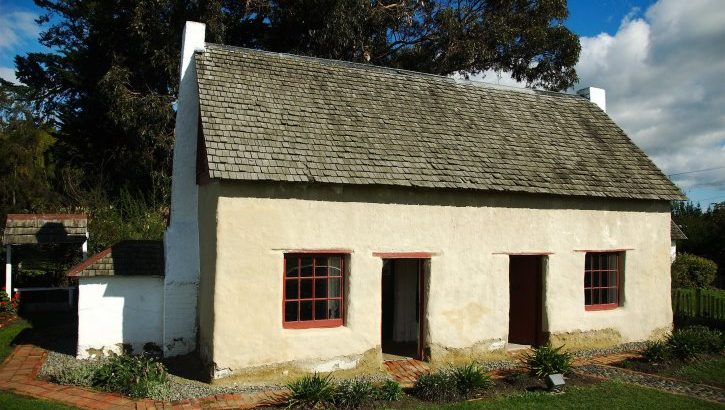
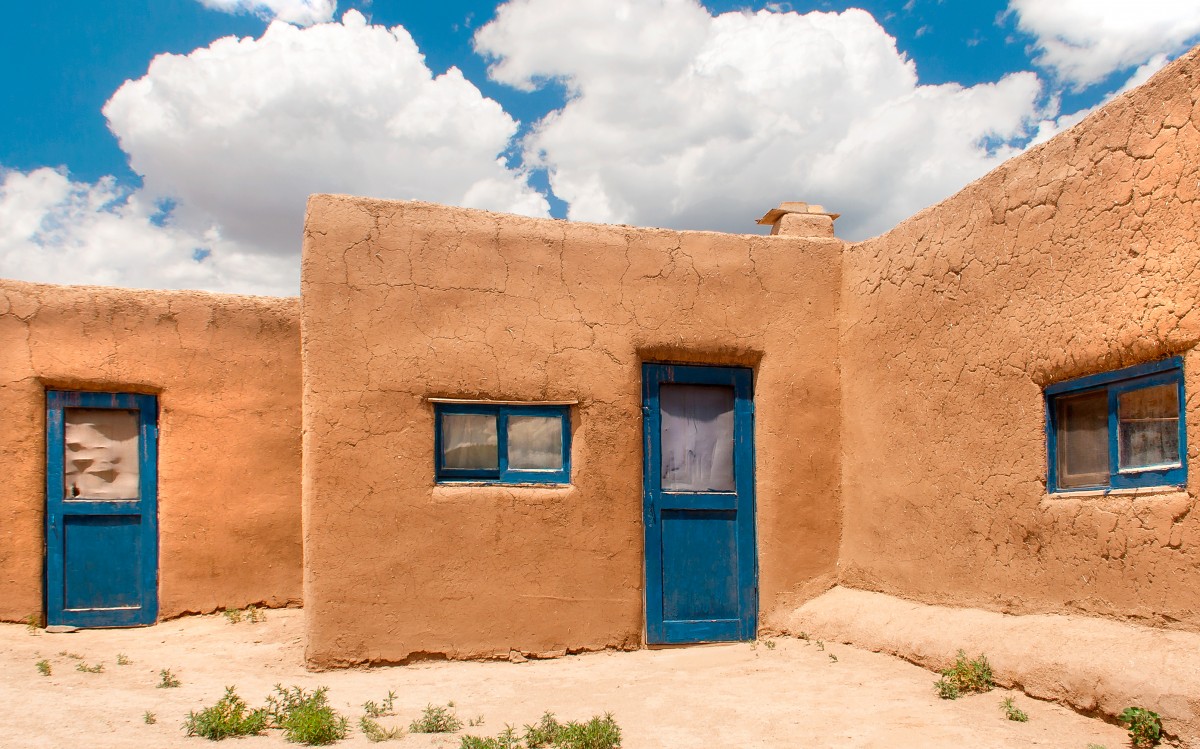
Cob: traditional houses
The cob is a mixture of clay and straw or plant fibers. It is used to fill walls whose structure is timber-framed or with wooden racks. The cob is a flexible and healthy material that blends very well with wood. Used for centuries, it is still used today, but to simplify its implementation, we use the adobe technique. It is mainly found in half-timbered houses and old or traditional houses.
The cob: multiple technical qualities
The cob is hygroregulating: it can be wet and evacuate humidity from the inside to the outside.
The cob has low thermal inertia, so the house is cool in summer, and keeps the heat in winter. It is flexible and adapts to the movements of the structure, of which it fills the spaces to form a joint with the material which it adjoins when it is wet.
The cob is not attacked by insects and rodents, making it a naturally interesting material for the environment.
Finally, it ensures good thermal insulation thanks to the important quantity of straw present in the mixture.
Restoration of cob: solutions
The cob can suffer damages over time that can be prevented or solved according to the different types of degradation:
COB: HOW TO RESTORE?
|
DAMAGE |
POSSIBLE CAUSES |
SOLUTIONS TO CONSIDER |
|---|---|---|
|
Damage to the bottom of the wall |
– Runoff at the bottom of the wall. – Stagnation of water at the foot of the wall. |
– Make a gutter to channel and evacuate the water where it goes down. – Effective drainage along the wall and gutter down the wall. |
|
Damage to the top of the wall |
Rainwater is washed off the facade, especially under the action of the wind. |
– The roof must provide adequate protection from rainwater and from winds that may blow it down the façade. – Low walls must be covered with a canopy or equivalent. |
|
Permanent trace of humidity on a coated façade |
If the cob is coated with cement, the wall no longer breathes, the moisture remains locked in the wall by capillary action. |
– It is imperative to remove the cement coating, preferably in June. – Allow two months or more to dry before restoring the cob. |
|
Splintering of the plaster covering the cob |
Action of frost on the moisture trapped in the wall, especially in the presence of cement rendering or rendering not compatible with cob. |
It is imperative to remove the plaster to let the wall dry before restoration. |
Making cob: several recipes
Here is an easy recipe to make.
There is not only one type of cob: many recipes and aspects too.
To make cob, you need:
– clay soil with 30% clay,
– dry straw in 10 cm,
– fine sand 0/4,
– a pair of gloves for heavy work,
– a pair of protective glasses,
– sieves of 4,
– a concrete mixer,
– a crusher.
The earth can be recovered on site. Check its clay content, which varies depending on the region. The composition of the mortar depends on it. The soil must be cleaned of stones and large impurities, pass through a sieve. If necessary, make a lime-based gobetis to achieve the adhesion; this half-liquid layer is thrown on the wall. Store your earth and straw in large containers, for example, 100 l garbage cans.
Preparing and laying cob: the main steps
The cob can be applied as a single layer without finishing or as a body of rendering, ready to receive an earthen finishing coat, a warm coat, or both.
The basic ratios to respect
For the earthen rendering that is cob, a simple rule is to respect the ratio of 5 parts of filler to 3 parts of binder, the basic “recipe”:
– 3 parts of earth,
– 4 parts straw,
– 1 part sand: the color of the sand determines the color of the rendering if there is no finishing coat.
From this rule, binders and fillers can be mixed; for example:
– 2 parts earth and 1 part lime = 3
– 3 parts straw and 2 parts sand = 5
The ratio is respected because:
– we add lime, which is a compatible binder,
– we modify the load distribution by increasing the sand, which makes the application easier.
Important: Each modification leads to a modification of the qualities of the plaster, especially at the thermal level.
Preparation of the cob mixture
A concrete mixer makes mixing much easier, but it is not essential. As for concretes, it is better to start loading the mixer with the dry products: sand, binder, and clean water until a nice paste is obtained. Then add the straw and continue the mixing by adding water to have a sticky but flexible paste where all the ingredients are homogeneous.
Applying the cob: two passes
Depending on the composition of your cob, you can apply it up to 10 cm thick in two passes, starting at the bottom of the wall:
– 1st pass by packing well on 2 m² approximately, thickness 3 cm approximately,
– 2nd pass by returning on the 1st m², thickness 4 cm approximately,
– continue by progressing from bottom to top.
When the rendering starts to set, go back to the bottom of the wall and use the float to tighten the rendering and smooth it.
Check that the rendering is flat.
Finishing the cob: several options
Finishing can be done with a smoothing tool or with a wet sponge; in this case, wait a few hours.
The rendering is still fresh a few days later, but it can be finished with lime, whitewash, milk, etc.
If you wish to finish with a plaster finish, it is advisable to scratch the body of the rendering to make it easier to adhere and wait 3 weeks for it to dry.
An economical material
Globally, it is necessary to count between $1 and $4 per m² of cob (all taxes included), excluding installation.
The type of finish can increase the cost depending on pigment choice. In addition to being economical, cob is very economical to purchase thanks to its insulating qualities.


