
Choosing a new floor might be tough owing to the seemingly limitless supply accessible nowadays. However, many individuals choose laminate flooring, and if you’re wondering how to install it, then read the following article.
Allow The Boards To Acclimatize
Place unopened laminate flooring packages in the area or rooms where they will be installed. This should be done at least 48 hours before installing the laminate boards to allow them to adjust to the temperature and humidity. This reduces shrinkage or expansion as a result of variations in ambient temperature and humidity.
Cleaning And Preparing The Floor
- You’ll need to clean the area where you’ll be installing the laminate. You can sweep the floor or use your preferred approach. Also, make certain that the floor is fully dry.
- Place plastic liner on the floor of the room where the laminate flooring will be installed.
- Most padding and plastic are combined, but if yours isn’t, cover the plastic liner with foam floor cushioning. This is done to prevent any residue left on the floor, such as tiny rocks and sand, from forming dimples in the flooring and to cushion it. It will also keep any cracking or squeaking noises from occurring as people walk on the floor. Tape down the foam lining after cutting it to fit the floor. Do not let the foam overlap.
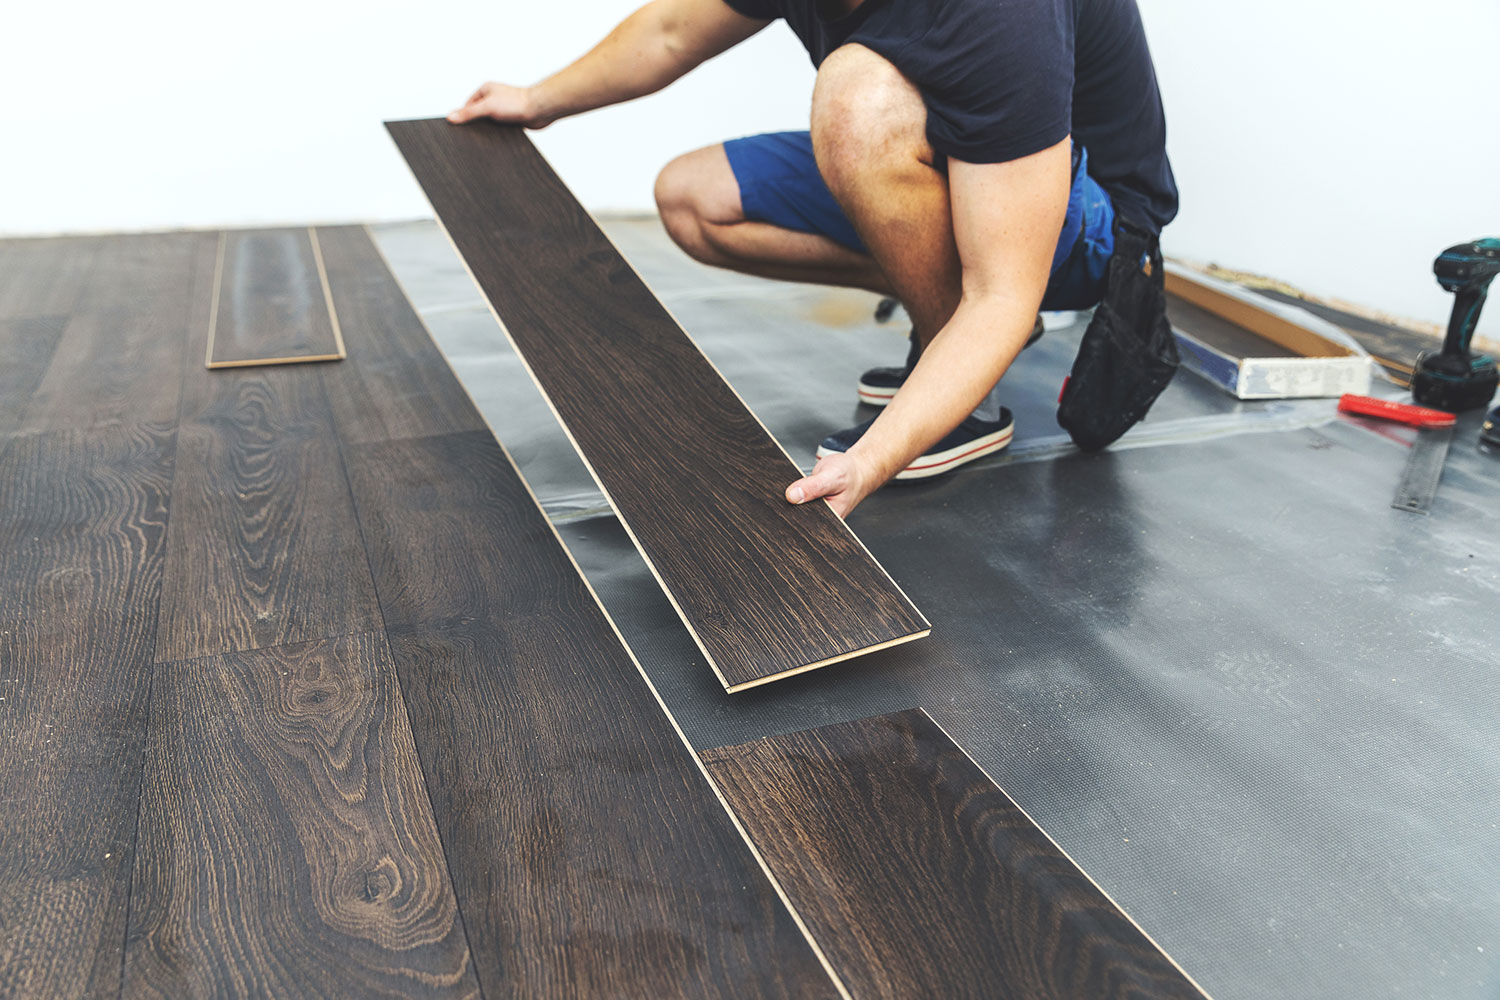
Putting The Boards Down
Stage 1:
Set the first board in place. Place a board in the upper left corner, completed side up, with the ridge side towards the wall. It’s a good idea to arrange the boards so that they run parallel to the room’s longest wall.
Stage 2:
Place a spacer between the board’s end and edge and the wall. You may either buy or create your own spacers.
If you make your own, they should be 3/16″ to 1/4″ thick, L-shaped, and about a foot long. For the first two rows, you’ll need six or more.
Stage 3:
Place the next board in the same manner, laying it end to end and occupying the next available space along the wall. For the best effects, make the entire first row parallel to the room’s longest wall.
To ensure that the row is even with the walls, check from the edges of the floor boards to the margin of the wall.
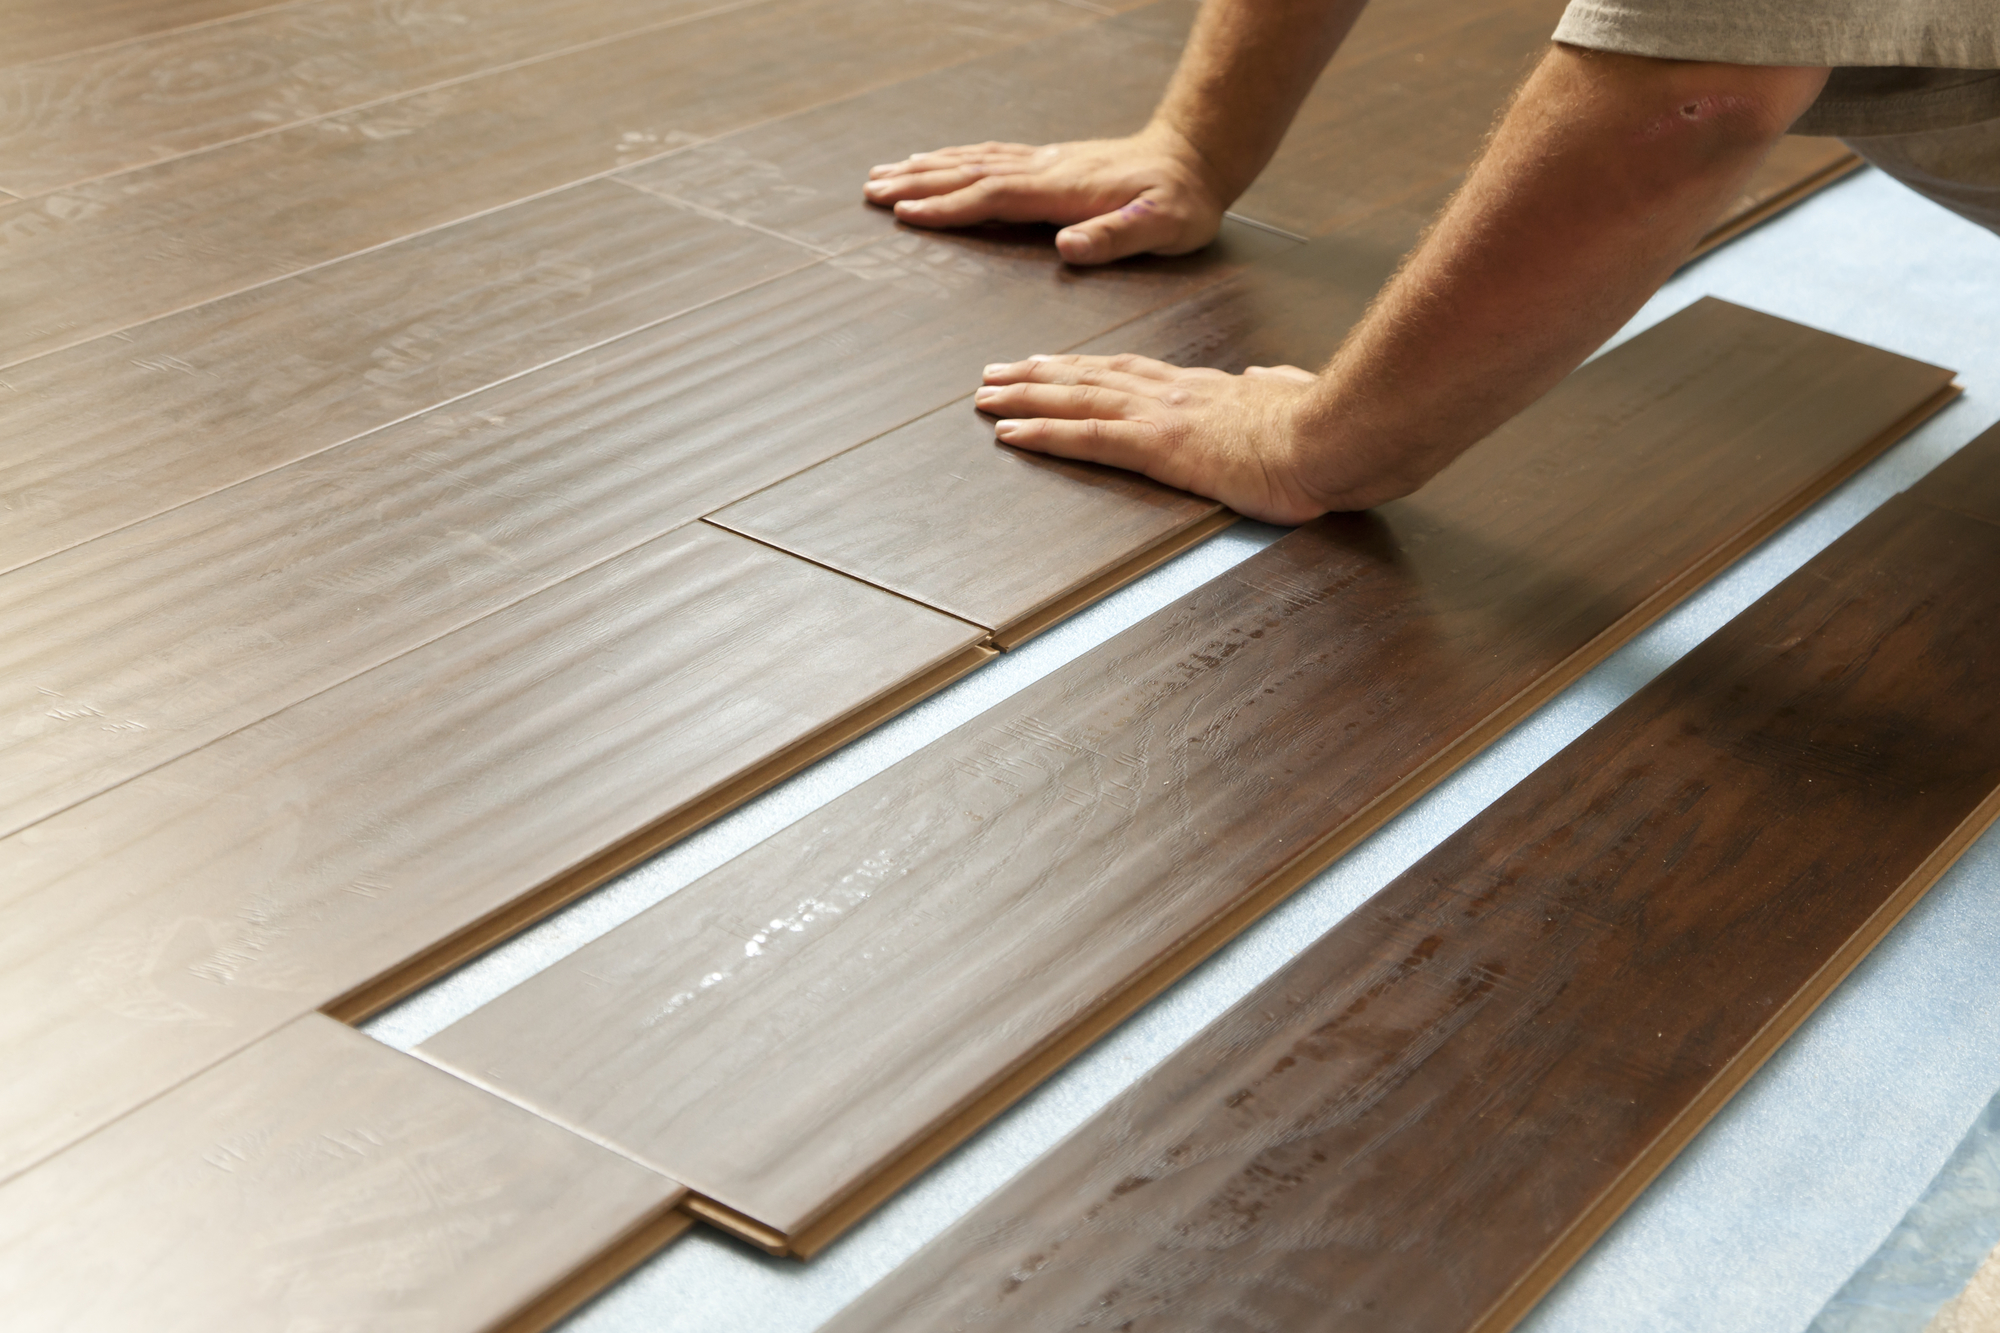
Stage 4:
Continue to the second row. Reduce the length of the first piece of laminate flooring so that the joints in this row are offset (staggered) in respect to the first row. Tap the next row of boards into the first using a wooden block. Hold the block tightly with your left hand and strike it with your right hand’s hammer. The space between the first and second boards should be shrinking. Hammer away with a hammer until the gap is gone.
Stage 5:
Continue until each row has been completed. Check that the spaces between the boards are adequately sealed. Check that the boards are parallel to the wall every third or fourth row.
Stage 6:
Remove any boards that do not fit into the remaining gaps. Trim boards will most likely be required when you reach the other wall or have to undertake unusual shaped rooms. Calculate how much you’ll need, then cut the board using a table saw.
Cross cut the boards shorter using a sharp miter saw and thinner with a table saw.
If you cut the boards upside down, it may be easier and produce better results.
Stage 7:
Don’t forget to set spacers around all of the room’s edges and remove them after the entire floor is finished.
Stage 8:
Baseboards, thresholds, and other finishing touches, such as staining, can be used to complete your floor. Scuffs and holes can be concealed with special crayons, which can be purchased at your local hardware shop.


