
How to Build a Fence Wall
Summary
– Fence wall: attention to regulations
– Different types of fence walls: fences, trees, etc.
– Fence wall: foundation and elevation of the wall
The fence wall is used to delimit an area, it is an exterior wall, and it can be built in different materials.
There are several types of exterior walls:
– the Trombe wall,
– the retaining wall,
– the anti-noise wall,
– the fence wall.
The fence wall can have several functions: to protect from direct wind, from the eyes, to be an anti-noise wall or a decorative wall.
Fence wall: attention to the regulations
Before building a fence wall, it is essential to know a few points about the regulations in force:
– any wall is presumed to be common if it separates two plots of land belonging to two different owners: in practice and principle, in subdivisions, all separating fence walls are common (specifications),
– in all urban areas, the fence wall may be imposed on you by your neighbor as well as half the cost of the work: the wall is then common,
– the fence must respect the limits of the properties and not hinder the passage.
Good to know: Don’t hesitate to ask the town planning department of your municipality for information.
Different types of fence walls: fences, trees, etc.
As soon as the construction is used to separate your property from another property, it is called a fence wall.
A fence wall exists in different forms:
– a wooden fence,
– a cinder block wall,
– an alignment of piles,
– a wire fence,
– barbed wire,
– a claustra,
– a lattice,
– a grid,
– a wall of trees or shrubs, etc.
All materials are possible: wood, metal, stone, etc.
Fence wall: foundation and elevation of the wall
Foundations are necessary if the structure is heavy and subject to stress:
– these foundations can be simple concrete blocks or a footing,
– You should choose the type of foundation according to the type of fence, its weight, and the type of soil.
Fence Wall Foundations: Steps to Completion
Here is an example of how to create a cinder block fence wall:
FENCE WALL FOUNDATIONS: THE STEPS
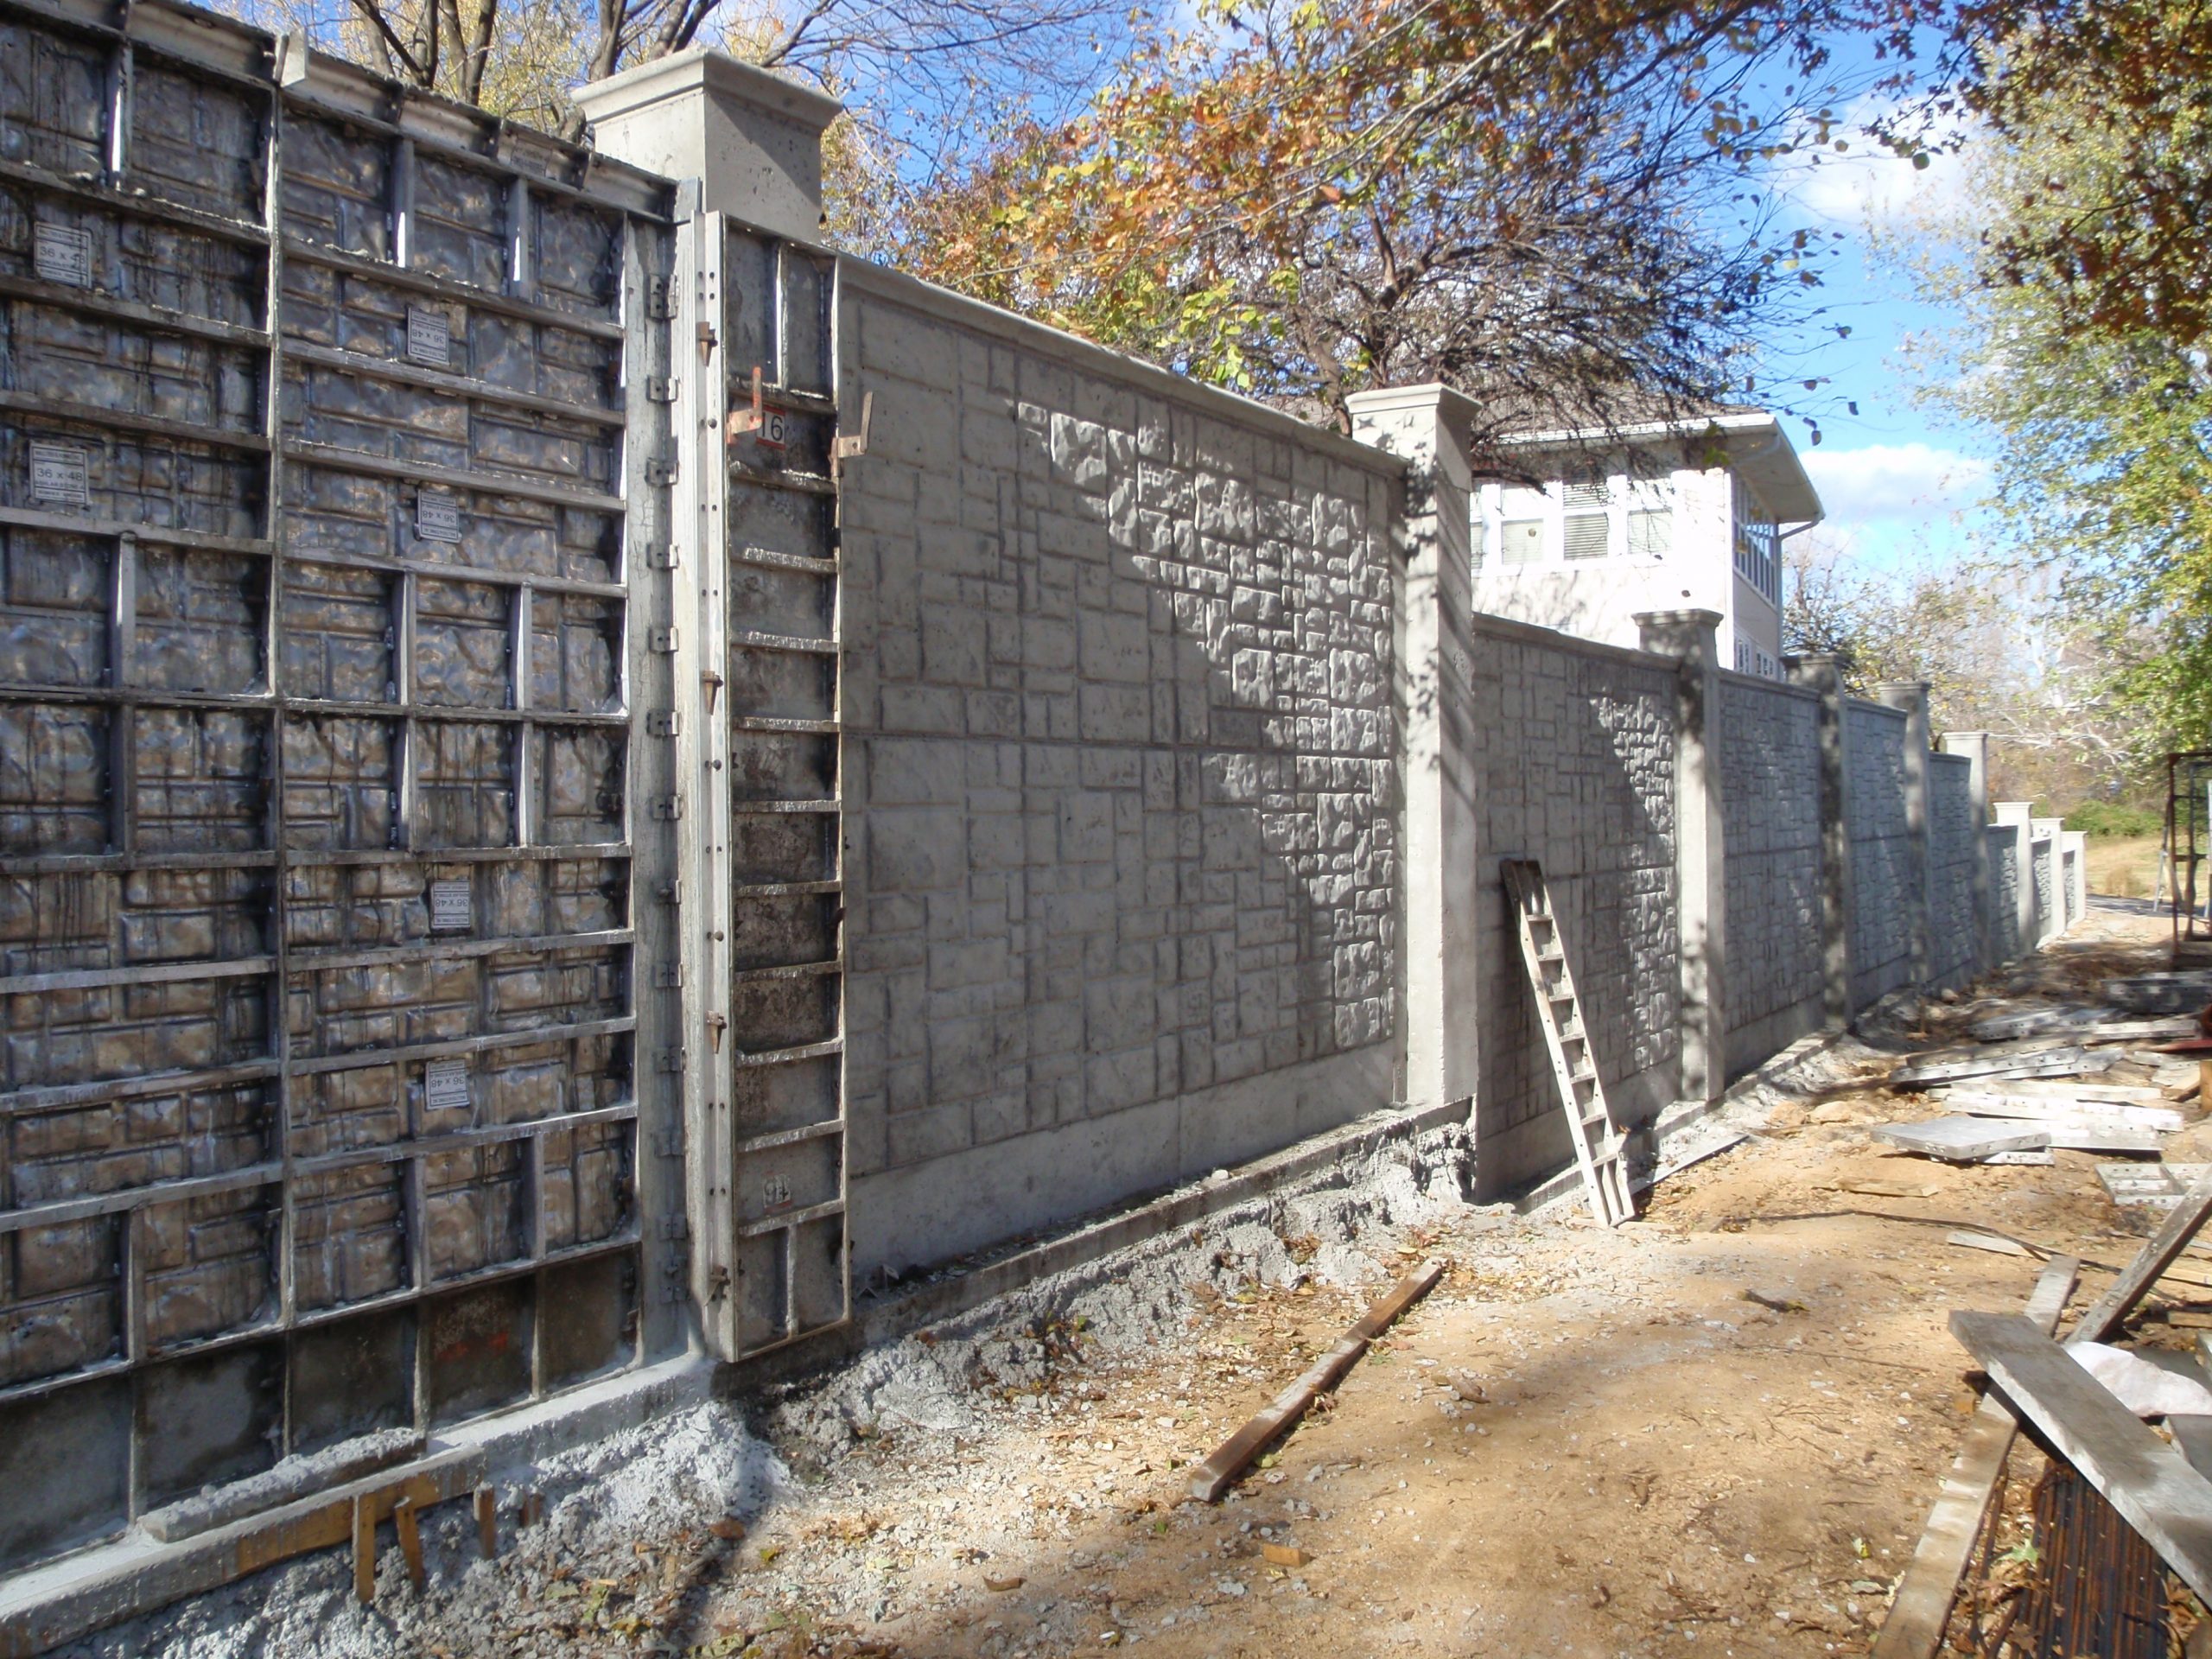
Aluminum formwork
|
STEPS |
TO BE DONE |
|---|---|
|
1 – The excavation |
|
|
2 – The clean concrete |
|
|
3 – The reinforcement |
|
|
4 – Formwork |
|
|
5 – Pouring the footing |
|
|
6 – Stripping |
|
Fence wall: raising the wall
Here are the steps to follow to build the fence wall (ex: cinder block):
ERECTING A CINDER BLOCK FENCE WALL
|
STEPS |
TO BE DONE |
|---|---|
|
1 – Tracing |
|
|
2 – The first row of cinder blocks |
|
|
3 – The 2nd row |
Spread the mortar and start by laying the corners:
Step by step:
|
|
4 – The next rows |
|
|
5 – The joints |
|


