When it comes to enhancing the privacy and security of your property, installing a fence is the way to go. A fence not only adds value to your property but also defines your boundaries and keeps unwanted visitors out. However, fence installation can be a daunting task, especially if you’re doing it for the first time. In this comprehensive guide, we’ll take you through everything you need to know about fence installation.
1. Planning Your Fence Installation
Before you start installing your fence, it’s essential to plan it out. Start by identifying your property lines and checking with your local zoning office to see if there are any restrictions on fence height, style, or placement. Once you’ve determined the location and style of your fence, measure the area to determine the amount of materials you’ll need.
2. Choosing the Right Fence Materials
Fences come in a variety of materials, including wood, vinyl, aluminum, and chain link. Each material has its pros and cons, so it’s important to choose the right one for your needs. Wood fences are affordable and offer a classic look, but require regular maintenance. Vinyl fences are low-maintenance and come in a variety of colors and styles, but can be more expensive. Aluminum fences are durable and require little maintenance, but can be costly. Chain link fences are affordable, durable, and low-maintenance, but may not offer the privacy you desire.
3. Installing the Fence Posts
The first step in fence installation is to install the fence posts. It’s important to ensure that the posts are straight and level, or your fence will be crooked. Dig a hole for each post, making sure it’s deep enough to support the fence. Place the post in the hole and fill it with concrete, making sure it’s level. Allow the concrete to dry before attaching the rails.
4. Attaching the Fence Rails
Once the posts are in place, it’s time to attach the fence rails. Depending on the type of fence, you may need to attach the rails to the posts using brackets or screws. It’s important to ensure that the rails are level and evenly spaced.
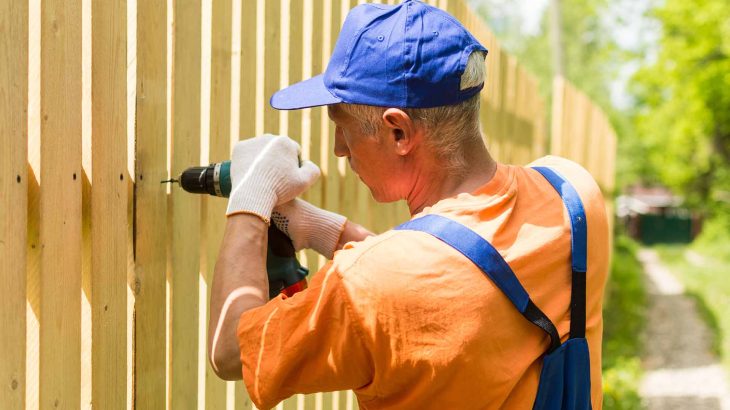
5. Installing the Fence Panels
After the rails are in place, it’s time to install the fence panels. Depending on the type of fence, you may need to attach the panels to the rails using screws or brackets. It’s important to ensure that the panels are level and evenly spaced.
6. Adding Finishing Touches
Once the fence panels are installed, it’s time to add finishing touches. This may include adding a gate, staining or painting the fence, or adding decorative elements, such as trellises or post caps.
In conclusion, fence installation can be a challenging task, but with the right planning and preparation, it can be a rewarding project. By following these steps, you can ensure that your fence is installed correctly and adds value to your property. Remember to choose the right materials, plan your installation, and take your time to ensure that your fence is installed correctly. With a little effort, you can enjoy the benefits of a beautiful and functional fence for years to come.
Are you looking for a reliable fence installation expert in Ottawa? Look no further than Bytown Fence. This company has installed more than 10,000 fences for their neighbours in the Ottawa region since 1989. Their dedication lies in crafting and installing high-caliber fences that cater to your commercial, residential, or agricultural requirements, always delivering exceptional value. Trust them to set up various types of fences, spanning durable chain link and wood to decorative wrought iron, meeting your diverse needs with reliability.


