Concrete slabs are the sturdy foundation of many structures, from homes to commercial buildings and outdoor spaces. Whether you’re embarking on a DIY project or hiring professionals, understanding the process of installing concrete slabs is crucial for a successful and durable outcome.
Planning and Preparation
1. Assess the Area:
Begin by evaluating the area where the concrete slab will be installed. Measure the dimensions accurately, accounting for any slopes, drainage requirements, or specific load-bearing needs.
2. Obtain Permits and Check Regulations:
Check local building codes and acquire necessary permits before starting any construction involving concrete slabs. Compliance with regulations ensures safety and legality.
3. Gather Materials and Tools:
Collect all necessary materials, including concrete mix, reinforcement bars (rebar), formwork, gravel, and appropriate tools such as a concrete mixer, trowels, and a level.
Steps to Installing Concrete Slabs
1. Excavation and Site Preparation:
Clear the area by removing debris, vegetation, and any obstacles.
Dig the site to the required depth, allowing space for the base material, reinforcement, and the concrete itself.
Compact the soil thoroughly to ensure stability.
2. Build Formwork:
Construct a formwork using wood or metal to outline the shape and dimensions of the slab. Ensure the formwork is level and securely held in place.
3. Lay the Base:
Add a layer of gravel or crushed stone as a base for proper drainage and support.
Compact the base material to create a solid foundation.
4. Reinforcement:
Install a grid of reinforcement bars (rebar) within the formwork to reinforce the concrete slab and prevent cracking.
5. Mixing and Pouring Concrete:
Follow the instructions on the concrete mix for proper mixing ratios and consistency.
Pour the concrete evenly into the formwork, starting from one end to the other.
Use a screed board to level the concrete surface, ensuring uniform thickness.
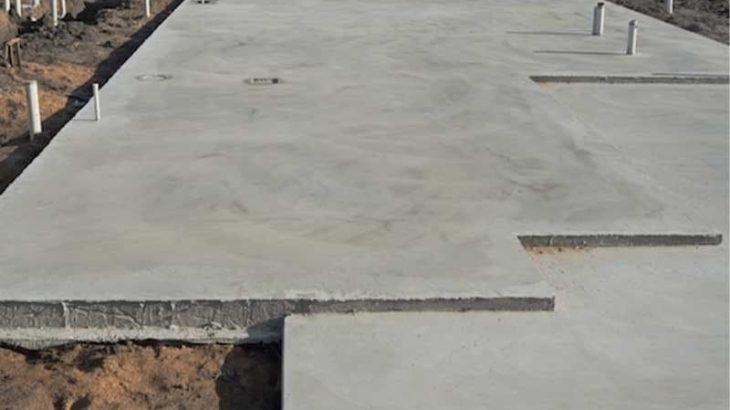
6. Finishing:
Smooth the surface with a bull float to eliminate any imperfections or air pockets.
Create control joints by scoring the surface to control cracking as the concrete cures.
Allow the concrete to cure according to the manufacturer’s recommendations.
7. Maintenance and Post-Installation Care:
Keep the concrete slab moist during the curing process by covering it with a curing compound or damp burlap.
Avoid placing heavy loads on the slab until it has fully cured, typically taking several days.
Tips for Success:
-Ensure proper drainage away from the slab to prevent water accumulation.
-Use high-quality materials for longevity and durability.
-Work efficiently but carefully, as concrete sets relatively quickly.
-Pay attention to weather conditions during the installation. Extreme heat or cold can affect the curing process. Avoid pouring concrete in extremely hot or cold conditions, and if necessary, use additives to regulate curing in adverse weather.
-In rainy or humid conditions, cover the freshly poured concrete with tarps or protective covers to prevent excess moisture from affecting the curing process.
-Periodically inspect the slab for cracks or damage. Promptly address any issues to prevent further deterioration.
-Install expansion joints strategically, especially in larger slabs, to allow for natural expansion and contraction of the concrete due to temperature changes. Properly placed joints can minimize cracking and structural issues over time.
-Consider applying a sealant once the concrete slab has fully cured. Sealants help protect the surface from stains, moisture penetration, and can extend the lifespan of the concrete.
Installing concrete slabs requires meticulous planning, precise execution, and adherence to best practices. Whether for a driveway, patio, or foundation, following these steps will lead to a durable, long-lasting concrete surface. Remember, if the project seems daunting, consulting or hiring professionals like the team at Precise Forming can ensure a smooth and successful installation, providing a reliable foundation for your structure or outdoor space.


