To breathe new life into your floors, many methods can be used. The sandblasting technique coupled with varnishing is one of the most effective methods and is quite fast. It is only performed by professionals and requires specific rules to follow before and after the operation. This article explains more precisely what it is all about.
When and why does it?

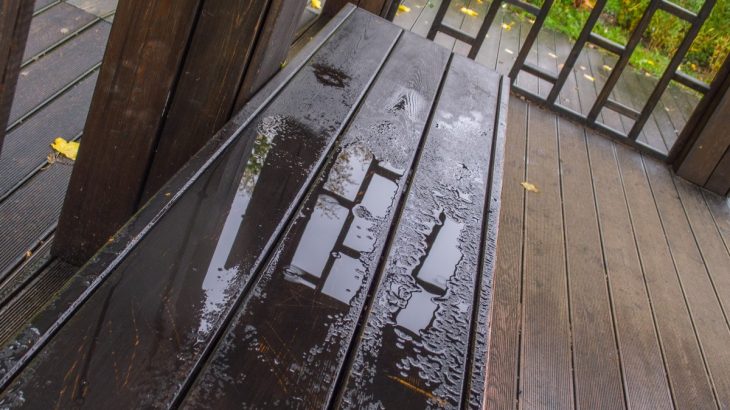
The sanding, followed by the varnishing of the floor, generally takes place in winter. This technique is used when cleaning is no longer enough to give new skin to the floor. Thanks to this method, cracks and scratches disappear for good.
However, this method only applies to hardwood flooring. It is indeed one of the rare materials whose wear does not prevent a complete restoration. You can entrust this restoration operation to professionals for more efficient execution.
These professionals have the necessary equipment and materials for meticulously carried out operations. What you will have to do is observe the prerequisites to make it easier for them.
The different steps
Before starting work, it is important to:
- Clear the room of furniture and accessories placed on the floor to be repaired
- Facilitate access to the room without hindrance
- Remove curtains and doors
- Store food in the refrigerator or cupboards
- Store all clothes and accessories
- Unplug appliances like the dryer or stove
- Stop the air inlets in the room (ventilation, air conditioning, etc.)
You must also make sure of the products used by the professional. In some cases, it is necessary to get food and clothes out. Don’t forget to ask for dust-free sanding, even if this is what is generally done.
Sandblasting
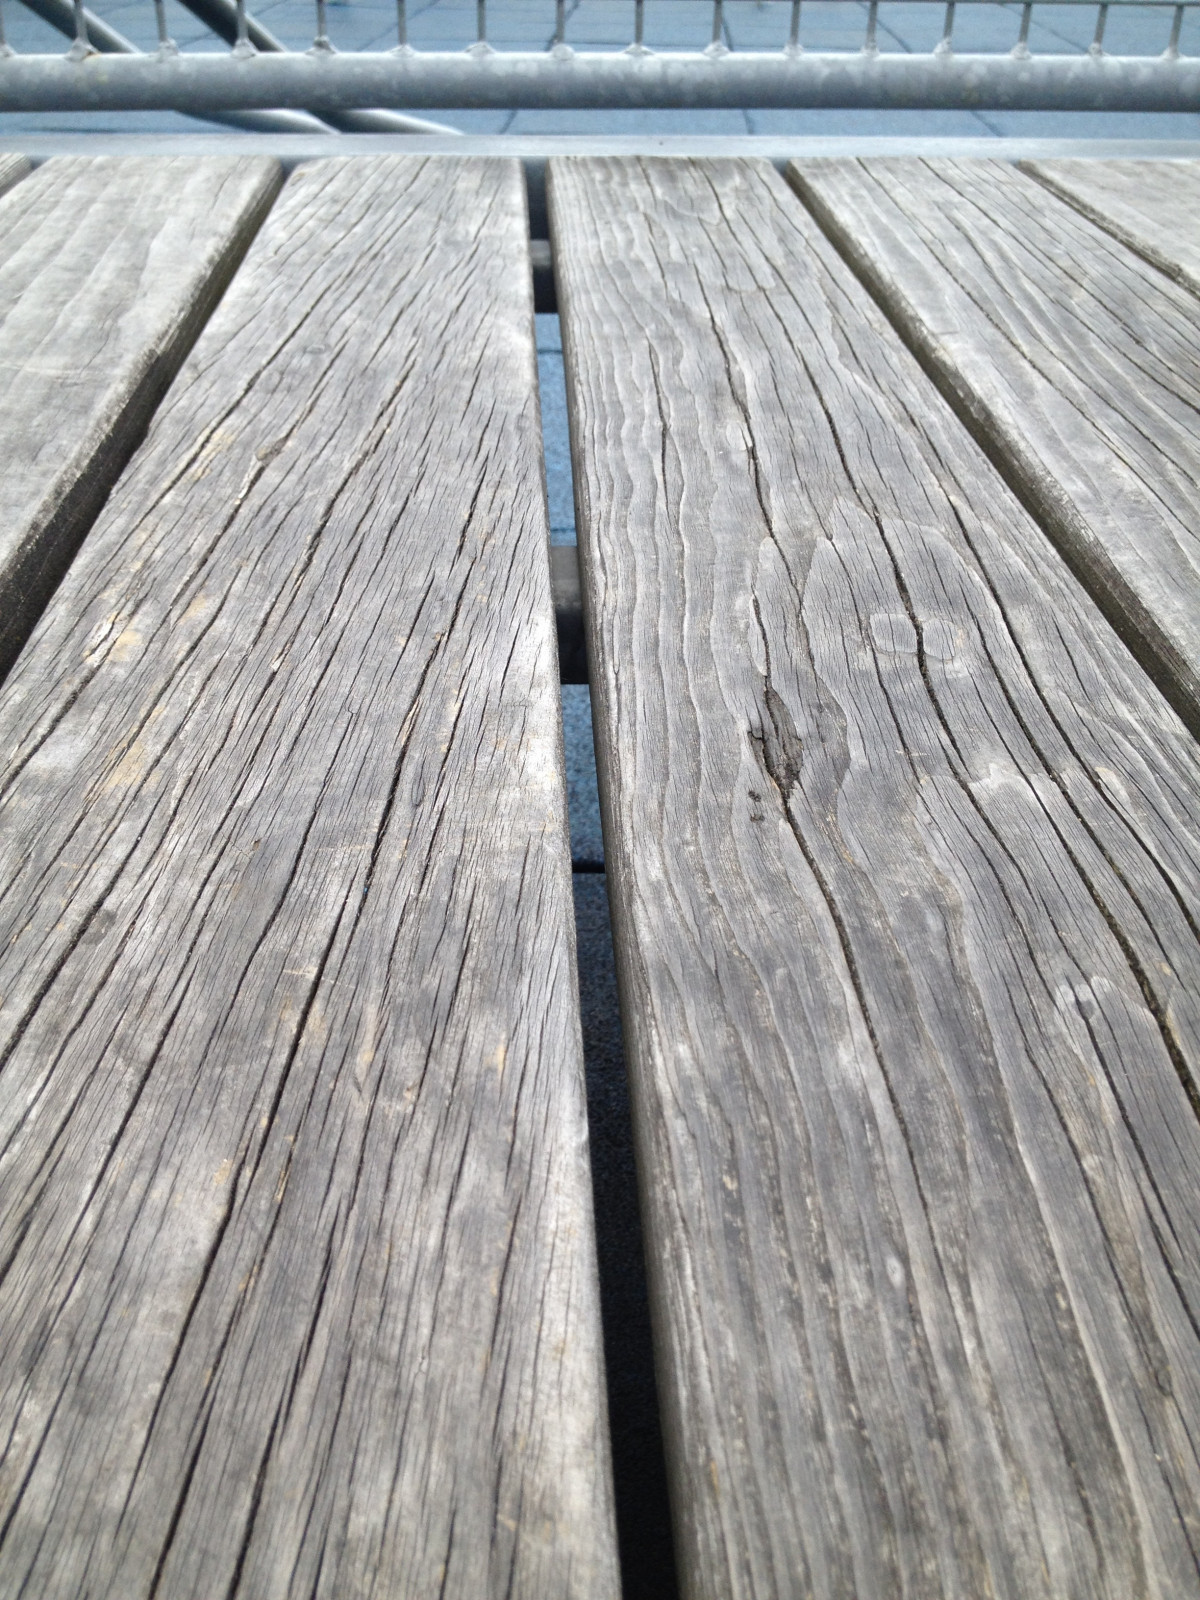
It consists of removing all the varnish present on the floor. A small part of the wood is also lost in the process. These are just the parts that show the most wear. This method aims to find the original raw and smooth wood. The professional then removes the debris and vacuums the dust to clear the workspace.
Only then does he apply general finishes to complete this step. Sanding is usually done using sandpaper with a grit number between 16 and 120. The higher the grit, the finer the paper used. In addition, the paper is refined as the sanding progresses.
Varnishing
This method begins with the passage of a dye, but it is not mandatory. In order to obtain an original interior, you have the choice between applying oil or varnish. In the latter case, it is advisable to opt for non-toxic and clear aqueous varnishes. It will be passed in three layers for a better rendering. Moreover, the more layers there are, the more resistant it is. There are matte, gloss, or semi-gloss versions.
If the oil is to be applied, the professional will apply two coats. The first is a color impregnation layer, and the last is for finishing. The oil is generally matte and offers a very warm contemporary style, but it requires more maintenance.
What to do at the end of the work
Sanding and varnishing a floor only takes a few hours. However, you have to wait a few days to appreciate the result. Indeed, whatever the finish applied, you will have to wait:
- A whole day to be able to walk on the floors.
- Two whole days before being able to put the furniture and other accessories back there.
- It takes approximately one month for the finish to fully harden.
During this time, the floor will be more sensitive to scratches and stains. In addition, the application of this method on hard Scandinavian wood of your floors can also be carried out. If you are doing a renovation, you must complete it at least 7 days before sanding.
Sound off in the comments section below and tell us what you want to read next and if you want to read more about floor.


