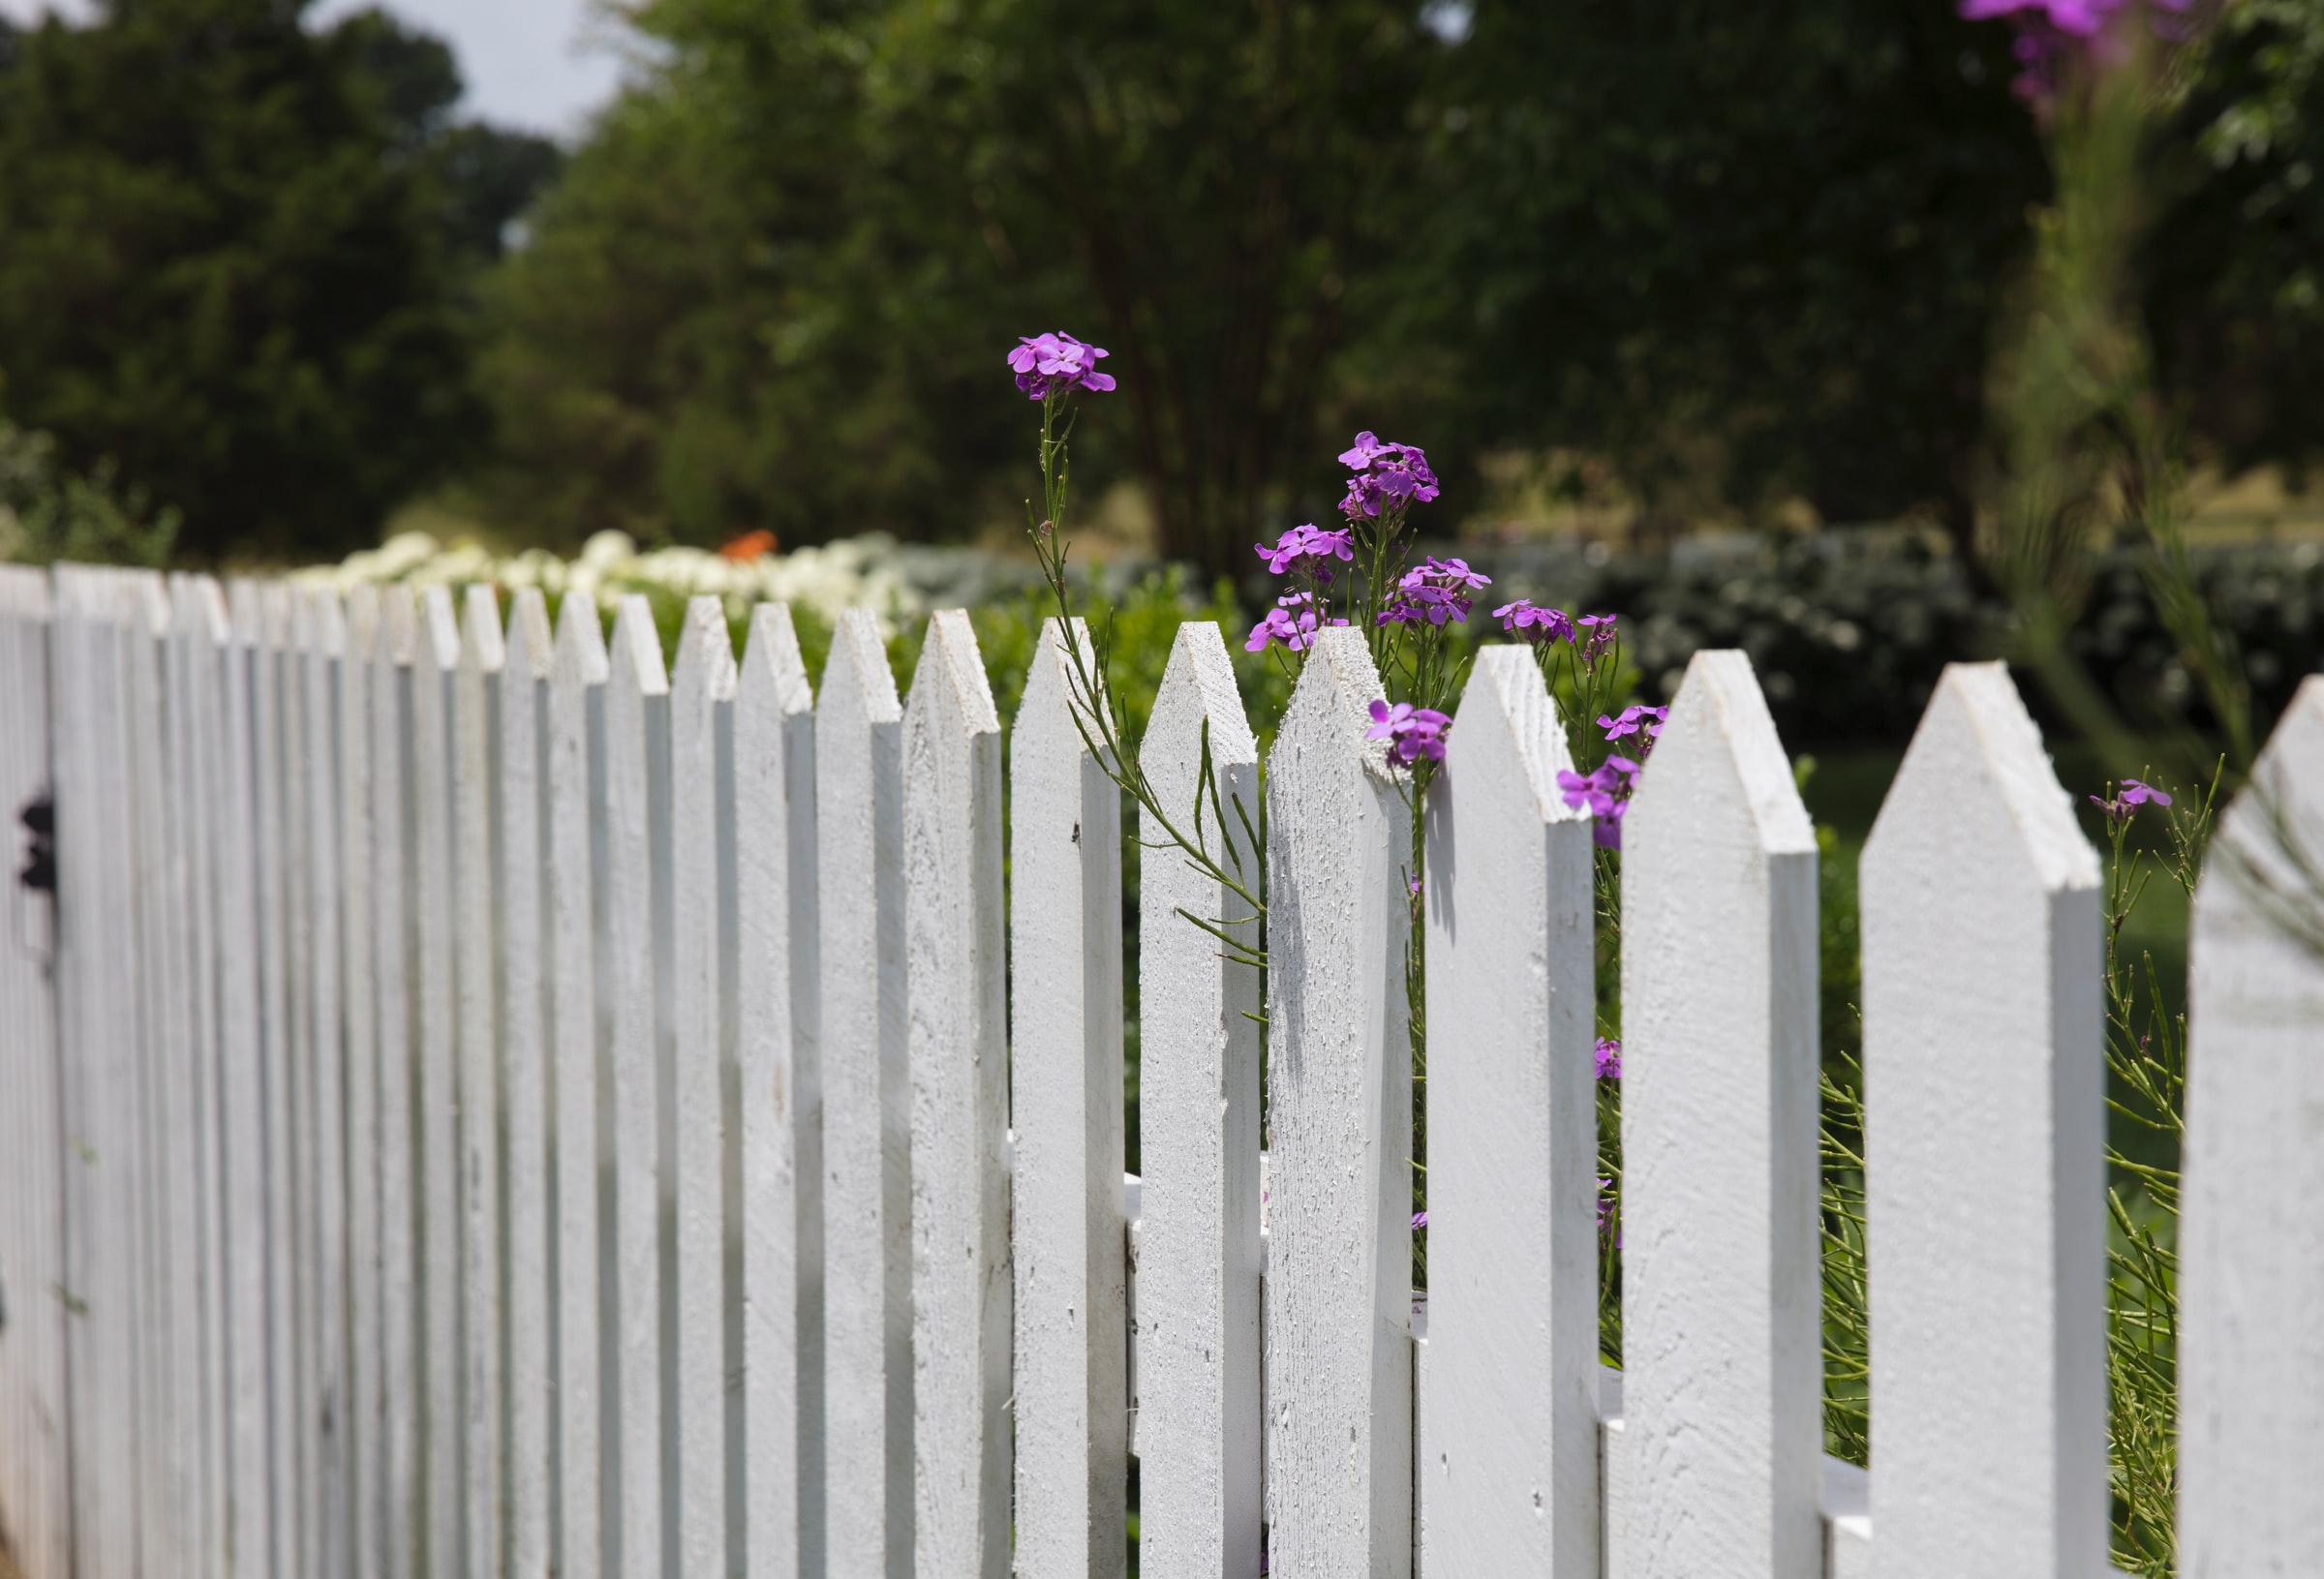
To meticulously design your landscape, it is essential to build a low wall. This is a small wall resulting from masonry work. It is available in several types according to its function, such as the retaining wall intended to maintain an overhanging ground, the dividing wall used to separate 2 distinct zones, and the fence wall which surrounds a property.
The construction of this last type of wall is particularly interesting because it also allows you to protect your property and preserve your privacy. So, without further ado, let’s dive into this blog and learn some of our tips for building a low fence.
1. Designate someone to do the work

Before starting the construction work, determine who will build your low wall. On the one hand, you can build it yourself if you have masonry skills and enjoy doing things yourself. On the other hand, you can call upon a company that specializes in landscaping. It takes care of the creation and maintenance of green spaces.
2. Respect the rules concerning the construction of a low wall
If the height of your low wall is lower than 2 m, inquire about the PLU (Local Plan of Urbanism) of your municipality and if it requires or not a preliminary declaration (form Cerfa 13703 and other documents). But if the height of your low wall is greater than or equal to 2 m, proceed with the prior declaration to the urbanism department of your town hall because it is mandatory in this case.
In addition, article 663 of the Civil Code imposes a maximum height of 3.20 m for fences in cities with more than 50,000 inhabitants and 2.60 m for other cities.
3. Choose the construction material
You have the choice between 3 different materials for the construction of a low wall fence, namely:
-
- Stone, which is qualified as a noble material. It comes in 2 types. First, natural stone, whether cut, rough, or dry, offers authenticity with its wide variety of aspects such as granite, limestone, sandstone, etc. Then, the reconstituted stone is made of molded concrete and in the form of paving stones or plates.
-
- The cinder block is composed of concrete blocks and requires coating to make the wall more aesthetic. Concrete is either traditional (solid) or cellular (light and insulating).
-
- Solid brick is available in several colors and specific shapes. For the construction of your low wall, avoid perforated or hollow bricks.
4. Prepare your floor
To ensure a smooth installation, make sure your floor is stable and level. To do this, mix sand and fine gravel, rake with a rake, and tamp the ground. Use a spirit level to check that your soil is level.
5. Lay out the foundation

Laying out the foundation consists of placing stakes along the wall’s location and stretching out chalk lines. To get a precise line, use the pointed end of a pickaxe. Then, dig and excavate a hole slightly wider than the dimensions of your wall.
6. Make the right foundations
Properly constructed foundations ensure the stability and durability of the wall and its anchoring to the ground. On the one hand, choose a light foundation through the gutter footing for the foundation of the wall itself. On the other hand, for the foundation of the posts or pillars, make a truncated pyramid-shaped footing. To do this, pour the concrete directly into the trench, and check its strength with a tamper and compact. If the footing is more than 15 cm thick, proceed with the formwork and wait for the concrete to dry.
7. Raise the wall
Spread a layer of mortar adapted to the material of the wall of your choice: cement mortar for the stone wall, cement mortar for the breeze block wall, and lime mortar for the brick wall. And lay the wall row by row.
8. Proceed with the finishing touches

For a more aesthetic result, proceed with the finishing touches, which can consist of painting the wall (brick wall) or applying a coat of plaster or rendering (breeze block wall), according to your taste.
Sound off in the comments section below and tell us what you want to read next and if you want to read more about low fences.


