
How to Install a Cork Wall
The cork wall is insulating, moisture resistant, and very aesthetic.
Cork walls can be installed in any room in the house and can be combined with other interior wall coverings: lime plaster, tiles, paneling, fabric, paint, or wallpaper.
Cork wall: different types and aspects
Cork walls come in the form of tiles, rolls, or panels, depending on their composition:
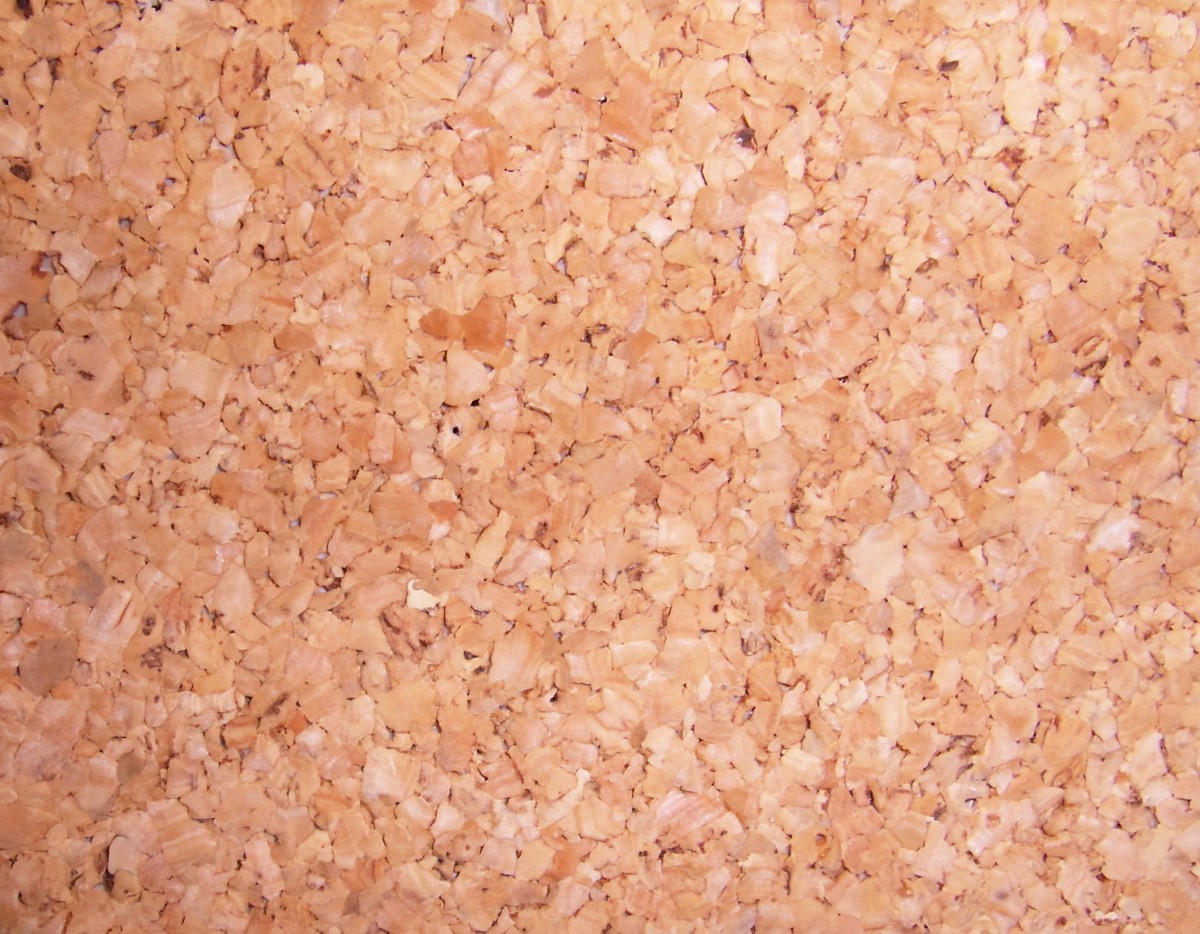
Recomposed or agglomerated – In slabs or rolls:
Cork can be cut into strips or agglomerated and glued to support.
The support can be colored to be seen and participate in the decorative aspect.
Natural raw or sanded – Generally in slabs for natural cork:
- From the bark of the cork oak, the colors are natural: gray, brown, ochre, and green bronze.
- Very rustic aspect and increased insulation.
- Sanded cork is more refined in appearance and softer.
- Expanded – Generally presented in sheets or panels:
- Composed of pieces of cork pressed and bound (no binder added).
- Used as a sound and thermal insulator, with an excellent decorative appearance.
Cork wall: insulating, fire and wear-resistant
Cork is made from the bark of the cork oak tree.
Cork is a natural material that has fascinating characteristics:
- rot-proof: it is not attacked by insects, rodents,
- fire-resistant: it is hardly inflammable and does not give off toxic fumes,
- wear-resistant: it withstands friction well and remains in good condition in places where it is used,
- reduces vibrations: thanks to its insulating qualities, cork absorbs shock and vibration noises from appliances, such as washing machines,
Thermal and phonic insulation: if you are looking for these qualities, you must buy a cork that meets the insulation standards in force, with a minimum thickness of 3 mm,
antistatic: dust does not penetrate it, and it is not conducive.
Prepare the installation of the cork wall
Cork wall is easy to install in rolls, tiles, or panels.
The installation of the cork wall requires a little rigor and care:
- respect to the alignment of the tiles,
- no trace of glue.
Preparing the base for the installation of the cork wall
Framing the support is very important for a good result.
The walls must be clean, sound, dry, and flat: the slightest defect shows.
Clean all surfaces before installation, dust thoroughly, and protect the floor with a tarp.
Preparation tips according to the type of surface
Here is what you can do, depending on the type of surface to prepare.
PAINTED PAPER
To be removed, but it is possible to keep it if:
- it is installed on a raw wall and if it is in perfect condition: check that the strips are perfectly glued,
- the paper is not vinyl, and if it is smooth.
- Apply an undercoat to unify the background and facilitate the adhesion of the glue.
OLD PAINT
If it is glossy, it must be made matt by sanding or applying a delacquer or a primer.
It must be in good condition; if necessary, scrape, sand, and apply an undercoat or a coating to find a perfectly flat surface.
TILING
Apply a special coating to restore a flat surface or remove the tiles and restore the wall.
PLASTER
It must be in good condition and dry; if it is rough, apply an undercoat.
CONCRETE
In good condition, dry, and apply an undercoat.
WOOD
It must be in good condition and dry; if necessary, coat and apply an undercoat.
Before installing the cork wall
Store the cork in the room where you will glue it at least 24 hours before installation.
The room must be at a temperature of 18°C or higher.
Cork is a living material like wood; a suitable temperature prevents it from becoming brittle to facilitate installation.
Installing Cork wall: step by step

The cuts of the tiles should be on the periphery of the room.
To begin, trace the medians of the wall.
If you notice only a tiny strip of cork on the outside walls, shift the installation in one direction or another to remove it.
Here is how to proceed with the installation of the tiles:
STEP 1
Glue the wall with a roller in the area of the first tiles.
Do not glue the entire wall, but just the location of the first few tiles.
Preferably use acrylic glue that allows the tiles to slide slightly to correct the alignment if necessary.
Warning: Always read and follow the manufacturer’s instructions.
STEP 2
Place the first tile along your reference lines.
Please do not press the tile, but carefully check its alignment.
STEP 3
Place the second, third, and fourth slabs around your axis and check their alignment.
When your tiles are perfectly aligned, run a rubber roller over their surface without pressing too hard.
STEP 4
Continue laying the first row until you reach the end of the wall.
To cut your tile at the end of the wall, do not take the dimension because it would not be exact.
- Lay a full tile (tile to be cut) on top of the last tile in place, make sure it is perfectly aligned,
- maintain it with pins,
- and place another tile (reference tile) on top, but this time fill in the space between the tile and the wall,
- draw a cut line on the slab to be cut,
- remove the tiles, and cut your strip with a cutter and a metal ruler.
Put your strip in place, making sure it is the right size.
Glue the wall and put the strip in place.
STEP 5
Continue row by row, up and down. You can make the cuts at the end.
STEP 6
Allow drying before applying a protective varnish if needed.
Good to know: Prices vary depending on the quality and appearance of the cork.
The difference is explained by the significant difference in quality and appearance on the market.


