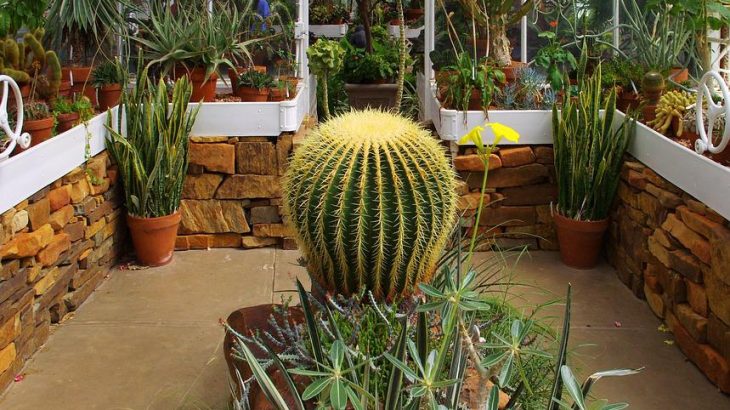
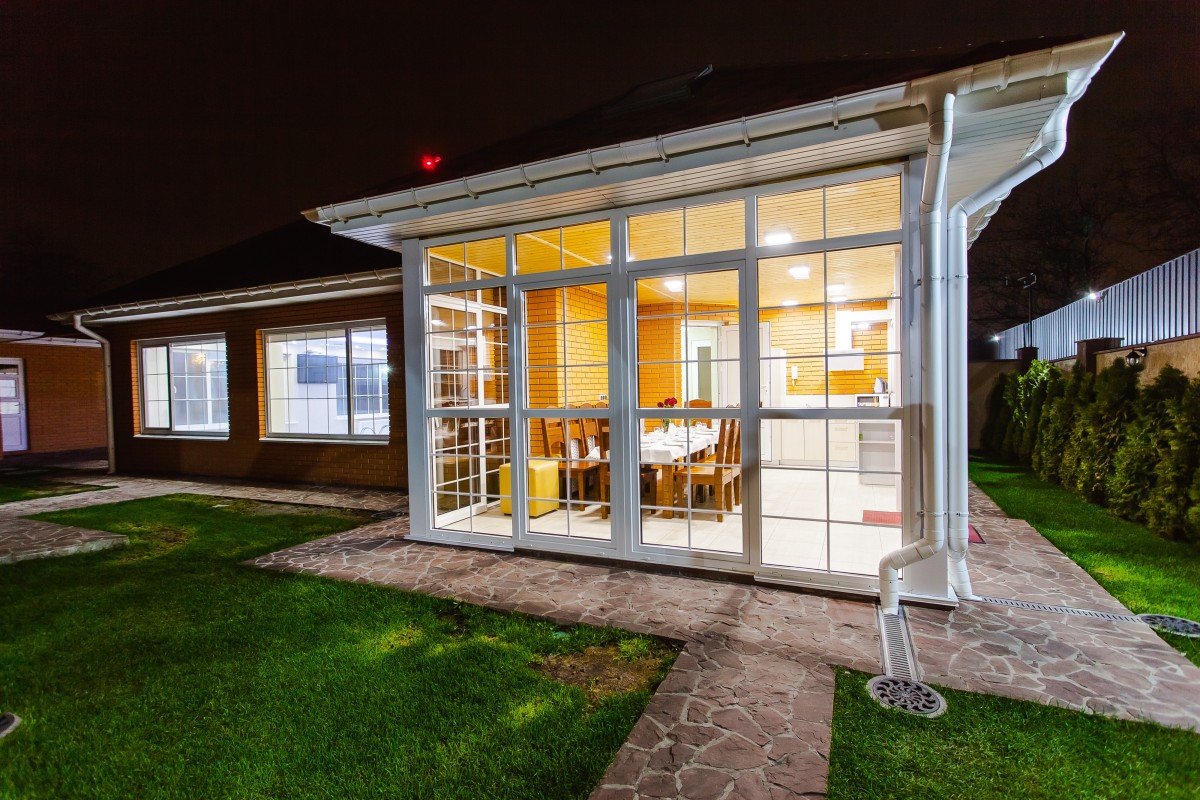
Building a Conservatory Kit
Some manufacturers offer DIY veranda kits if you want to build your veranda. The various components are pre-cut and pre-drilled to make installation easier.
Here are some details about the kit veranda and its characteristics.
What is a kit veranda?
The kit veranda is available in aluminum and also in PVC.
Depending on the manufacturer, you can customize the color of the elements.
The kit includes all the necessary units (roof, structure, glazing, door, etc.) and all the accessories (screws, glue, screw covers, etc.) required for assembly. To make it easier to find the parts on the plan and to put them in place, they are usually numbered, like any other construction kit.
However, most manufacturers dedicate a technician to assist you in the preparation stages (taking measurements for the foundation slab, administrative procedures, etc.) and the assembly of your kit veranda.
Two types of kits are available on the market: packaged or made-to-measure.
Good to know: You can save up to 50% by doing the assembly. However, it is better to be an excellent handyman to start the work.
The packaged kit
You can opt for a packaged kit if your conservatory project is not subject to any particular size or surface constraints. This includes standard-sized elements that can be easily adapted to any home.
Good to know: packaged veranda kits are less expensive than those made to measure. You should expect to pay around $4,000 for a room of about 6 m² made of PVC.
The custom-made kit
Unlike the packaged kit, the custom-made kit is designed according to your dimensions.
These must be specified to your manufacturer when you place your order.
It takes about two months before your custom-made kit is delivered.
This solution is a good compromise for those who want a veranda per their desires and reduce the investment costs.
Good to know: if you follow the instructions carefully, assembly only takes a few days. Don’t hesitate to ask for help from one or two extra people, as the elements are often heavy and bulky.
This is not for the faint of heart! This handling is delicate: a successful conservatory must be well insulated and watertight.
Build it yourself, or have it built by a professional?
Building your conservatory is not easy, and only if you are an excellent handyman should you try it:
Insulation is the key, and this is often where problems arise. If not correctly installed, your conservatory will not be watertight: rain on the roof or cold and wind seeping through poorly installed seals.
You will probably also have to do some masonry work.
In short, this is not a garden shed but a “real house” that does not tolerate imperfections!
Price of a kit veranda
You can buy a kit veranda in a large DIY shop if you decide to go ahead. Specialist builders do not offer many kit verandas, as they usually take care of the assembly.
You will find two types of kit conservatories in department stores:
pre-formatted kits: you do not have a choice of dimensions
custom-made kits: before ordering, you can give the manufacturer your measurements
Kit verandas have an attractive and competitive cost.
Installation steps
Would you like to install your kit conservatory yourself? Here are the steps to follow:
Step 1:
Make sure that your conservatory kit is complete. It must include:
the structural elements: posts and frames
the roof elements: (polycarbonate) sheets, rafters, etc.
the gutter
all accessories needed to install the veranda: professional glue, screws, silicones, etc.
Refer to the instructions for your kit to ensure nothing is missing.
Step 2:
Check that the ground for the future veranda is stable.
Step 3:
Check that the height of the veranda and the walls of your house are compatible.
Step 4:
Arrange for electricity, water, and heating if your conservatory is to become a living space.
Step 5:
Pour a concrete slab to the size of the veranda.
This forms the basis of the veranda.
Ensure it is properly insulated to avoid moisture or water penetration problems later on.
The height of the floor should be the same as the floor of the house.
The slab should be dry before the veranda is installed.
Step 6:
Follow the manufacturer’s installation instructions. The installation of the veranda usually only takes a few days.
Hope you liked this post. Remember to leave your comments below.


