7 Great Steps to Install Plasterboard False Ceiling
Contents
– Step 1: Take the measurements
– Step 2: Draw the lines
– Step 3: Attach the hangers
– Step 4: Attach the angle iron
– Step 5: Mount the rails
– Step 6: Mount the plates
– Step 7: Make the finishing touches
The installation of a plaster ceiling requires some technical skills. First, it is necessary to take careful measurements, assemble the metal furrings, and install the panels at height.
Here is how to install a plasterboard ceiling.
What is the false ceiling
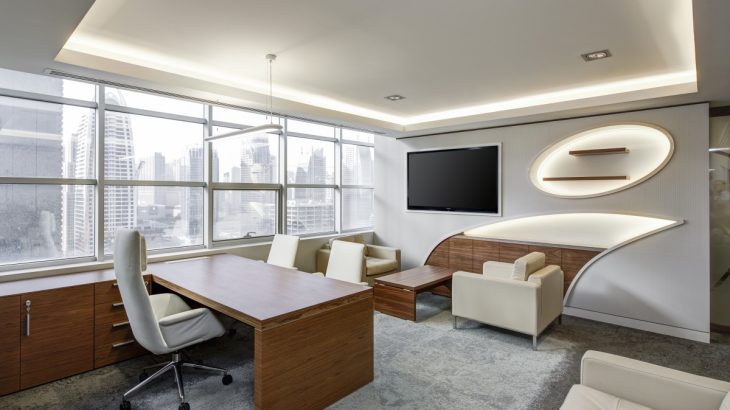
False ceilings are extremely common. In addition to hiding a roof in poor condition, they can conceal electrical wiring, integrate spotlights, and accommodate thermal insulation and sound.
One possible solution consists of screwing plasterboards on a metal structure attached to the ceiling.
This framework is made up of
– hangers screwed to the ceiling (or to joists), spaced at a maximum of 1.20 m, and adjustable in height;
– angle brackets fixed at the periphery of the walls;
– horizontal rails, clipped on the hangers and resting on the angles, 3m long, spaced at 50 cm;
– Connecting brackets to join two rails.
Caution: Provide help and, once on the stepladder, try to adopt the most comfortable position, never work at arm’s length!
1. Take the measurements
– Measure the surface of the ceiling.
– Draw a plan on paper to help you.
– Locate the location of the hangers.
– Assess your needs for tracks, hangers, splice bars and gypsum board.
Note: gypsum board is attached perpendicular to the track.
2. Make the layout
– Determine the height of your false ceiling.
– Draw a line on the wall perimeter to mark the location of the angle irons, 13 mm above (thickness of the plasterboard).
– Use a spirit level and a ruler.
3. Attach the hangers
Some hangers must be pre-mounted (a plate at the top end, then a base on the threaded rod at the other end); others are adjustable with a screw.
– Roughly adjust the height of the hanger (in the case of a base plate, screw it more or less along the threaded rod).
– Choose the fastening method appropriate to the nature of the support:
◦ knock-in dowels for concrete;
◦ screws for plaster;
◦ screws for wood (if fixing in a beam).
– Screw 25 cm from the wall the hangers corresponding to the ends of the rails; the height of the hanger is then fixed.
– Stretch a line between hangers to materialize the rails at the level of the fixing point.
– Advance along the line by screwing the hangers to their location using a drill, screwdriver or hammer.
– Adjust the height of the base to the height of the chalk line.
4. Attach the angle irons

– Fix the angles around the wall on the line you have drawn.
– Use screws and tools adapted to the nature of your wall (see step 3).
5. Mount the rails
– Cut the rails with a hacksaw to the required length.
– Attach them by clipping them directly to the end of the hangers.
– If the width of your room exceeds 3 m, join 2 rails with a splice bar.
6. Assemble the plates
– If necessary, use a plate lifter to raise them to the right height.
– Position the plates perpendicular to the rails.
– Start by placing the plate against the wall.
– Fasten it with a screwdriver every 30 cm on the 5 rails that cross it.
– If necessary, cut the plates with a hand saw after taking precise measurements.
7. Make the finishing touches
Before applying the finishing touches, by painting or other coatings (wallpaper, plaster), you must cover the screw heads and the plates joined:
– either by grouting the plasterboards and covering the screw heads with filler;
– or by applying a layer of finishing plaster over the entire surface.
Materials for installing a plasterboard false ceiling
Knock-in dowel
Chalk line
Carpenter’s pencil
Step ladder
Board lifter (available for rent)
Tape measure
Spirit level
Screwdriver
Aluminum ruler 2 m
Hacksaw
Hand saw
Plasterboard screw (trumpet head)
Read more:
– Adding Decorative Mouldings to Your Home;
– How To Install Ceiling Mouldings;
– 6 Steps to Installing a Ceiling Cornice;


