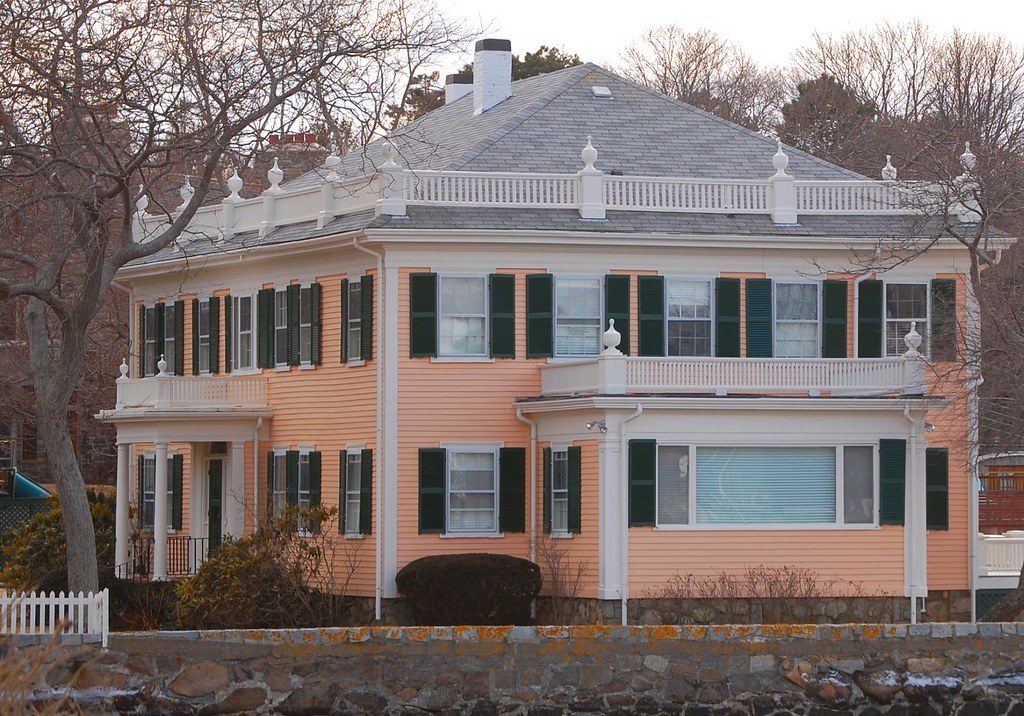
There are many types of roofing that most people don’t know about and today, we are going to talk about such roofing that is known visually by everyone around the world. Hip roofing is a perfection of the gable consisting of two inclined planes forming like a trapezium. Two planes of the roof are forming to be a triangle with the same slope. If it is observed, this roofing design looks more beautiful than a gable roof. However, the designing cost tends to be bigger because it uses more frames.
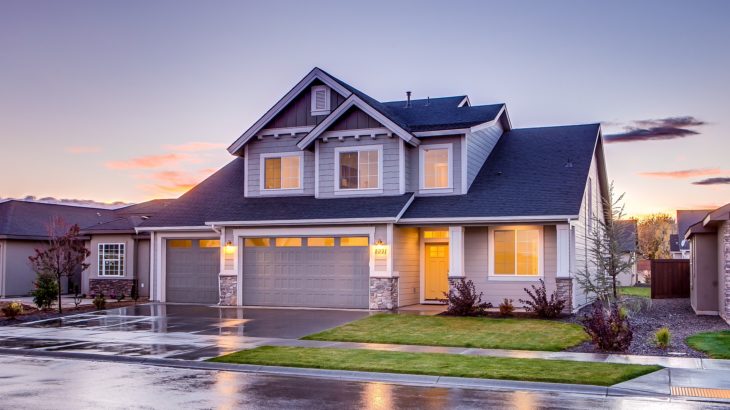
One of the two most popular roof designs, if not the most popular is the hip roof. Not only does it add architectural lines to the design of a house, but it also offers more protection from the elements to walls, windows, and doors, when framed with a generous overhang. It also lends more to the structural integrity of a home with its rafters tying off to all four corners and walls of the structure.
A hip roof is a little more complex to frame than a gable roof. Besides a ridge board, a gable roof has only common rafters (all rafters the same length) as its only components. The components of a hip roof are the ridge board, common rafters, hip rafters, and jack rafters. The hip roof does not always have a ridge board. If the building is a square with all four walls being the same length, there will be no ridge and the roof will resemble a pyramid. When cutting the common, hip and jack rafters, their lengths can be determined by using a calculator or a rafter table book like “The Full-Length Rafter Framer”. the length of the ridge can be determined by subtracting the width of the building from its length. For example, if the building is 30 x 24, the ridge will be 6 feet in length. If the ridge board is 1 1/2″ thick (which is usually the case), then 1 1/2″ needs to be added to the ridge length. This is because all common rafters are shortened half the thickness of the ridge or 3/4″. This allows the top of the common rafters to line up with the top of the ridge at each end. When framing a hip roof, always start with the common rafters. This will place the ridge in its proper location. This part of the roof is framed like a gable roof, but the similarity ends there.
Start by nailing common rafters on one side of the ridge at each end. Now raise the ridge and nail two rafters on the other side of the ridge opposite the first two rafters. Once this is done, push the ridge up so the birds mouth cuts pull in tight to the walls on each side of the building. These rafters can now be nailed to the wall in their corresponding locations in relation to the ridge. Now nail the two common rafters to the center of the end walls and to the ends of the ridge board. This will lock the ridge in its exact location. The rest of the common rafters can be nailed to the wall and ridge board. The next parts to be installed are the four hip rafters. These are nailed on the outside corners of the buildings walls and in the intersection made by the end and first common rafter where they meet at the ridge. With the hips and common rafters in place, it’s easy to see why this makes for such a strong and solid roof. With the hip rafters in place the jack rafters can be installed. Before nailing on the first jack rafter, a string must be run from the plumb cut on the hip rafter to just above the birds’ mouth. This can be done by driving a nail in the center of the hip at the above-mentioned locations. Tie the string to one nail, pull it tight, and secure it to the other nail. This is to ensure the hip rafter stays straight during the jack rafter installation. As the jacks are nailed on, the string should be kept at the center of the hip. To help keep the hip rafter straight, the jack rafters should be nailed on in pairs, first one side of the hip, then its mate on the other. This process is continued all the way down the hip rafter till all jack rafters are installed on both sides of the hip. Remove the string and repeat this procedure on the remaining three hip rafters to complete the framing of the roof. Collar ties and fascia boards will need to be installed before the roof can be sheathed, but these are the basic steps to framing a hip roof.
How to Build A Hip Roof?
After that, you should plan the design of the hip roof. There are several designs of the hip roofs to choose from being built at home. Then, you should determine the inclined angles of the roof. It is used to set and install the roof perfectly.
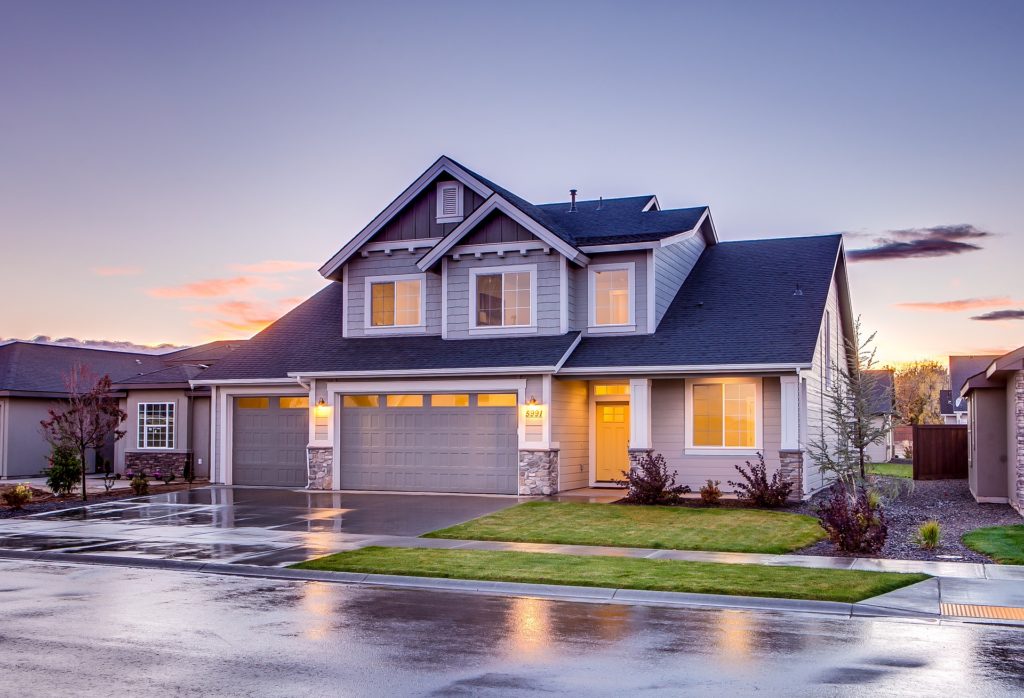
The slope of the angle is a degree. It is formed horizontally showing the perfect detail of the hip roof. It is an expensive roof in which it embeds some complicated steps in building it. Though it looks complex, it creates a luxury and great finish making you amazed. That is why it always becomes the first choice of roofing designs.


