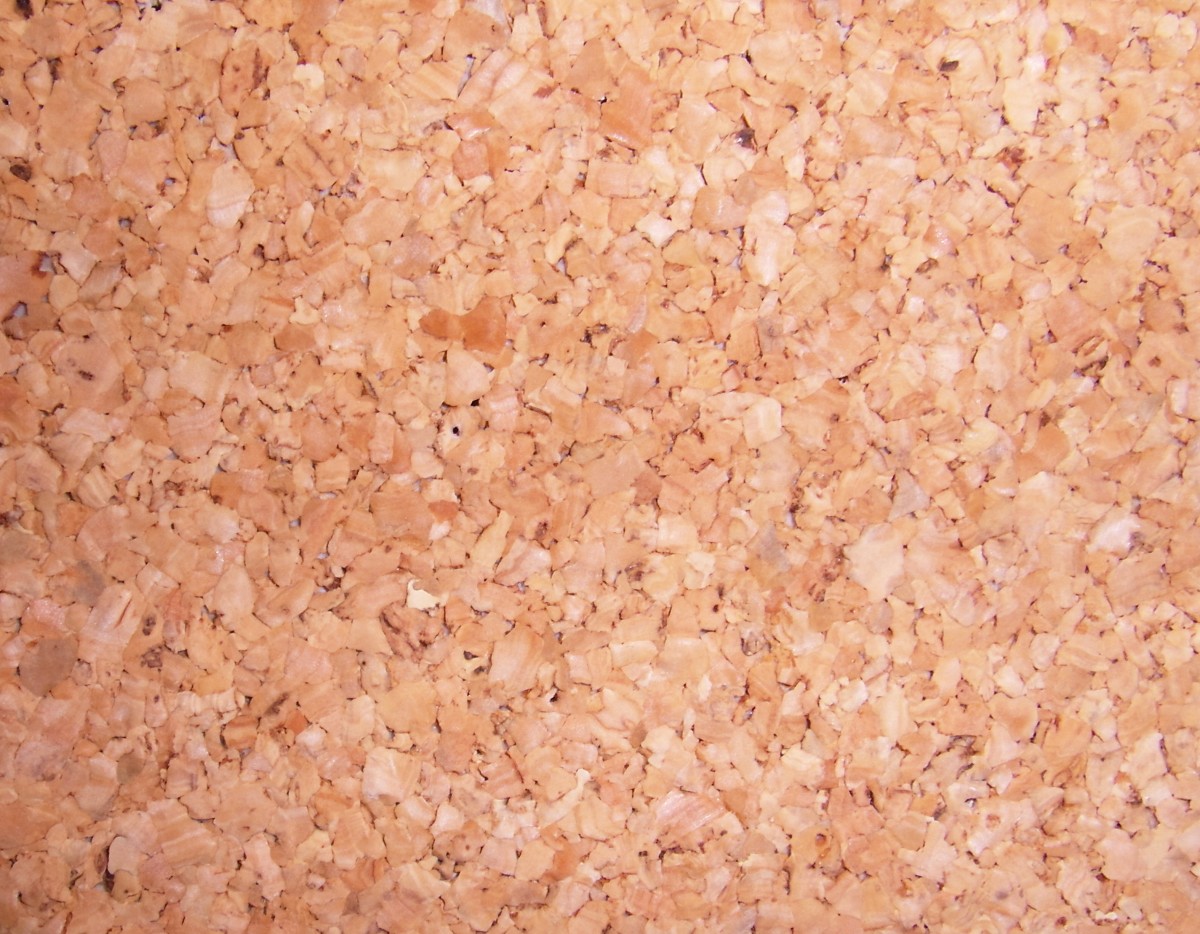
In the world of interior design and construction, cork walls have emerged as a favorite for their aesthetic appeal and functional benefits. This Eco-friendly material not only adds warmth and texture to spaces but also boasts excellent insulation properties and soundproofing capabilities. For building professionals looking to master the art of cork wall installation, this guide provides a comprehensive overview.
Preparing for Installation
Choosing the Right Cork
Before diving into the installation process, selecting the appropriate cork material is crucial. Cork comes in various forms, including tiles and roll-out sheets, each suited for different applications and preferences. Consider the room’s purpose, the desired aesthetic, and the wall’s condition when making your selection.
Gathering Your Tools and Materials
Having the right tools at hand is essential for a smooth installation process. You’ll need:
- Measuring tape and a level
- Utility knife or a saw for cutting the cork
- Adhesive suitable for cork
- Roller or brush for applying adhesive
- Sandpaper for smoothing any rough edges on the wall
Installation Steps
Preparing the Wall
- Start with a clean, smooth surface. Remove any debris, nails, or screws from the wall. Fill in holes and sand down any uneven areas. A clean, smooth surface ensures better adhesion and a more professional-looking finish.
Measuring and Cutting the Cork
- Measure the wall area to determine how much cork you need, adding a bit extra for waste and trimming. If using tiles, plan your layout to minimize cuts and waste. For rolls, measure and mark the length needed, cutting the cork with a utility knife or saw.
Applying Adhesive
- Follow the manufacturer’s instructions for your chosen adhesive. Apply evenly across the wall or the back of the cork, depending on the adhesive type. For larger installations, work in sections to prevent the adhesive from drying out.
Attaching the Cork to the Wall
- Carefully align the cork with the wall, starting from the bottom and working your way up. Press firmly and evenly to ensure good contact with the adhesive. Use a roller to remove any air bubbles and ensure a firm bond.
Trimming and Finishing Touches
- Once the cork is in place, trim any excess material at the edges for a clean, precise fit. If necessary, sand the edges lightly for a smooth finish.
The Benefits of Cork Walls

Cork walls are not just aesthetically pleasing; they offer a range of benefits that make them an excellent choice for both residential and commercial spaces. The natural insulation properties of cork can help regulate indoor temperatures, while its sound-absorbing qualities make it ideal for spaces that require noise reduction. Additionally, cork is a sustainable, renewable resource, making it an environmentally friendly option for Eco-conscious clients.
Ensuring Professional Results
For building professionals, the quality of installation directly impacts the finished project’s look and longevity. Paying attention to detail, such as ensuring the cork is level and seams are tight, can make a significant difference in the overall outcome. Taking the time to properly prepare the surface and apply the materials according to best practices will result in a cork wall installation that is both beautiful and durable.
Elevating Interior Spaces with Cork
Incorporating cork walls into your building projects can significantly enhance the interior’s functionality and design. By mastering the installation process, you can offer clients a unique feature that adds character and comfort to any space. Whether for a cozy home office, a vibrant retail space, or an Eco-friendly building project, cork walls provide a versatile and attractive solution that meets the needs of modern design.


