Hello, building pros and enthusiasts! Tiling a plaster wall can transform any space, adding a touch of elegance and durability. Whether you’re an experienced contractor or a budding DIY enthusiast, this guide will walk you through the steps to tile a plaster wall like a pro.
Step 1: Gather Your Tools and Materials
Before you start tiling, ensure you have all the necessary tools and materials on hand. Here’s what you’ll need:
Tools:
- Tile cutter or wet saw
- Notched trowel
- Level
- Spacers
- Grout float
- Rubber mallet
- Measuring tape
- Bucket for mixing mortar
- Margin trowel
- Tile spacers
Materials:
- Tiles of your choice
- Thin-set mortar
- Grout
- Sealer
- Backer board (if needed)
- Screws (if using backer board)
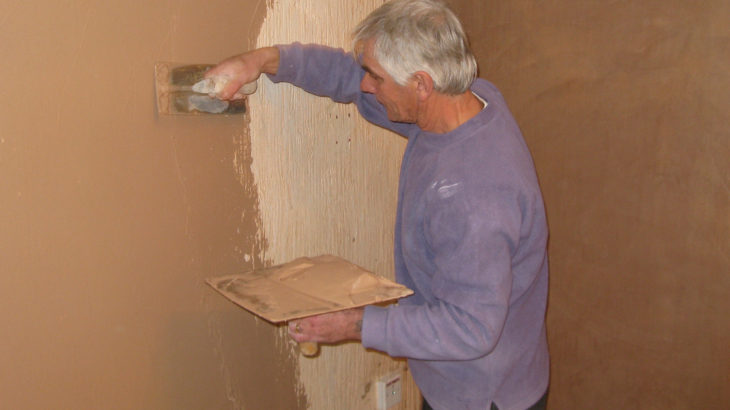
Step 2: Prepare the Surface
Proper surface preparation is crucial for a successful tile installation. Follow these steps:
Check for Stability: Ensure that the plaster wall is stable and free from any loose or damaged areas.
Clean and Dust: Remove any dirt, dust, or debris from the wall’s surface. A clean surface ensures better adhesion.
Repair Any Damage: Repair any cracks or holes in the plaster with a patching compound and allow it to dry thoroughly.
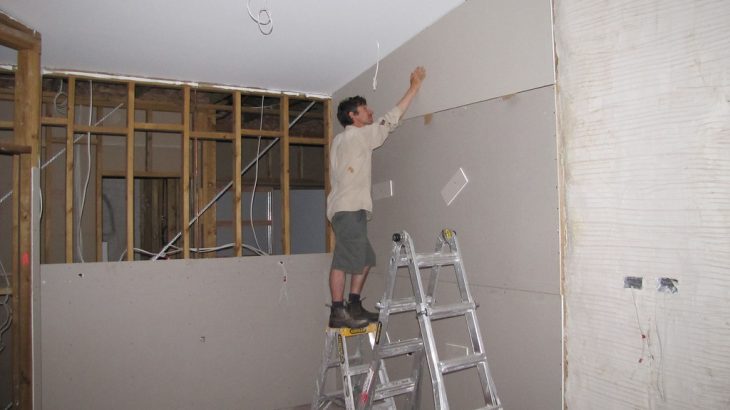
Step 3: Apply the Backer Board (If Needed)
In some cases, it’s necessary to install a backer board to provide a stable surface for the tiles. This step is essential if the plaster wall is not in good condition.
Measure and Cut: Measure the area and cut the backer board to fit. Use screws to secure it to the wall, making sure it’s level and plumb.
Apply Thin-Set Mortar: Spread a layer of thin-set mortar onto the backer board using a notched trowel.
Step 4: Mix the Thin-Set Mortar
Follow the manufacturer’s instructions to mix the thin-set mortar. The consistency should be that of creamy peanut butter.
Step 5: Start Tiling
It’s time to begin the actual tiling process. Here’s how:
Apply Thin-Set Mortar: Using the flat side of the trowel, spread a layer of thin-set mortar on the back of a tile.
Press the Tile: Press the tile onto the wall, ensuring it adheres evenly. Use tile spacers to maintain uniform gaps between tiles.
Check for Level: Use a level to ensure the tile is plumb and level. Adjust as needed.
Repeat: Continue applying mortar and setting tiles, working your way from one side of the wall to the other.
Step 6: Cut Tiles When Necessary
Inevitably, you’ll need to cut tiles to fit the edges and corners of the wall. Here’s how:
Measure and Mark: Measure the space where the tile needs to fit and mark it on the tile’s surface.
Use a Tile Cutter: Cut the tile along the marked line using a tile cutter or wet saw.
Check the Fit: Ensure the cut tile fits snugly into place.
Step 7: Allow the Mortar to Set
After tiling the wall, allow the thin-set mortar to set for the time recommended by the manufacturer. This usually takes about 24 hours.
Step 8: Apply Grout
Grouting is the next crucial step in the process. Follow these steps:
Mix the Grout: Mix the grout following the manufacturer’s instructions. The consistency should be similar to toothpaste.
Spread Grout: Using a grout float, spread the grout across the tiles at a 45-degree angle. Press the grout into the spaces between the tiles.
Wipe Away Excess: After about 20 minutes, wipe away excess grout from the tiles with a damp sponge. Rinse the sponge frequently.
Seal the Grout: Once the grout has dried, apply a grout sealer to protect it from moisture and staining.
Step 9: Finish the Corners and Edges
To create a polished look, consider using bullnose tiles or edge trim pieces to finish the corners and edges of the tiled wall.
Step 10: Clean Up
Before the grout sets completely, clean the tiles with a damp sponge to remove any remaining grout haze.
Step 11: Enjoy Your Newly Tiled Wall
Once the grout has fully cured, step back and admire your beautifully tiled plaster wall. It’s now ready to enhance the aesthetics of the space, whether it’s a kitchen, bathroom, or any other room.
Conclusion
Tiling a plaster wall can be a satisfying and visually rewarding project, whether you’re a professional in the field or a DIY enthusiast. With the right tools, materials, and attention to detail, you can achieve a stunning and durable tiled wall that elevates the aesthetics of any room. So, roll up your sleeves, get tiling, and transform your spaces with the timeless beauty of tiled plaster walls. Happy tiling! 🏠🔨🧡


