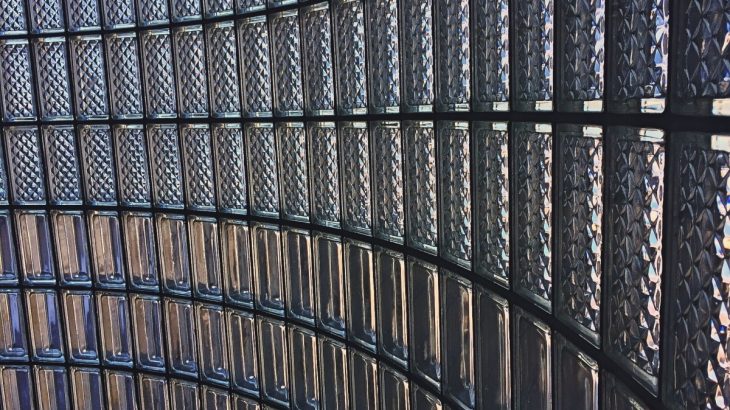
The Allure of Glass Blocks: A Brief Introduction
Before we embark on the comprehensive installation process, it’s essential to grasp why glass blocks continue to captivate the hearts of architects, interior designers, and building professionals alike. These solid, translucent blocks hold the power to transform spaces, offering a unique blend of modernity, elegance, and functionality.
Step 1: Safety First
Working with glass blocks demands strict adherence to safety measures. Always equip yourself with the necessary safety gear, including safety glasses to protect your eyes, gloves for handling the blocks, and knee pads for comfort while working on the ground.
Step 2: Planning and Design
In the world of architecture and design, every project begins with an idea, and glass block installations are no exception. Before you pick up your trowel and mortar, you should take time to plan and design your glass block installation.
Step 3: Gathering Materials
With your design in hand, it’s time to gather the materials you’ll need for the project. The essentials typically include glass blocks, mortar, spacers, reinforcing bars, and a trowel. Make sure you have all these items readily available before you start the installation process. It’s always a good practice to check the manufacturer’s recommendations for any specific materials or tools they suggest for their products.
Step 4: Preparing the Area
Like any construction project, proper preparation is key to success. Begin by thoroughly cleaning the area where you intend to install the glass blocks. Dust and debris can disrupt the bonding between the blocks and the substrate, so it’s crucial to ensure the surface is clean and free from any obstructions.
Step 5: Mortar Mixing
The mortar you use for glass block installations is crucial to the overall strength and longevity of the project. The mortar should be mixed according to the manufacturer’s instructions. The consistency of the mortar is essential; it shouldn’t be too thick or too runny. An ideal mortar mixture should be workable, ensuring a strong bond between the glass blocks and the substrate.
Step 6: Setting the First Row
Now, it’s time to get your hands a bit dirty. Begin by setting the first row of glass blocks. Apply a layer of mortar on the bottom and sides of the block that will be in contact with the substrate. Ensure that the block is placed securely in the desired position. Using spacers is vital to maintain even gaps between the blocks, creating a clean and aesthetically pleasing result.
Step 7: Reinforcement
The structural integrity of your glass block installation is of utmost importance. Reinforcing bars, commonly known as rebar, are used to provide additional stability and strength. These bars are inserted into the mortar joints and, when placed correctly, help in ensuring the long-term durability of the glass block wall. The rebar should be placed at regular intervals, and it’s essential to follow your design and structural specifications.
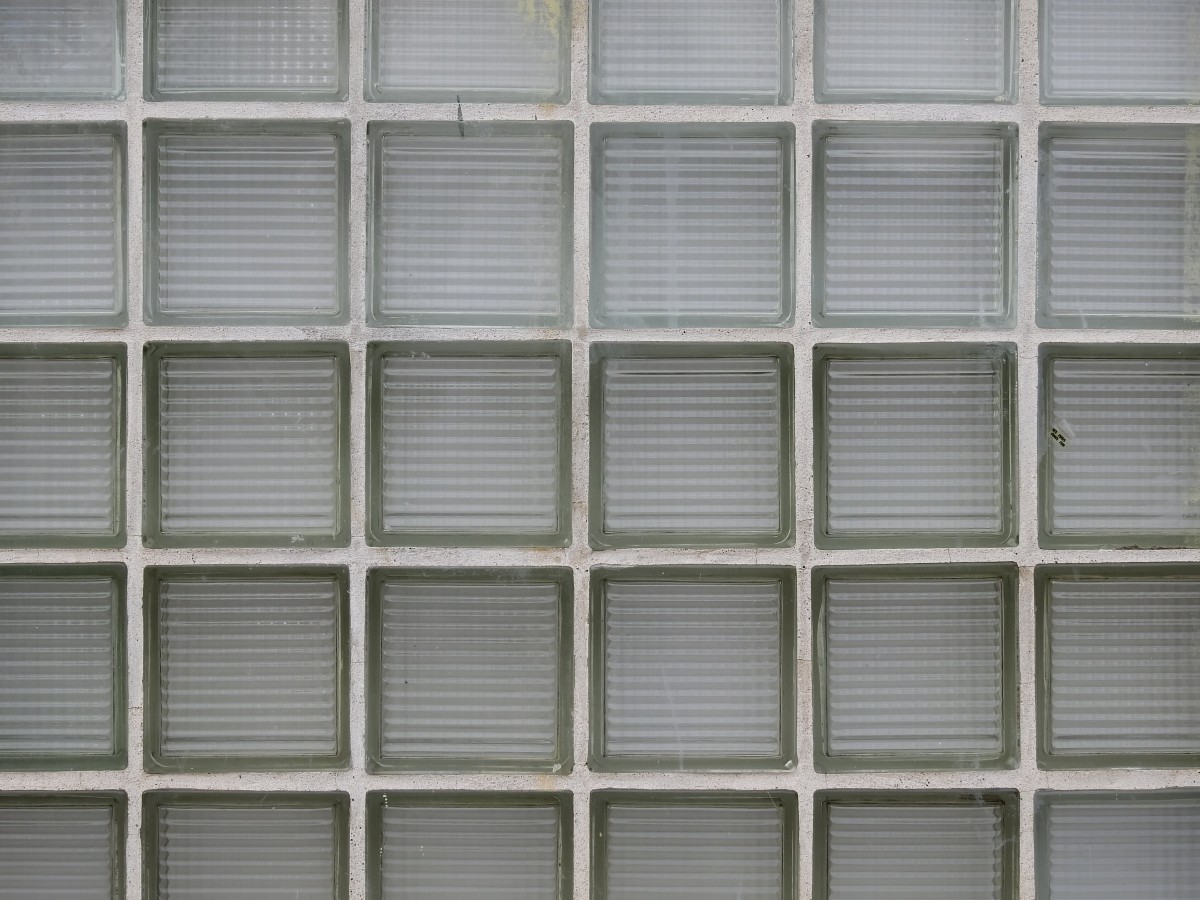
Step 8: Building Up
With the first row successfully in place, it’s time to build up the glass block wall. Each subsequent row is added in a similar manner, with a bed of mortar applied on the bottom and sides of each block to secure it in place. Spacers continue to be your trusted allies, guaranteeing uniform gaps between the blocks. It’s vital to maintain the level and alignment of the blocks as you proceed.
Step 9: Cleaning and Finishing
Once all the glass blocks are securely in place, the finishing touches of the installation process come into play. At this stage, it’s essential to ensure that the surface of the glass blocks is free from any excess mortar. Carefully clean the glass blocks and surrounding areas to guarantee a clean and professional appearance.
Another critical aspect is the finishing of the mortar joints. The goal is to achieve neat, tidy, and uniform joints that not only contribute to the aesthetic appeal but also enhance the overall structural integrity. Before the mortar sets entirely, it’s crucial to shape the joints to the desired form, whether concave or flat, and ensure they are consistent across the entire installation.
Mastering the Art of Glass Block Installations
Glass blocks are a testament to the blending of functionality and aesthetics in architectural design. As a building professional, you possess the skills to transform spaces by harnessing the elegance of these luminous, modern building materials. By following these nine essential steps, you unlock the potential of glass blocks in your projects.
Glass block installations are more than just construction; they’re an art form. With these steps, you’re well on your way to crafting environments that radiate with the allure of natural light and timeless elegance. Whether you’re designing an inviting shower enclosure, a captivating office partition, or an artistic restaurant feature, glass blocks offer a world of possibilities. Here’s to your next glass block masterpiece, where form and function unite in luminous harmony.


