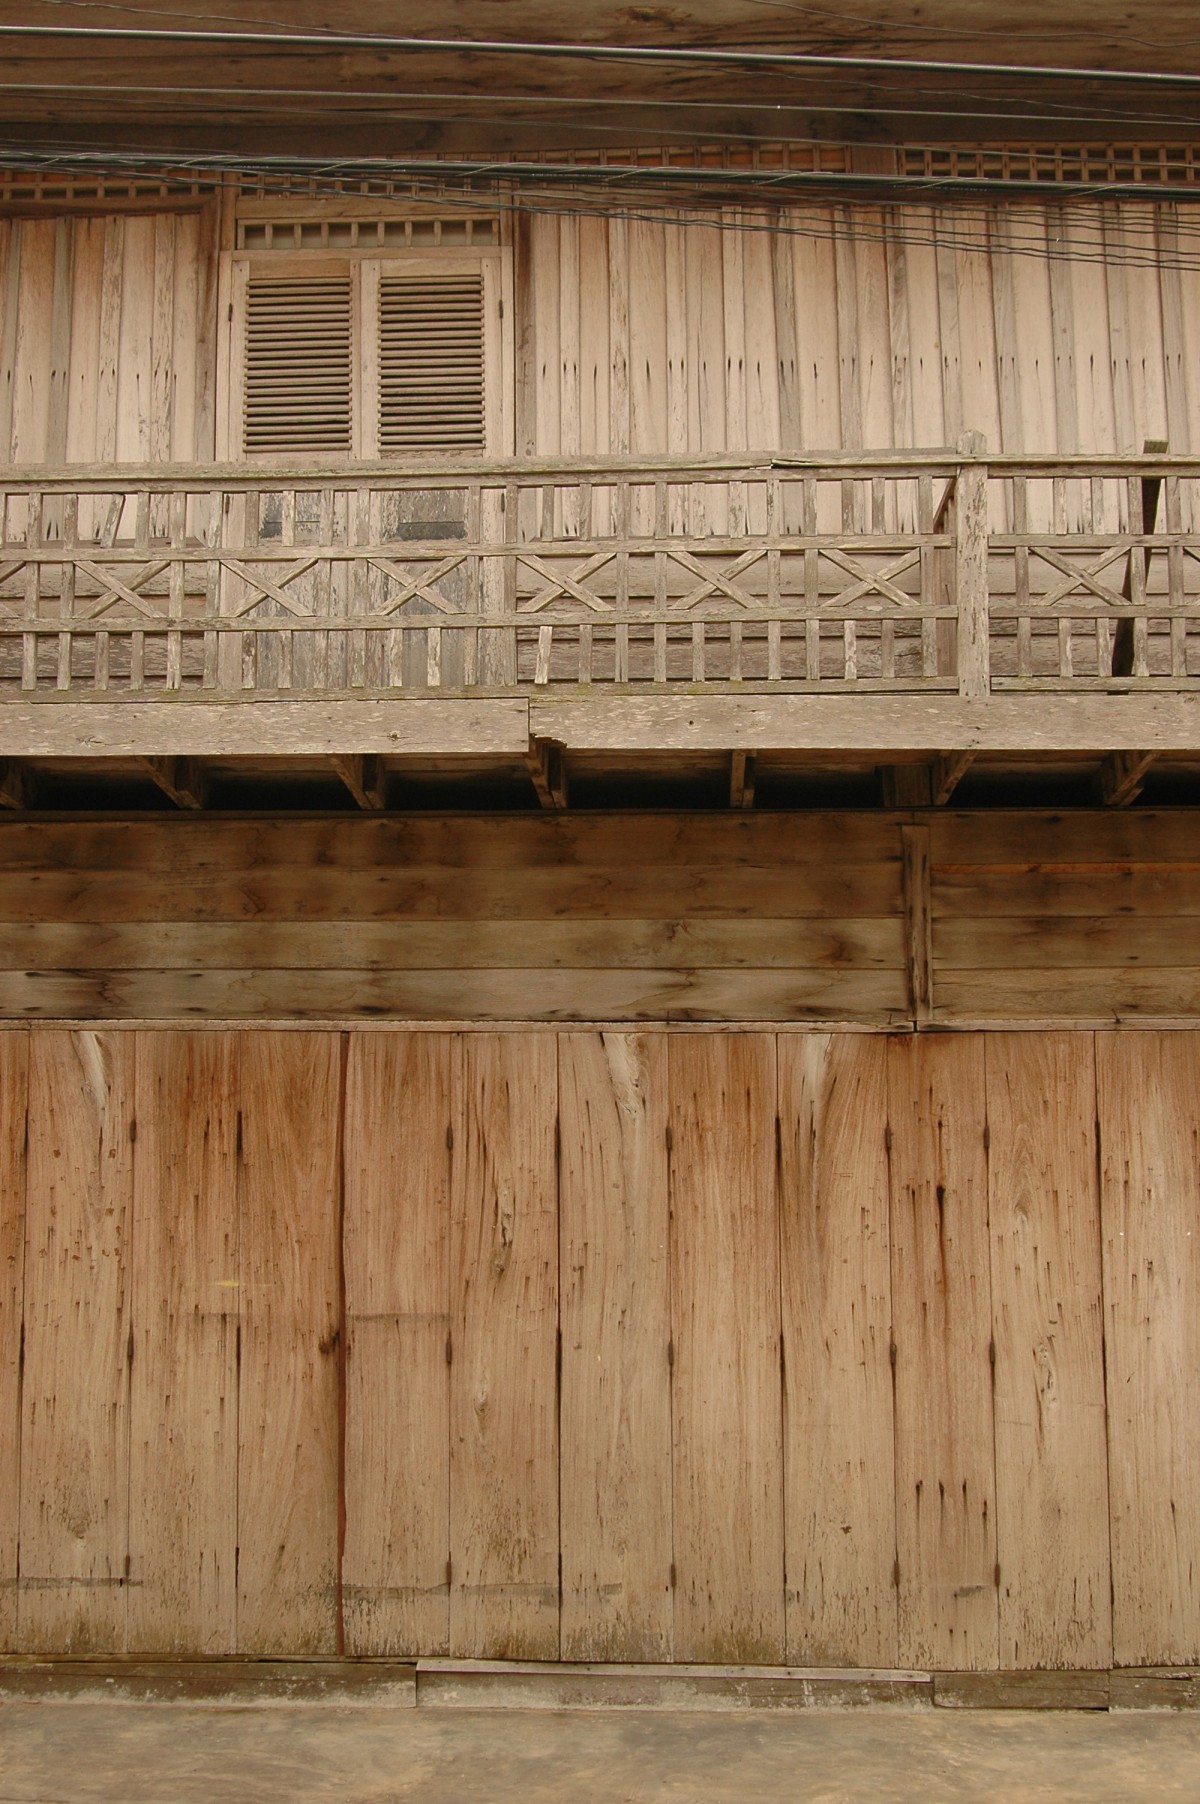
How to Install Flooring in a Wooden House
This practical sheet is part of a series on the interior design of a wooden house in self-construction. Find all the steps in the summary sheet.
Self-building a wooden house: fitting out the interior

For the construction of a wooden house, the realization of a wooden slab on the cinder block foundations is appreciated because it is a dry technique relatively fast to implement. The wooden slab is then made of OSB (Oriented strand board) panels, which are very resistant and easy to saw and drill.
Several types of floor covering can be considered on these OSB panels: tiles, wood parquet, or PVC strips. A waxed concrete floor is also possible, but its installation requires the intervention of a professional.
Follow the step-by-step method to install a floor covering on a wooden slab.
Focus on the flooring on a wood slab
Several types of flooring are possible on an OSB slab, but some precautions are sometimes necessary to ensure the durability of the work over time.
Wooden floor
There are several types of wood flooring:
– solid (strips formed in a single species of wood);
– laminated (a decorative sheet of wood is glued to a wooden strip);
– laminate (a varnished decorative sheet glued to a wood, PVC, or cardboard strip).
Glued installation is often a preferred solution for OSB panels. This is the technique presented in this sheet.
Good to know: make sure to use an adhesive adapted to the OSB support.
Floors can also be clipped without gluing (floating parquet) or clipped and glued to the support.
Tiling
The installation of tiles on OSB panels is possible, but it is necessary to take care of some particular points.
– The installation of the tiles is done with a wet mortar which risks swelling the wood and to take off the tiles afterward. It is, therefore, necessary to protect the panels from moisture.
– The floor can also be deformed under the weight of the tiles, and the panels must be reinforced.
– The joint areas between panels can cause breaks or cracks in the tiles. These areas should be filled before installation.
PVC cladding
Self-adhesive PVC flooring can be attached to an OSB floor.
– The surface area of the room should not exceed 30 m2.
– As with tiles, it is advisable to protect the OSB panels from moisture and to fill the joints.
Good to know: to limit the risks of squeaking the floor, an insulating felt must be placed during the realization of the wooden slab before the installation of OSB panels.
Prepare the installation of the flooring
Store your floor in the room of the destination
– If you are installing a wood floor, store the open bundles of boards in the room of destination at least 2 days before installation.
Good to know: lay the bundles flat to avoid deformations of the wood boards.
– For PVC planks, store them for at least 24 hours in the room of destination.
Check the flatness of the floor
Regardless of your flooring, make sure the wood slab is flat.
– Place a mason’s rule on the floor and put the spirit level on it.
– Check the flatness of the entire floor.
Treat the joints to install tiles or PVC
– Sand the joints between the OSB panels and around the edges, then sweep the surface.
Good to know: the width of the joints should be about 4 mm for tiled floors. They can be narrower for PVC flooring (about 1.5 mm).
– Fill all the joints with an elastomeric sealant without forgetting the perimeter.
– Dust the floor again thoroughly.
– Apply a primer over the entire surface and let it dry.
Good to know: respect the instructions for applying the primer (with a roller or a squeegee) and the drying time recommended by the manufacturer.
– Cover the joints with a 20 cm wide strip of glass mesh for tiles. Then press the glass mesh with mortar glue.
– If necessary, apply a flexible leveling with a specific product intended for substrates sensitive to deformation, and let dry.
Case 1: lay glued parquet on OSB panels
– Glue a part of the surface (about 1 m2).
– Place the first strip of parquet.
Good to know: for the boards along the wall, leave a space of 10 mm to create an expansion joint.
– Place a second strip by interlocking it with the first one.
– Continue in this way over the entire surface.
Case 2: Laying tiles on OSB
– Glue the floor with tile adhesive.
– Lay the tiles, leaving a joint of a few millimeters between each tile.
Good to know: Leave a 5 mm peripheral joint along the wall.
– Allow drying.
– Fill the perimeter joint with an elastomeric sealant.
– Grout with mortar to fill the joints between the tiles.
Case 3: install PVC planks on OSB
– Draw a line on the floor parallel to one of the walls.
– Remove the protective film from the first board and position it along the line drawn on the floor.
Good to know: pay attention to the direction in which the boards are installed, which the manufacturer usually specifies.
– Lay the other boards in a row without leaving any space between them.
Good to know: Locate the cut-outs of the boards installed along the wall and cut them with a cutter before removing the protective film.
– Leave an expansion joint of 1.5 mm all around.
Materials needed to install flooring in a wooden house
Cutter
Spirit level
Tile scraper
Aluminum ruler 2 m
Roller
Joint trowel
Notched trowel
Trowel


