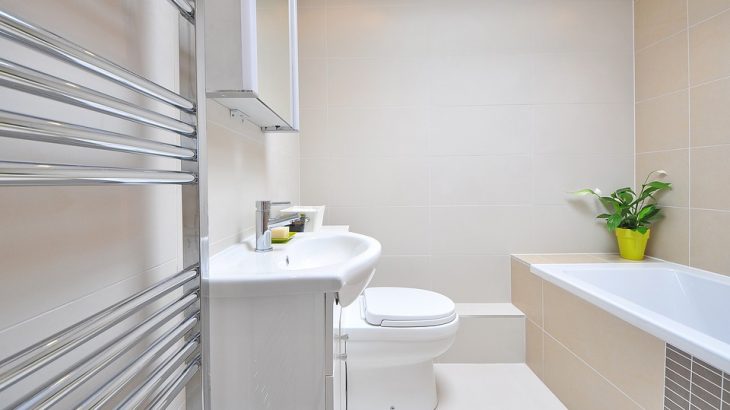
Having a functional and comfortable toilet is an essential part of any home. However, building a small toilet can be challenging if you have limited space. But with a bit of planning and creativity, you can build a toilet that not only meets your needs but also looks great. In this blog, we will go through the process of building a small toilet step by step!
Planning the Toilet Layout
Before you start building your toilet, it’s crucial to plan the layout of your space and determine the best location for your toilet. When planning your toilet, consider the following factors:
Size: Determine the toilet size and ensure it fits in the space you have designated for it. A standard toilet is usually around 30 inches long, but compact toilets can be as small as 24 inches.
Plumbing: Consider your plumbing location and ensure you can easily run the plumbing for your toilet.
Accessibility: Make sure that your toilet is easily accessible and that there’s enough room for you to use it comfortably.
Ventilation: Proper ventilation is essential for a small toilet, so ensure adequate ventilation in your space.
Once you have planned the layout of your toilet, it’s time to move on to the next step.
Gathering Materials and Tools
The materials and tools you will need for building a small toilet will depend on the type of toilet you
choose and the layout of your space. However, here is a list of the basic materials and tools you’ll need:
- Toilet
- Toilet seat
- Wax ring
- Bolts
- Nuts and washers
- Supply line
- Drain pipe and fittings
- Teflon tape
- Plumbers putty
- Screwdriver
- Adjustable wrench
- Level
Installing the Toilet Base
The first step in installing your toilet is to position the base. Place the wax ring on the base of the toilet and set the bathroom in place. Ensure the toilet is level and secure it to the floor using bolts, nuts, and washers. Tighten the bolts until the toilet is secure.
Connecting the Plumbing
The next step is to connect the plumbing. Attach the supply line to the toilet and tighten it with an adjustable wrench. Wrap Teflon tape around the threads of the drain pipe and attach it to the toilet flange. Make sure the connection is secure and use plumbers putty to seal any gaps.

Installing the Toilet Seat
Once the plumbing is in place, you can install the toilet seat. Simply place the seat on the toilet and tighten the screws with a screwdriver.
Testing and Final Touches
Before you use your toilet, it’s essential to test it to ensure everything is working correctly. Fill the toilet with water and let it sit for a few minutes. If the water level remains stable, your toilet is ready for use.
To finish off your small toilet, add any final touches, such as a new shower curtain, towels, or toiletries.
Conclusion
Building a small toilet can be challenging, but with a little planning and creativity, you can create a functional and comfortable space. Following these steps, you can build a toilet that meets your needs and looks great. Building a small toilet can be rewarding and fulfilling whether you’re a DIY enthusiast or just looking to save money.
However, it is essential to note that building a small toilet requires attention to detail and a certain level of plumbing knowledge. If you’re not confident in your ability to tackle the project yourself, it may be best to seek the help of a professional plumber. Not only will this ensure that your toilet is installed correctly, but it will also provide peace of mind knowing that it meets local building codes and regulations.


