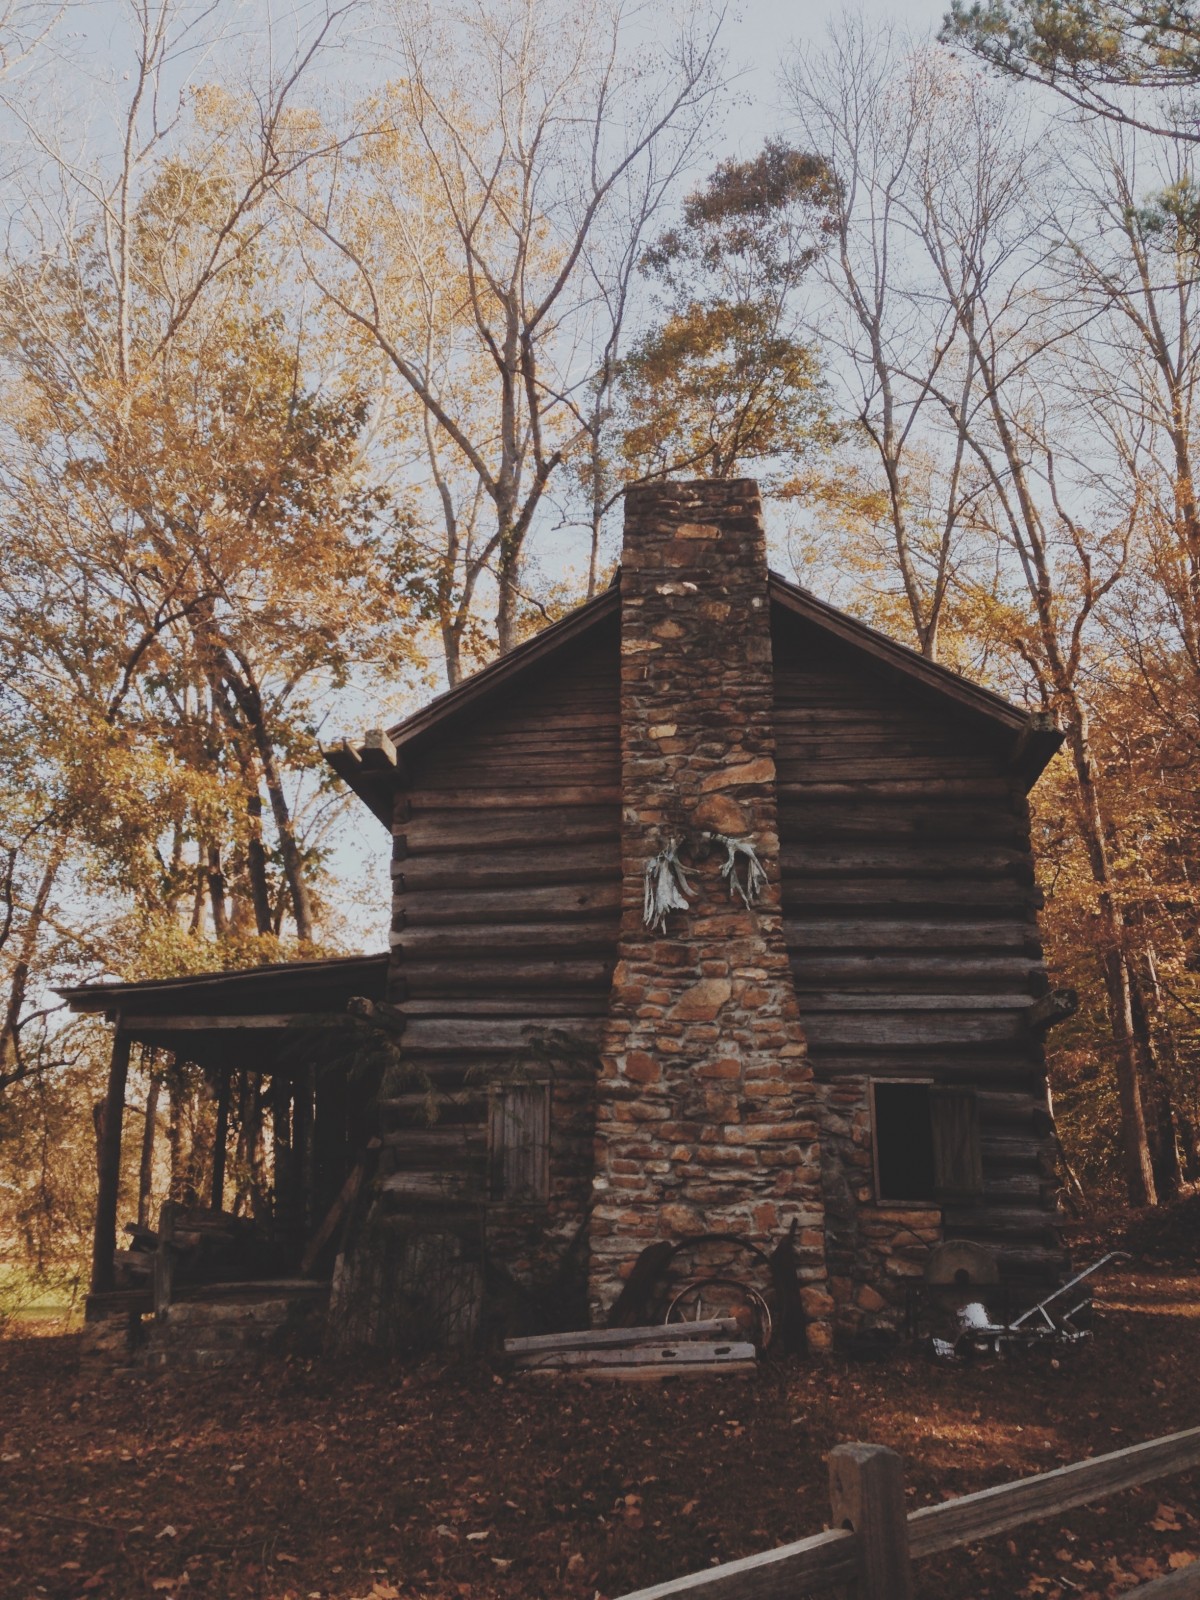
How to Install the Roof of a Wooden House
After having made the foundations and the slab, you have assembled the framework of your wooden house.
Now it’s time to build the frame, then lay the roof, depending on the material used.
Among the most common are slates and tiles. You must consider several criteria: maintenance costs, life expectancy, soundproofing, and the region of implementation.
Here are the different steps to install the roof of a wooden house.
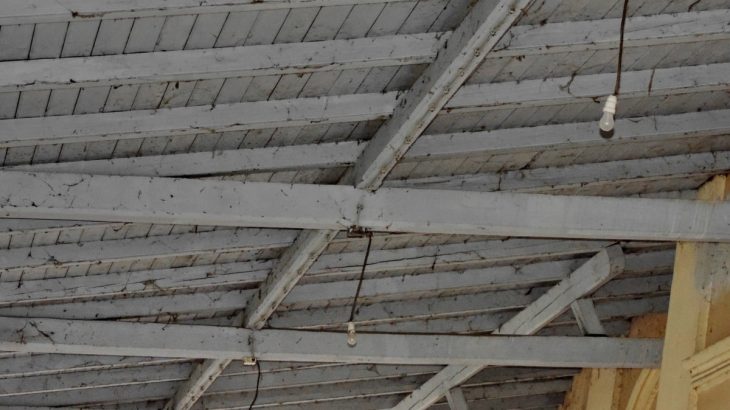
Focus on the frame of a wooden house
The framework of a wooden house can be formed in different ways. There are three main techniques:
– The traditional framework is formed of trusses on which rest the purlins and rafters.
– The industrial frame is made of industrialized trusses. They are made of wood of smaller section, which are assembled with metal connectors.
– The structure of a flat roof is made up of joists that rest on the load-bearing walls.
Good to know: get in touch with a professional to dimension the structural elements according to the characteristics of your house.
1. Install the frame
Building the trusses of a traditional frame requires a solid knowledge of carpentry.
Good to know: a professionally supplied kit frame, with the parts cut and the trusses assembled in a workshop, allows for easy construction while benefiting from project-specific help with design, construction and assembly.
Depending on the shape of the roof, there are several options for installing the frame:
– Either the trusses are assembled on the ground, then hoisted up and installed one by one. The purlins are then attached to the trusses and the rafters are nailed to the purlins.
– Or the frame (often with 4 sides) is entirely assembled on the ground. It is then lifted with a truck crane.
The installation of a frame requires a rigorous work:
– Regularly check the measurements against the framing plan, especially the spacing of the trusses.
– Also check the level and verticality of the elements.
2. Install a roof underlayment
Regardless of the type of roofing, it is necessary to install an under-roofing screen on the frame. It allows to protect from bad weather, to collect possible water penetrations towards the pipes and to limit the entry of big insects or birds.
Warning: the roof underlayment is not a waterproof covering. It must necessarily be covered with a roofing material. If necessary (especially in the mountains), add an additional waterproof membrane.
– Unroll the film to cover the roof structure.
– Staple the roof underlayment to the roof structure.
The fastening is then completed by cleats or battens, arranged according to the roofing material.
3.1 Case 1: lay the slate roof
– Consolidate the fastening of the roof underlayment by nailing on top of it regularly spaced cleats.
– Fasten the boards of the battens over the entire roof.
– Install your slate roof.
3.2 Case 2: lay the tile roofing
– Calculate the pitch (the part of the tile that receives the rain) according to the roof slopes and the type of tile used.
– Attach the battens to the roof in a grid pattern. The spacing between the battens depends on the type of tile used.
– Work from the bottom up and from right to left, nailing every third tile.
– Nail in all the ridge tiles.
Now that the roof of your wooden house is done, you can install the exterior woodwork.
Materials needed to install the roof of a wooden house
Galvanized finish staples
Stapler
Scribing square
Carpenter’s hammer
Tape measure
Bubble level
Laser level
Wooden cleat
Wood screws
Screwdriver


