How to Create a Deck With Wooden Boards on Joists
Contents
– Step 1: Determine the dimensions of the joists
– Step 2: Cut the joists
– Step 3: Drill the joists
– Step 4: Place the joists
– Step 5: Lay the first row of boards
– Step 6: Install the next rows
– Step 7: Attach the edge boards
Want to give your terrace a beautiful wooden covering on joists? A decking on joists is laid on a flat concrete slab with a small slope for rainwater drainage. The boards rest on joists fixed to the ground. All it takes is a little method, but one tricky point is leveling.
Here are the detailed steps to install decking with wooden boards on joists.
1. Determine the dimensions of the joists
Here are the materials you will need to build your wood decking:
– Wooden boards: 2.8 cm thick, 12 cm wide, 2.40 m long;
– joists: 40 mm thick, 75 mm wide, 2.40 m long
– knock-in dowels;
– wood screws.
The right amount of material is needed:
– Determine the surface area of your deck by measuring its width and length (if you are planning a deck with more complex geometry, draw a plan to help you).
– Choose the direction of the boards: it is more elegant to install the boards parallel to the longest wall, and it also helps the water to run off. The joists will then be perpendicular to it.
– Then estimate the number of planks required and the number of joists, bearing in mind that they should be 40 cm apart.
2. Cut out the joists
– Take the precise dimension corresponding to the width of the deck and transfer it to each joist.
– Then, clamp each piece of wood in the workbench using the clamp.
– Put on gloves and safety glasses.
– Proceed with the cutting with a circular saw.
Caution: a circular saw is a dangerous tool that runs at very high speeds, so be careful.
3. Drill the joists
– Lay a joist on its widest section.
– Equip your drill with a countersink (the countersink allows the screw heads to be embedded in the wood).
– Drill pilot holes through the board at approximately 70 cm intervals.
– Repeat the operation for each joist.
4. Place the joists
– Place the joist at the edge of the terrace, at an angle and perpendicular to the wall.
– Insert a 10 mm spacer between the wall and the joist (to allow for expansion).
– If the joist runs along a wall, insert shims along the entire length.
– Lay the other joists parallel to each other at 40 cm intervals.
– Provide a slope for water drainage (approx. 1 cm per meter) for this purpose:
◦ Slide small wooden wedges under the end of each joist (inner side) to raise it (for example: for a width of 3 m, take a 3 cm wedge).
◦ Check the flatness with the 2 m ruler and the level placed on the joist.
– Check the flatness in the other direction by laying the ruler across the joists.
– Equip your drill with a concrete drill bit.
– Make holes in the slab through the pilot holes of the first joist.
– Then, use a hammer to drive a dowel into each hole.
– Continue with the next joist.
– Proceed similarly for its attachment and that of the following joists.
– Remove the vertical wedges.
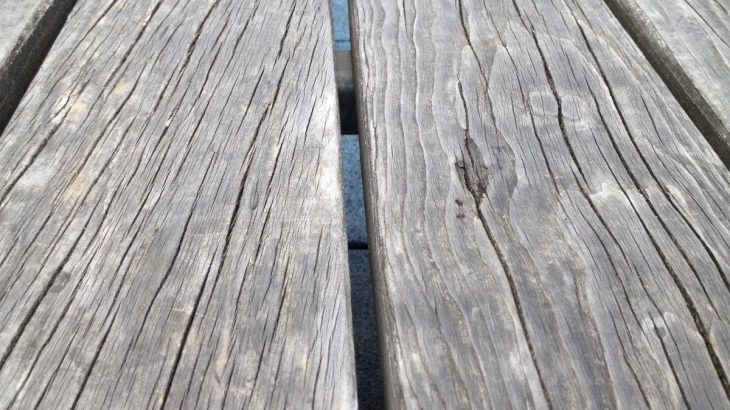
5. Lay the 1st row of boards
– Lay a board perpendicular to the joists, starting at the outer edge of the deck, directly in line with the edge of the joists.
– Slide a 10 mm spacer between the board and the wall.
– The other end of the board must come to the middle of a joist, so you must cut it off.
– Use a square and draw a corresponding cut line on the board with a pencil.
– Clamp it to the workbench with the clamp and cut it with a circular saw.
– Put it back in place.
– Drill two pilot holes about 20 mm from the blade’s edge (again with the chisel drill).
– Screw in the board with the screwdriver.
– Complete the row with a section of board of the remaining length, allowing for a 4 cm rise above the edge of the deck.
– Fasten this section of board 2 mm from the first (again for expansion reasons) using a shim.
6. Install the next rows
– Start the next row from the remaining piece of the previous board.
– Place a shim between the board and the wall.
– Cut the board, as described above, so it lies in the middle of a joist.
– Also, place shims between the boards of the first and second row.
– Fix the board as before.
– Continue the row with a full board until you reach the next joist, etc.
– Cover the entire deck in this way.
– In addition to the ends of the boards, fix them to the joists in the middle.
– Once the installation is complete, remove the wedges.
7. Fix the edge boards
– On the side of the deck perpendicular to the direction of the boards (where the boards protrude), draw a line with a chalk line to mark the edge of the deck.
– Then, saw the ends of the boards with the circular saw along this line.
– Cover the entire perimeter of the deck with boards laid on edge.
– Fasten these boards directly to the joists using a screwdriver and wood screws.
Equipment for laying a decking board on joists
Spirit level
2 m aluminum ruler
Mason’s pencil
Jigsaw
Screwdriver
Clamp
Workbench
Plastic beveled wedges
Tape measure
Square
Hammer dowel
Screw
Wooden chisel
Drill
Thick protective gloves
Protective goggles
Powder line


