7 Steps for Building a Deck With Wooden Boards on Blocks
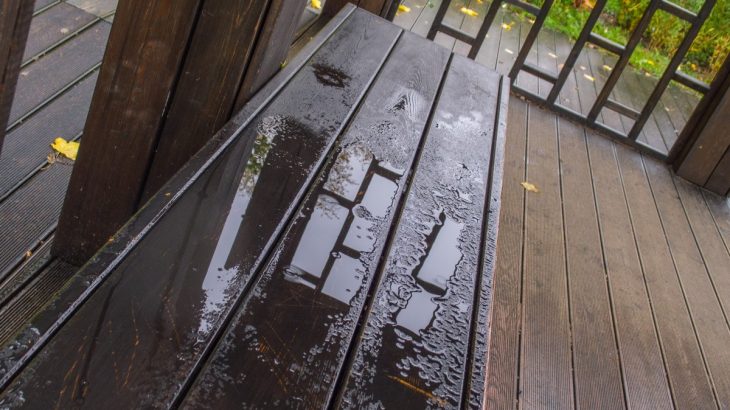
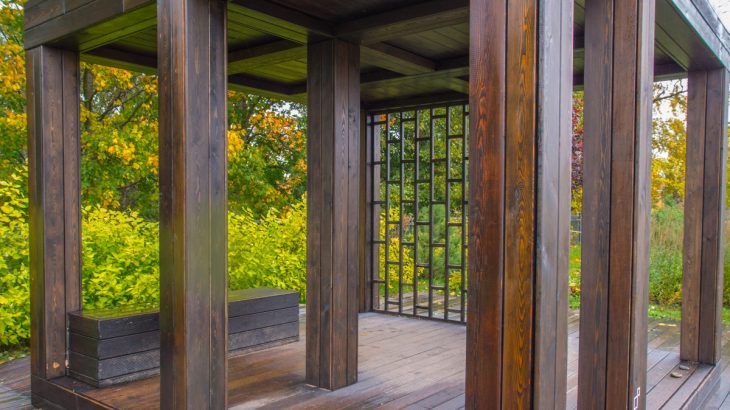
Wooden decks are popular in the garden, with the comfort of living material and a touch of the exotic. Adjustable blocks to support the wood boards make installation much easier.
We advise you to choose adjustable posts in height, so the leveling of your terrace will be easier.
The installation of a deck on blocks is preferably done on a concrete slab, flat, with a small slope for the drainage of rainwater. The boards rest on the joists, held in place by the adjustable blocks.
Here are the steps to follow to install a wood deck on blocks.
1. Calculate your needs
Here are the materials you need to build your wood deck:
– Screw-in height-adjustable posts with a groove at the top to hold the joist in place.
– Wooden boards: 2.8 cm thick, 12 cm wide, 2.40 m long.
– Joists: 40 mm thick, 75 mm wide, 2.40 m long.
– Countersunk wood screws 5 × 50 mm.
To account for supplies:
– Determine the surface of your deck.
– Using a tape measure, measure its width and length.
– If you are planning a deck with more complex geometry, draw a plan to help you.
– Choose the direction of the boards:
◦ It will be more elegant to mount the boards parallel to the longest wall.
◦ Water flow is favored.
◦ The joists will then be perpendicular to it.
– Then estimate the number of boards needed and the number of joists, knowing that they will have to be spaced about 40 cm apart.
2. Cut the joists
– Take the precise dimension corresponding to the width of the deck.
– Transfer it to each joist.
– Then, clamp each piece of wood in the workbench using the clamp.
– Put on protective glasses and gloves.
– Make the cuts with a circular saw.
Caution: A circular saw is a dangerous tool that runs at very high speeds, so be careful.
3. Place the joists
– Arrange the studs on the floor of the slab in a grid pattern:
◦ spaced 40 cm apart,
◦ aligned for the outer rows on the edge of the deck,
◦ the groove of the stud turned in the same direction as that of the joists, perpendicular to the direction chosen for the boards.
– Place the 1st joist in the grooves of the studs.
– Slide a 10 mm spacer between it and the wall to allow for expansion.
– Check the horizontality of the joist with a spirit level.
– Adjust the height by screwing or unscrewing the blocks.
– Install the following joists in the same way.
– Check the horizontality of the whole by placing the spirit level on the 2 m ruler perpendicular to the joists.
4. Install the first board
– Lay a board perpendicular to the joists, starting at the outside edge of the deck, directly flush with the edge of the joists.
– Do not press the board directly against the wall. Slide a 10mm shim between the board and the wall.
– The other end of the board should come to the middle of a joist, and make the cuts accordingly.
◦ Use a square and draw a corresponding cut line on the board with a pencil.
◦ Clamp it to the workbench with the clamp and cut it with the circular saw.
◦ Put it back in place.
– Equip your drill with the countersink (countersinking allows you to embed the screw heads in the wood).
– Make two pilot holes about 20 mm from the blade’s edge.
– Screw in the blade with the screwdriver.
5. Lay out the first row
– Complete the row with a portion of the remaining board length, allowing for a 4 cm overhang beyond the edge of the deck.
– Fasten this section of board 2 mm from the first one for expansion purposes.
6. Install the next rows
– Start the next row from the remaining piece of the previous board.
– Cut the board, as described above, so it sits in the middle of a joist.
– Don’t forget to place a shim against the wall.
– Also, place shims between the first and second rows of boards.
– Fasten the board as before (see step 4).
– Continue the row with an entire board, up to the next joist, etc. Cover the entire deck.
– For added stability, fasten the boards to the joists in the middle and the ends.
– Once the installation is complete, remove the wedges.
7. Attach the edge boards
– Using a powder line, draw a line marking the edge of the deck on the side of the deck perpendicular to the direction of the boards (the side where the panels protrude).
– Then, saw the end of the boards with the circular saw along this line.
– Cover the entire perimeter of the deck with boards laid on edge.
– Fasten the boards directly to the joists using a screwdriver and wood screws.
Here is a list of materials to install a wooden deck on blocks
Spirit level
2 m aluminum ruler
Mason’s pencil
Circular saw
Jigsaw
Screwdriver
Clamp
Workbench
Plastic beveled wedges
Screws
Tape measure
Square
Wood chisel
Thick protective gloves
Protective goggles


