Summary
– Step 1: Prepare the joint mortar
– Step 2: Install the mortar
– Step 3: Fill the joints
– Step 4: Smooth the joints
– Step 5: Clean excess joint mortar with a sponge.
– Step 6: Wipe with a dry cloth
– In case of white marks on the joints
The joints are essential, as they ensure the maintenance and water-tightness of a tile. The grouting finalizes the installation of the tile.
Grouting is a step that is carried out after all the tiles have been laid and once the adhesive is dry (see the practical sheets Laying wall tiles and Laying floor tiles).
Here are the materials and steps to follow to make tile grouting.
Namely: there are different colors of grout; choose one that matches the color of your tile.
1. Prepare the grout
You can buy ready-mixed grout, but it is most often sold as a powder mixed in water.
Mix the water and mortar in a trough:
– Dissolve the powder in water in the proportions indicated on the packaging.
– Mix without whipping the mixture to avoid trapping air bubbles. Mix slowly.
– You should obtain a soft paste, liquid enough to be worked.
Caution: the joint mortar must not be too liquid; it will take longer to dry and may crumble once dry.
2. Laying the mortar
Use a trowel to place the grout on the tile surface:
– Spread a layer of joint mortar over the tile, insisting on the joints.
– Gradually apply the grout, covering squares of 1m² at a time. Fill the joints on the surface and smooth them before moving on to the next square.
3. Fill the joints
Use a rubber squeegee to fill the gaskets:
– Push the mortar that you have distributed into the joints.
– Use angled movements to fill the space between tiles with joint mortar.
– Spread mortar evenly over all joints.
4. Smooth the joints
You can smooth the joints with the rubber squeegee or with your finger.
If you smooth the gaskets with the rubber squeegee:
– Run the squeegee along the joints to smooth them.
– Do not press to avoid digging into the joints.
If you smooth the joints with a finger:
– Moisten your finger.
– Run your finger along the joints to smooth them.
– Do not press on the joints, as this may cause the joints to dig in.
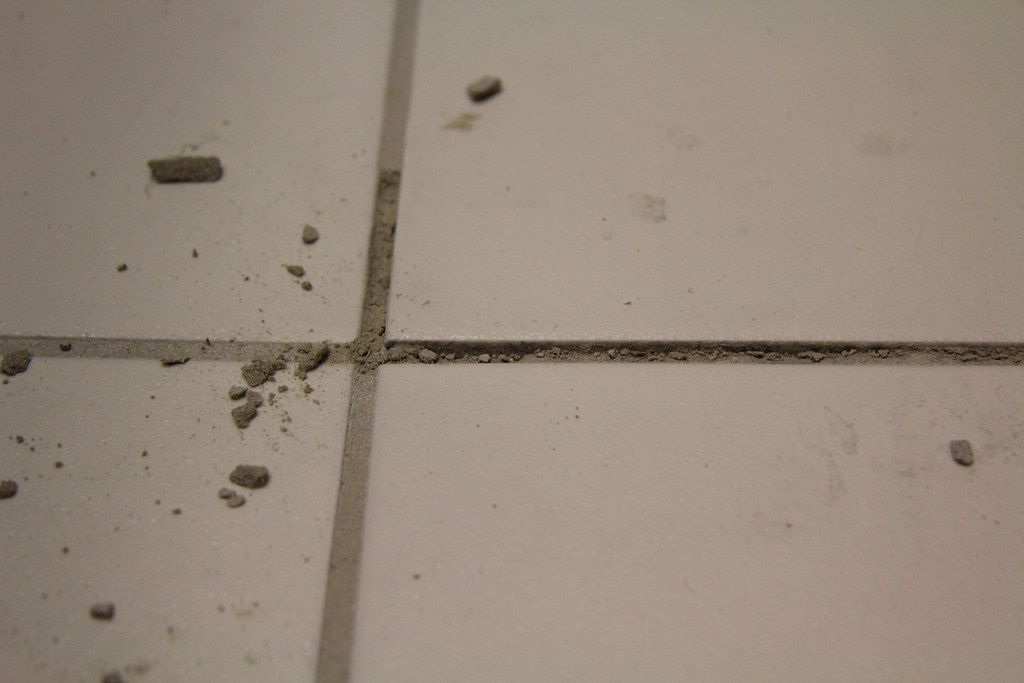
5. Clean excess joint mortar with a sponge
Clean the tiles as you go along.
– Use a damp sponge to clean stains, do not press on the joints.
– Rinse and wring out your sponge frequently.
6. Wipe with a dry cloth
-
- Use a dry cloth to remove the last traces of mortar and dry the tiles.
-
- Wait for 24 to 48 hours before you can wash your wall or floor.
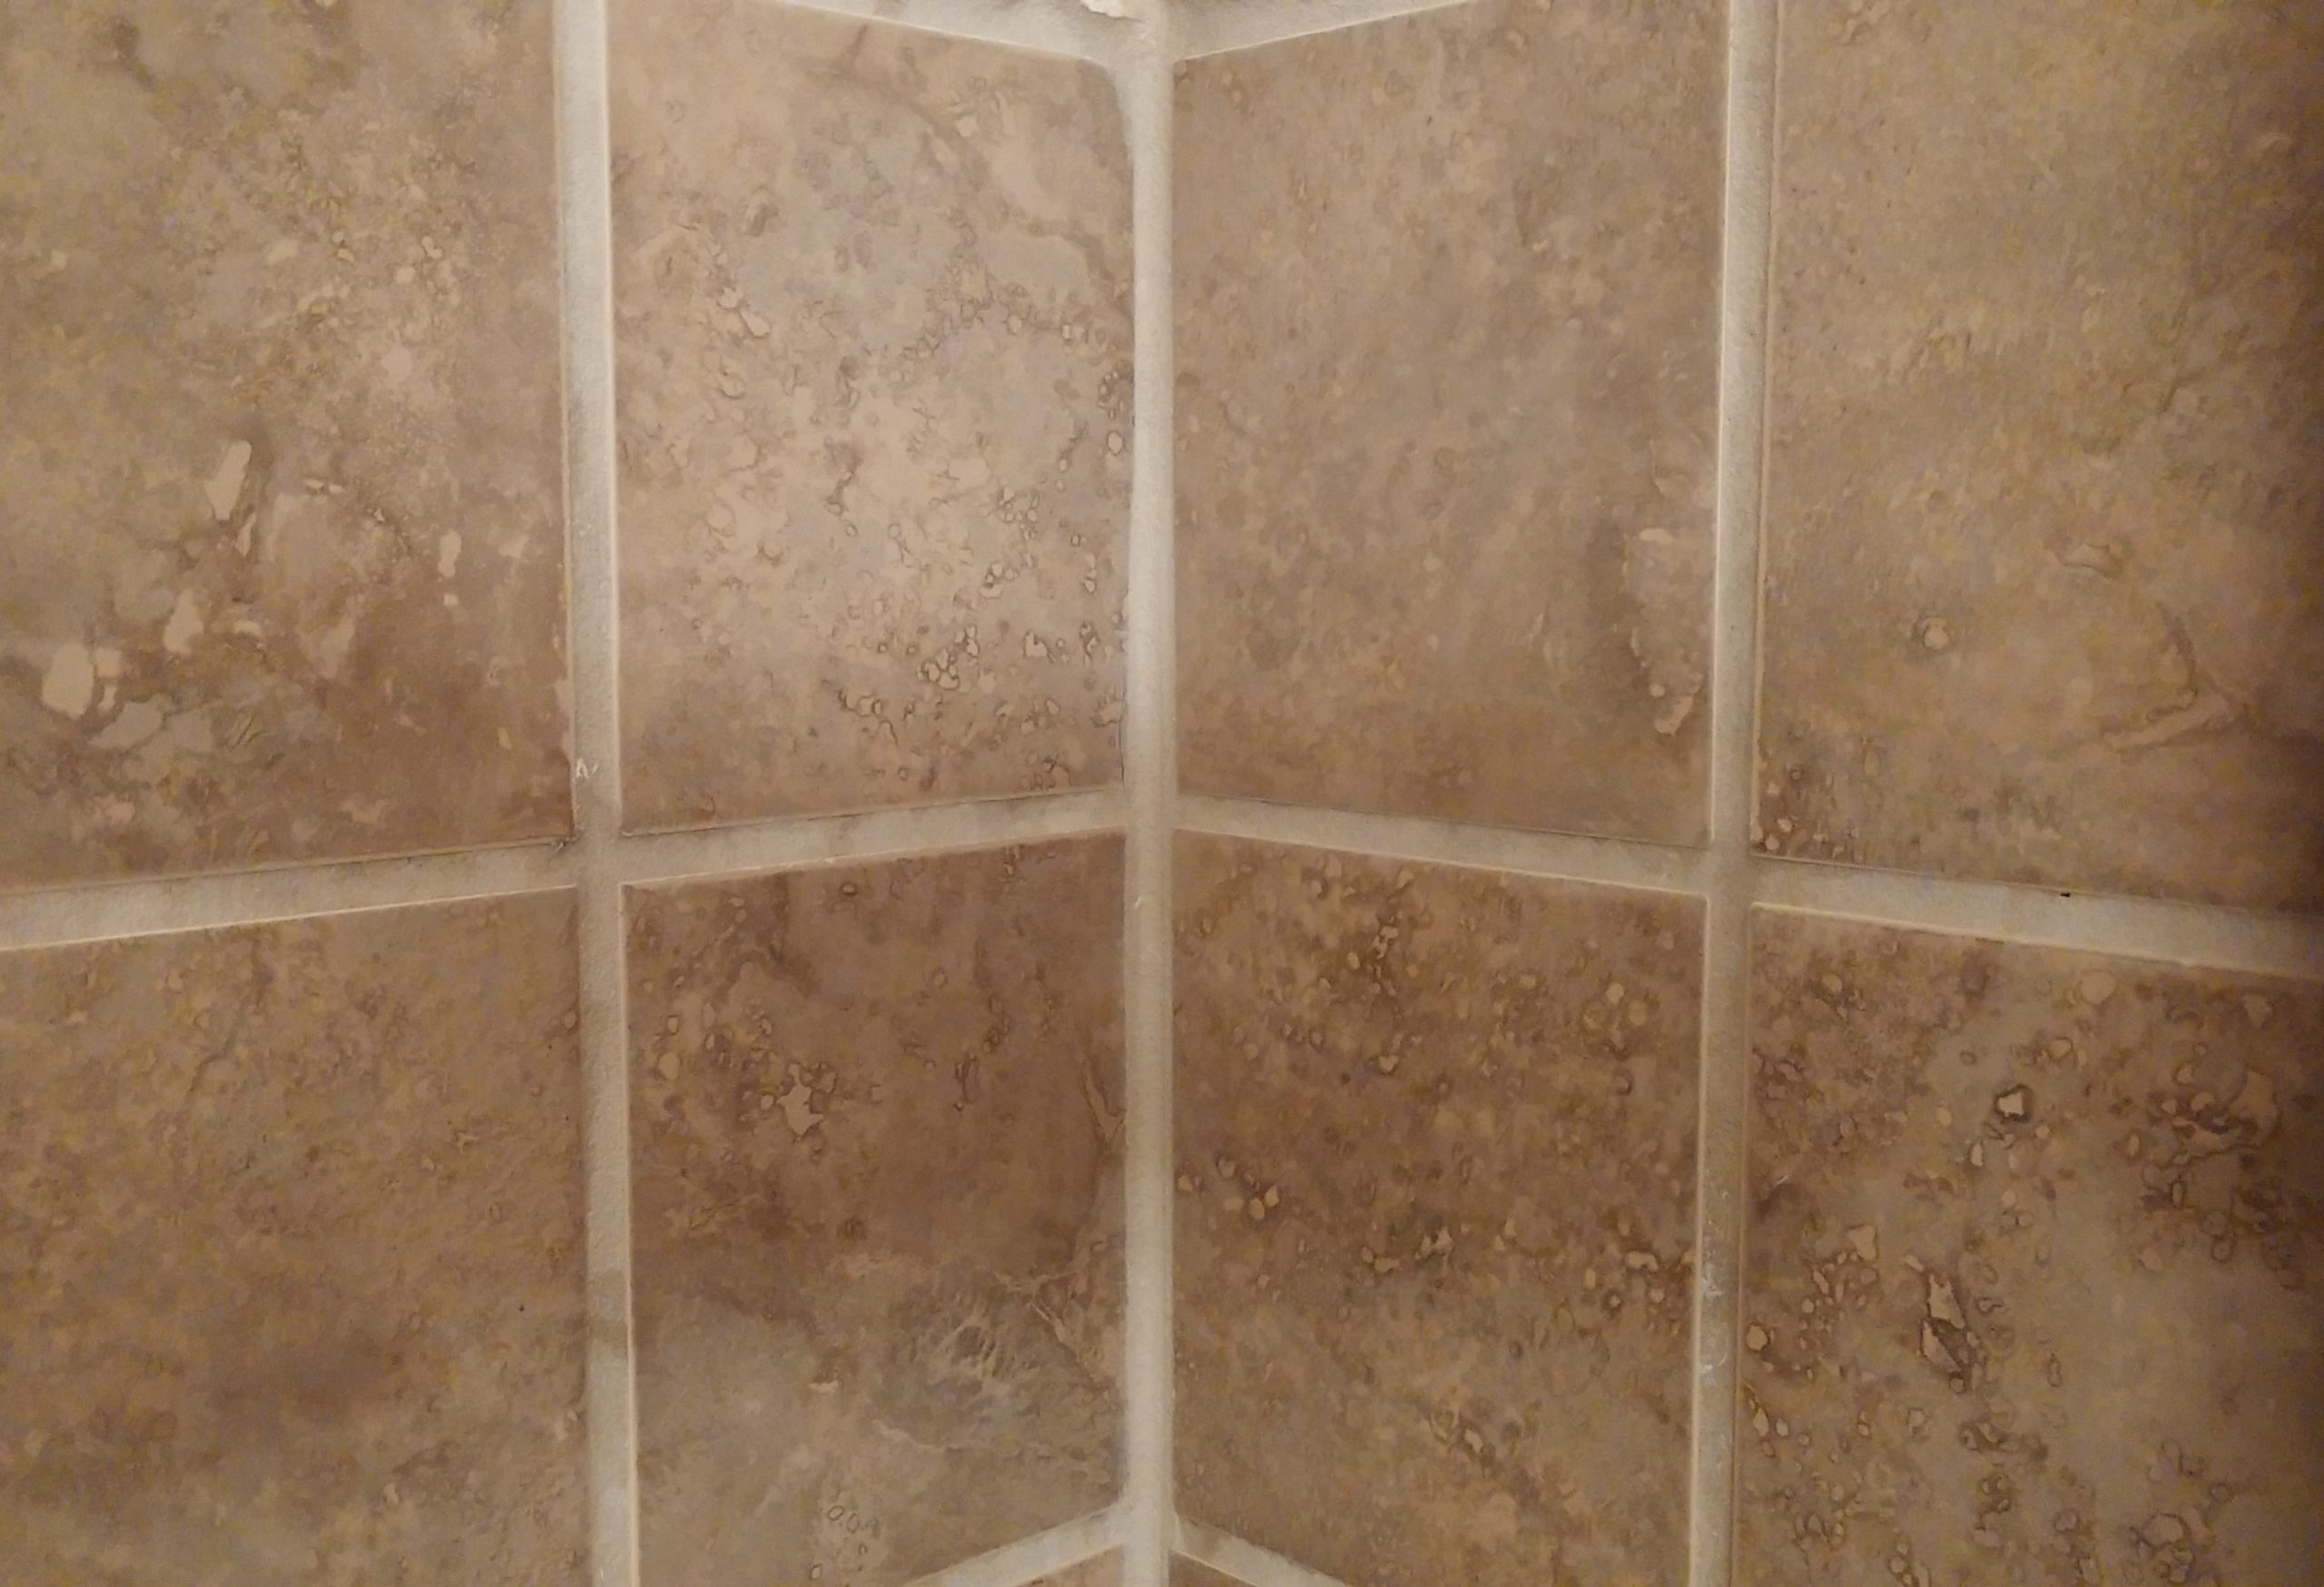
In case of white marks on the joints
In some cases, white traces appear at the joints once they are dry; this is the cement veil.
Case1: Remove the traces with a special cement fleece product.
– Spread the product over the joints and tiles with a sponge.
– Allow working for a few minutes.
– Scrub with a brush until all traces disappear.
Case2: Remove traces with hydrochloric acid.
You can clean traces with a mixture of water and hydrochloric acid:
– Wear household gloves.
– Mix water and acid in the following proportions: 1/4 hydrochloric acid to 3/4 water.
– Always pour the acid into the water, not the other way around.
– Dip a brush into the mixture.
– Scrub the tiles and joints until all traces disappear.
– Once you have removed the traces, rinse the tiles with clear water.
Tile grouting materials
|
Joint mortar |
Approx. $20 for 20 kg |
|
Tile scraper |
Approx. $3 |
|
Trowel |
From $4 |
|
Mason’s bucket |
About $2 |
|
Sponge + Cloth |
$2 |


