Summary
Cinder block: different types
Dimensions of the cinder block: according to the type of wall
Cinder block: construction stages
Price of the cinder block: $40 per m² all included
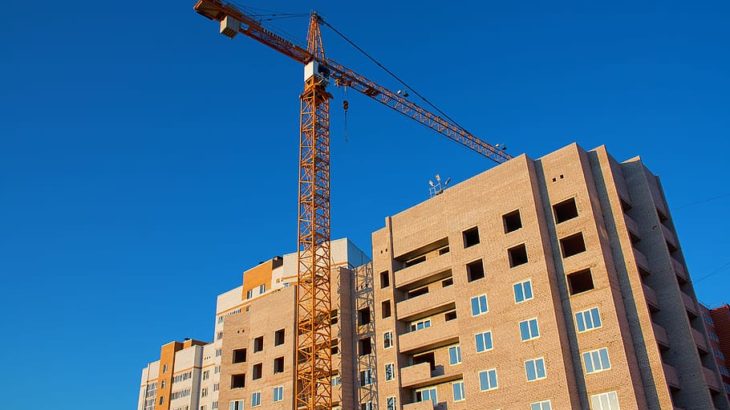
The cinder block is the most used concrete block in contemporary construction. It is an economical, practical, and reliable concrete block that can build load-bearing and non-load-bearing walls, from the facade to the fence wall. A concrete wall can also be made with aerated concrete.
Concrete blocks: different types
A detached house can be built entirely out of cinder blocks.
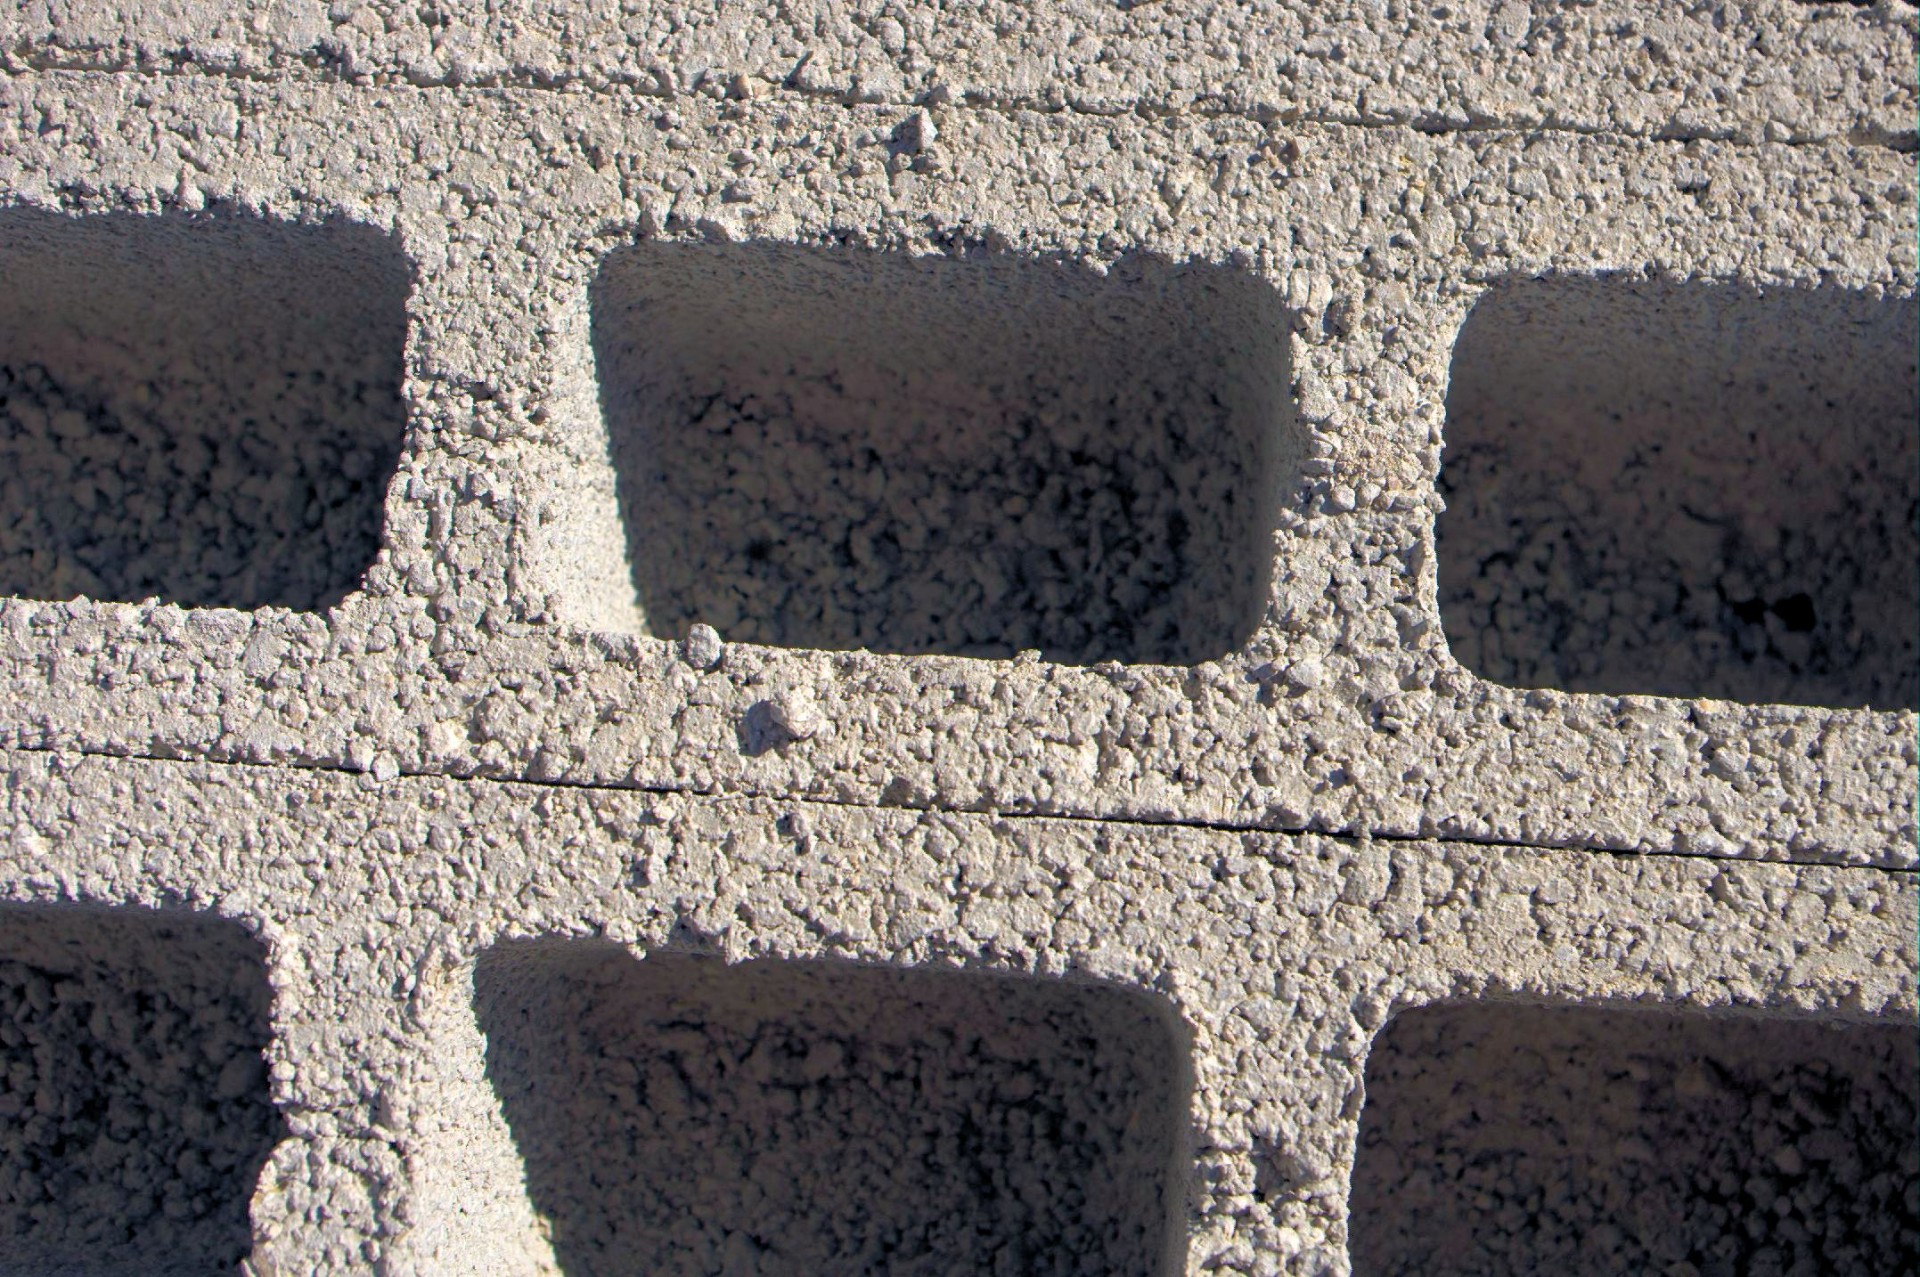
The structure of the blocks can be solid, perforated, or honeycombed.
For each use, there is an adapted cinder block:
– U blocks: for horizontal and lintels,
– corner blocks: for vertical chaining,
– plank blocks: for floor ends.
In the standard model, the cinder block is usually hollow or made of light aggregates.
Here is a comparative table of the different types of cinder blocks and their use:
USE OF THE DIFFERENT TYPES OF CINDER BLOCKS
|
TYPE OF CINDER BLOCK |
EXAMPLES OF USES |
FEATURES |
|---|---|---|
|
Hollow block |
Common walls: gables, facades, etc. |
– 2 hollow ends for vertical joints.
– Can be cut in thirds. |
|
Corner block |
Vertical chaining. |
– 1 smooth end, 1 hollow end for the joint.
– 1 square or 1 round hole for the passage of the vertical chaining.
– Can be cut to the third. |
|
Lintel block |
– Installation of the lintel.
– Horizontal chaining. |
– U shape. |
|
Jamb block |
– Bay paintings.
– Corner |
– Alveoli allowing to cut it in 2.
– 1 flat and smooth end, 1 hollow end for the joint. |
|
Perforated block / Solid block |
Base |
Solid, and it can be buried. |
|
Block to be laid |
– Lost formwork.
– Retaining wall |
– H-Shape, allows the insertion of frameworks.
– The concrete is poured directly into the cells. |
Dimensions of the cinder block: as per wall type
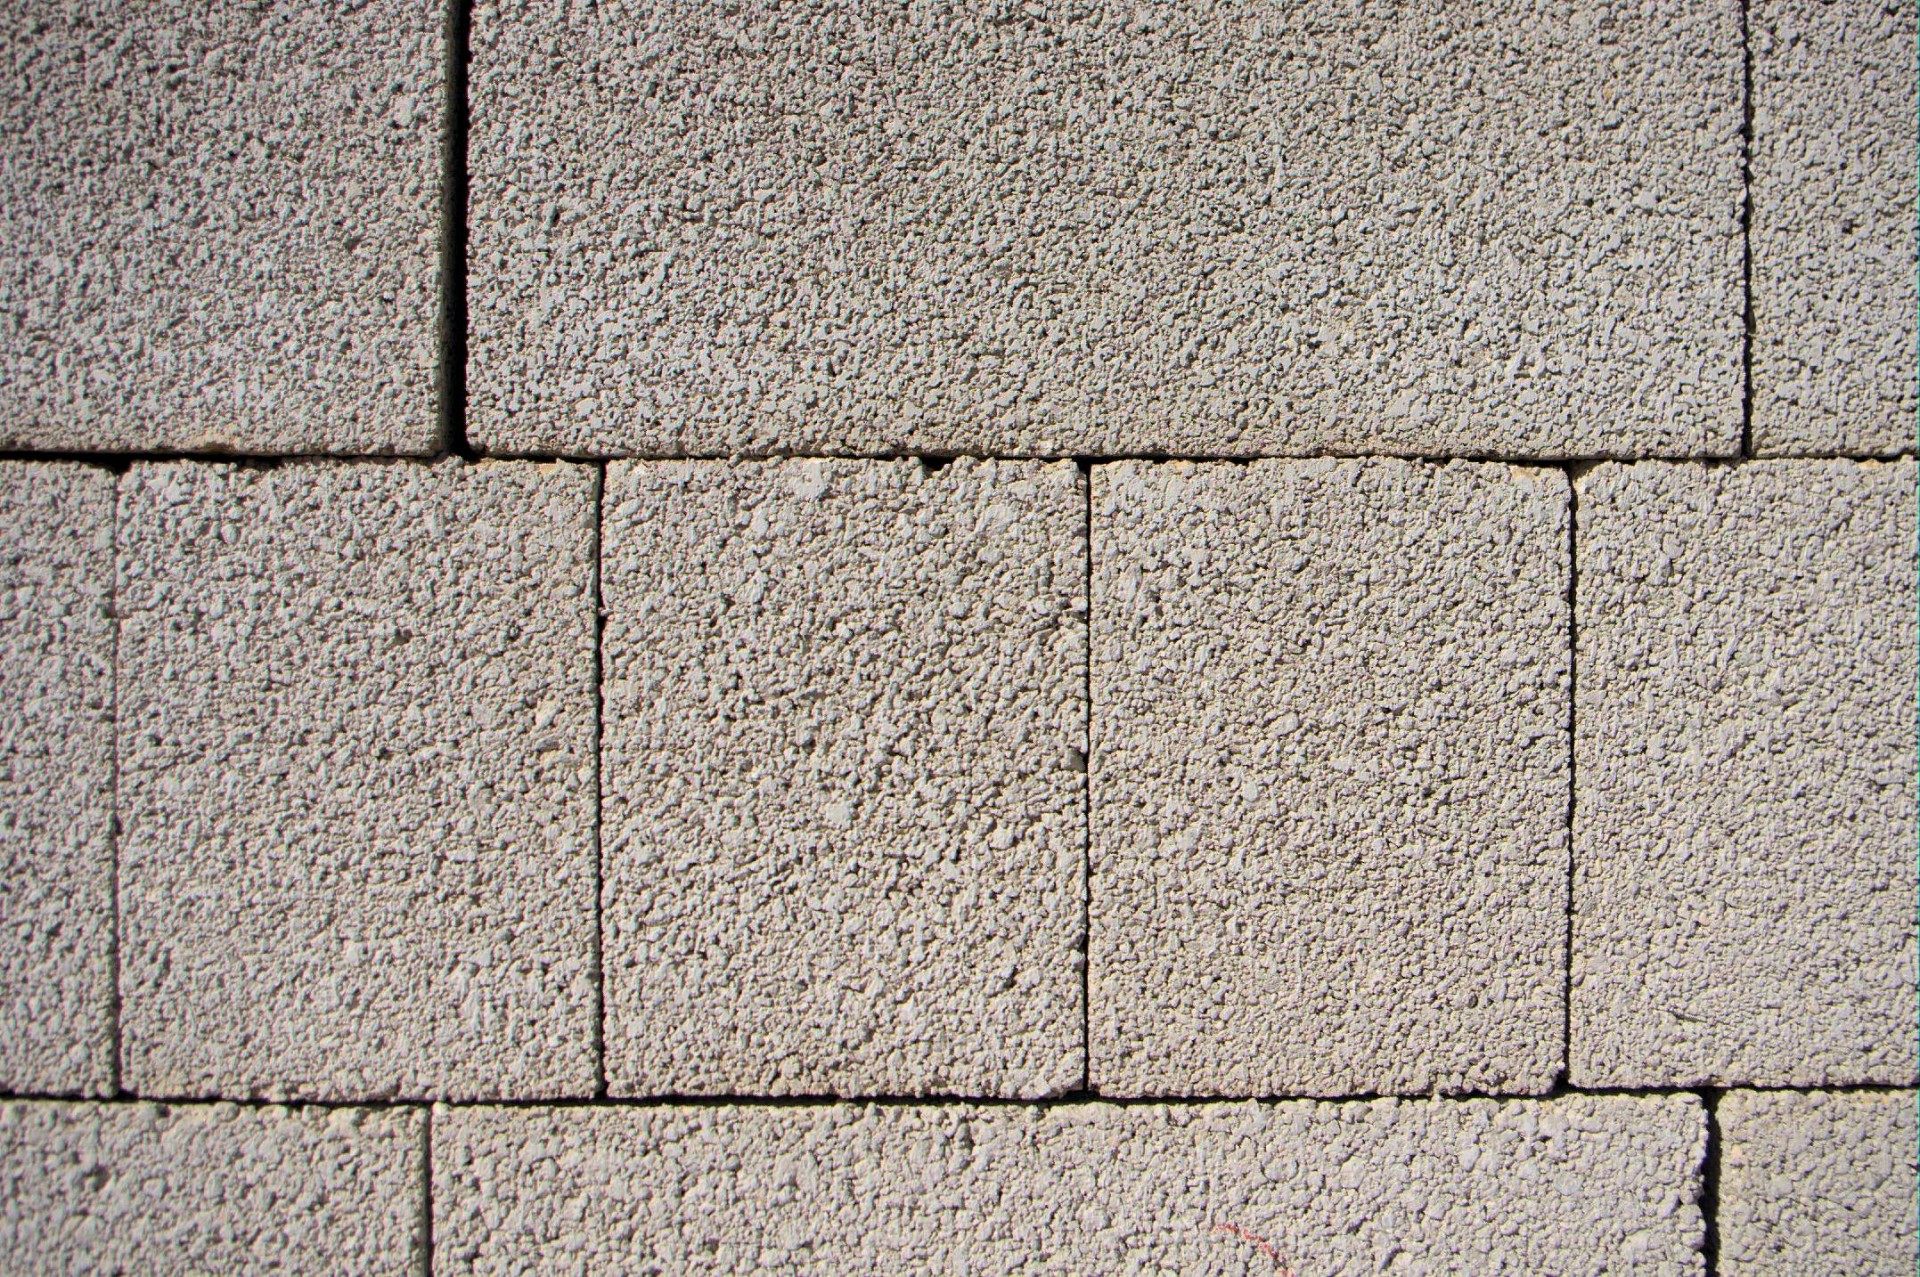
The standard dimensions of the cinder block are as follows:
– L: 20 cm,
– H: 25 cm,
– l: 50 cm.
The thickness is variable from 5 to 32.5 cm: it depends on the type of masonry for which it is intended.
In addition to the standard cinder block, there is also a rectified cinder block where:
– the dimensions are rigorous,
– the interlocking of the sides makes it possible to dispense with vertical joints,
– the horizontal joint is reduced to 3 or 4 mm (normal joint 10 to 15 mm).
The dimensions of the blocks are to be chosen according to the type of wall:
DIMENSIONS OF THE CINDER BLOCK
|
TYPE OF WALL |
CINDER BLOCK |
|
|---|---|---|
|
Bulkhead and counter-bulkhead |
Thickness: 5 cm, 7,5 cm, 10 cm. |
Height: 20 cm,
Width: 40 cm or 50 cm. |
|
Facade and splitting wall |
Thickness : 15 cm, 20 cm. |
Width 40 cm or 50 cm |
Cinder block: construction stages
The assembly of a wall and, more simply, of a cinder block wall is classic.
It does not represent significant difficulties, but it is necessary to be rigorous:
CONSTRUCTION OF A BREEZE-BLOCK WALL: STAGES
Step 1.
To do:
-
- Ground location of the low wall on the foundation.
-
- Lay cords to serve as an installation guide.
Comment:
The installation of the first row is crucial; it must be perfectly linear and plumb.
Step 2.
To do:
-
- Lay mortar on the foundation, about 1 cm thick.
-
- The mortar is laid from one end and is the size of a cinder block.
Comment:
Use a thin or medium mortar.
It depends directly on the type of wall.
Step 3.
To do:
-
- Place the first cinder block on your floor alignment along the cord.
-
- Position it with the sledgehammer and check the plumbness with a level.
Comment:
Take your time to check the plumbness.
Step 4.
To do:
-
- On the other end of the future wall, place a new cinder block according to steps 2 and 3.
Comment:
Always check the level, alignment, and plumbness.
Step 5.
To do:
-
- With your first 2 cinderblocks in place, 1 at each end, make a template using 2 cleats and 4 nails the size of a cinderblock width. Place the 2 templates on the 2 blocks at each end and pull 1 cord on the outside
Comment:
The cord is used to check the vertical alignment.
Step 6.
To do:
-
- Between the 2 blocks, place mortar over the entire length and about 1 cm thick.
Comment:
To avoid overflowing on the outside when removing the mortar, use a planer that you place vertically on the string.
Step 7.
To do:
-
- Place the cinder blocks on the mortar, edge to edge.
Comment:
Check each block for alignment, level, and plumbness.
Step 8.
To do:
-
- Fill the vertical joints.
Comment:
Fill widely.
Step 9.
To do:
-
- With the first row down, start the second row:
either by a cinder block cut in two if your wall is straight,
or by a cinder block laid in staggered rows if your wall has a corner at each end.
Comment:
If you need to cut a cinder block in half, use a sledgehammer to cut it at the cell level.
You can then cut it to the desired size, still using the sledgehammer.
Step 10.
To do:
-
- Place the second row of cinder block, taking care to raise the jigs one level.
Comment:
The templates are placed on the 2 blocks at the 2 ends of the second row.
Price of the cinder block: $40 per m² all included
The indicative price of the cinder block is $40.
Prices are based on an average excluding tax, supply, and labor included for one square meter.
They may vary according to regions and professionals.


