

Rendering is a layer applied to exterior walls of houses that has a dual mandate. It has to hold up the structure and also protect the walls against harsh weather conditions. If the render on the external walls of your house is damaged, your home will be vulnerable to a host of bacteria and other particles that can penetrate these cracks. Even the smallest of cracks in the render will allow water to seep into the underlying structure and can eventually cause irreversible damage.
Because the comfort and security of our family directly rest on these frontline defenses resisting the perpetual onslaught of the elements, carrying out render repair where necessary and maintaining the brickwork is essential. Hence, as soon as you detect a crack in your rendering, you should make a point of getting it fixed as quickly as possible. Basically, no matter how small the crack is, any sign of failure in the rendering is likely to ring loud alarm bells.
Identify the Type of Construction
Before you can even start any type of repair, you will have to survey the building to find out the type of construction used. This an essential first step as the defects and wall repair solutions will vary depending on the sort of walls you are dealing with.
Identifying Faults in Render
While all renders act as a protective skin around the house, they are not all one and the same. Renders come in several forms, and you must, therefore, look at the render itself. What type of render are you dealing with? Is it roughcast, smooth stucco or a pebbledash?
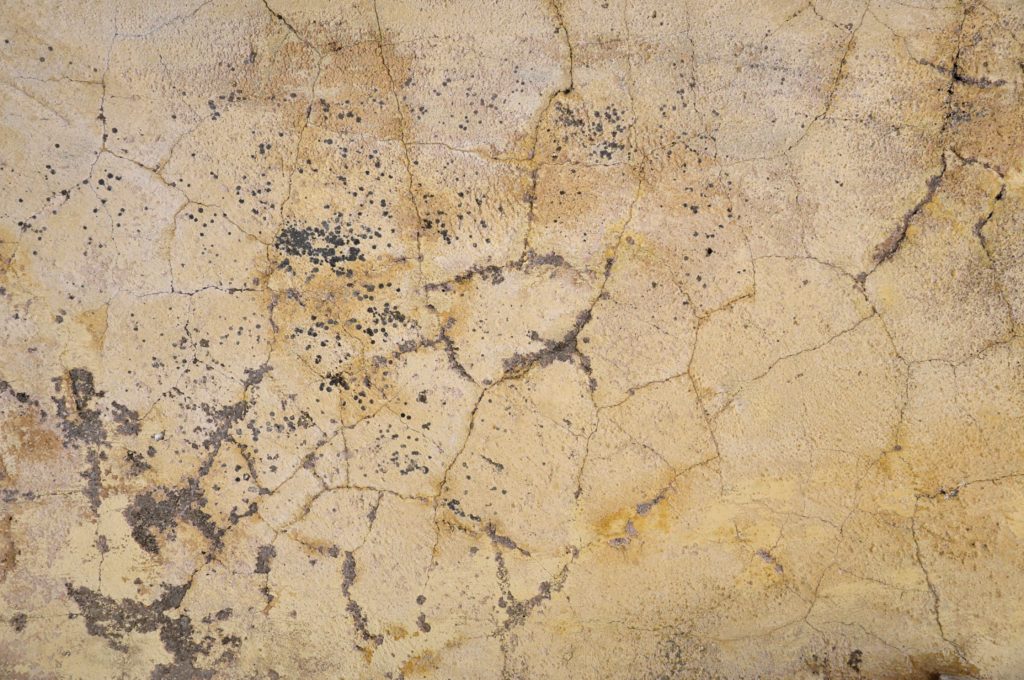
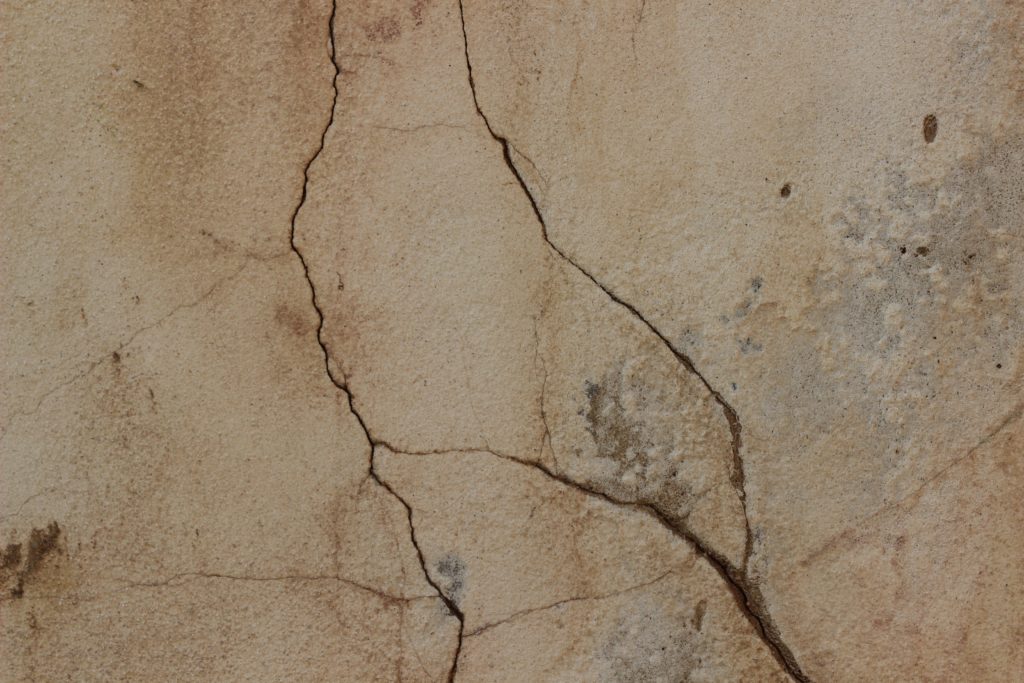
Once you know the type of render you are dealing with, you can then inspect the actual damage in the render. Establish whether the crack is a structural one or a hairline one. While many cracks can be perfectly harmless, others will let water get in and loosen the render if they are neglected. Generally, it is wise to seal any cracks that are visible. Once you’ve established that the crack is indeed harmful, you can move to the repair part.
How to Repair Render
You are now ready to start repairing the crack. Since rendering is essential to protect the fabric of the building, you don’t want to wait too long before taking care of the cracks.
Step 1: Prepare the Surface
To prepare the surface, start by removing any loose material or debris from the wall. You can also add masking tape to the edges of the repair area so as to prevent further damage to the existing render.
Step 2: Mixing
Depending on the type of rendering used, buy the render mixture and mix it according to the directions. Mix until you are left with a smooth mixture. To prevent irritation to the skin, the use of the supplied gloves is recommended.
Step 3: Application
Using a filling knife, apply the render mix to the required depth. Avoid spreading the mixture too thin when finishing. Once applied the render mix has been applied, you can remove the masking tape and allow it to dry. You can also use a sponge to gently rub the render to ensure you get the desired effect. The sponge can also help blend the mix with the existing render. Depending on the product used, you may have to wait for 2 – 3 days before decorating.
Step 4: Storage
Remember to clean all your tools immediately after use. You should also store the product in a clean and dry environment. If the product is stored in an area with high levels of moisture, it will absorb the moisture and decrease in quality as moisture can affect the performance of the product. If the product is stored correctly, it should be able to last for about 12 months.
Damaged Render: What Caused It?
Now that you’ve covered the crack, you can look for the cause of the problem so as to prevent it from happening again. Were there hairline cracks in your render? The thing with cracks is that they tend to happen over time. But there is usually an underlying problem that is causing these cracks to appear. For example:
- Structural movement can lead to the creation of a crack in the render. Structural movements occur when the render surface moves.
- Render can crack or get bulges when frost leads to moisture getting trapped between the render and the wall. That’s why hairline cracks need to be sealed as soon as possible. If neglected, these cracks will let more water in and can freeze and expand, blowing the render surface loose — resulting in even larger cracks.
The problem with cracks is that it is very hard for an untrained individual to identify the source of the problem. It would be wiser to have a rendering expert or a building surveyor to establish the cause of the problem and let them address it.


